Introduction

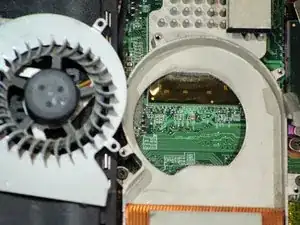
This repair will be needed in circumstances where the heatsink fan is not turning on and causing the computer to power itself down. Replacing the heatsink fan with a new one should correct the overheating power downs.

  1. 5TqvjXHP1QgSNVQh
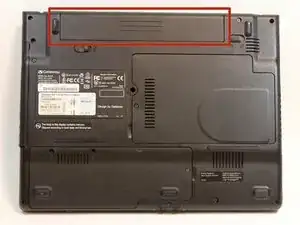
    • Turn the laptop upside down and position it as shown in the image.

  2. N2NrZeXSfNttXMut
    N2NrZeXSfNttXMut
    WVBncLF5U2STH1nJ
    Ypcdv4wPqOOPMprR
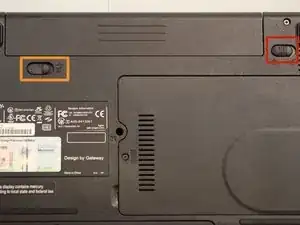
    • Slide the locking switch towards the open lock picture.

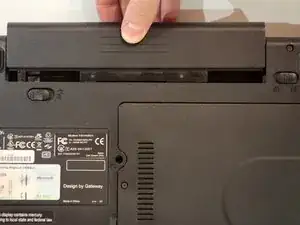
    • Hold the release switch in the unlocked position while simultaneously pushing the battery away from the laptop.

    • Once the laptop is disengaged, completely remove the battery from the laptop.

  3. ctbMJUoBPmb54Lob
    ctbMJUoBPmb54Lob
    TbRevb5RUx4IiCnM
    ubd3BAA2yQJhCLUH
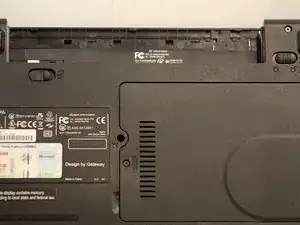
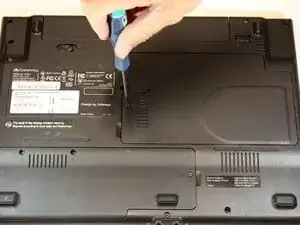
    • Remove the single 3mm Phillips #0 screw holding on the plastic cover.

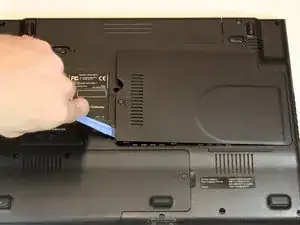
    • Use a plastic opening tool to gently pry off the plastic cover.

    The visuals here contradict those of the previous step. If it's important to remove the battery before removing the bottom cover, why show the battery still in place here? Also, telling the reader to turn the laptop over is confusing because it should have already been turned over for removing the battery.

    Dan Brown -

    Good job providing a picture with the battery out, although it does reappear in the next two pictures...

    Dan Brown -

  4. nyRAmMHL3oj4xMTE
    nyRAmMHL3oj4xMTE
    ScXY4YXvVCfsyCHP
    MNqLRcU4fiXUIYBO
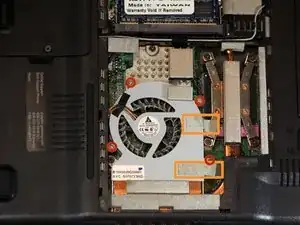
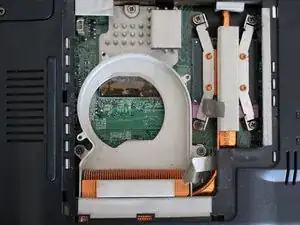
    • Remove all four 3mm Phillips #0 screws holding in the fan.

    • Remove the tape from the top of the fan

    The second picture would be more effective if you showed a hand pulling the tape back. Right now it's a bit tough to figure out what we're supposed to see.

    Dan Brown -

    Seems like it would help to provide a picture of the fan fully removed from the device.

    Dan Brown -

  5. IjFhNSwGvjf1PaYx
    IjFhNSwGvjf1PaYx
    KYXiWv3EMqXdRe3v
    lQLUS6JXk2WDyQA5
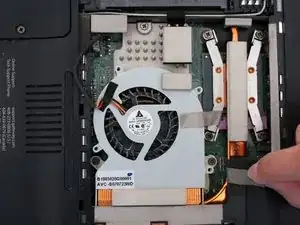
    • Gently remove the fan from the metal housing.

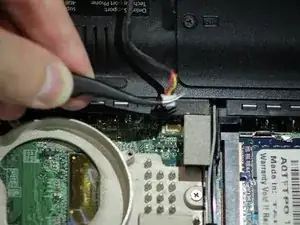
    • Disconnect the cable with tweezers.

Conclusion

To reassemble your device, follow these instructions in reverse order.
Aaron Austin

Member since: 22/09/14

252 Reputation

0 comments