Introduction
A faulty battery can cause the device to not power on or take a charge. Replace it.
Tools
-
-
Remove the stand by pushing down on the tab and pulling the round, plastic piece away from the Garmin unit.
-
-
-
Place the unit screen-side down flat, with the bottom facing you. There are two seams, the one on top is artificial.
-
-
-
Firmly force a plastic spudger into the bottom seam and pry open a section. Use a prying/pushing motion to force the tool into the unit until you feel a click.
-
Repeat this all the way around the seam.
-
-
-
Wedge an angled plastic prying tool under the connector at the part where the wires attach and gently pry up.
-
-
-
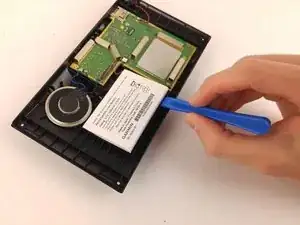
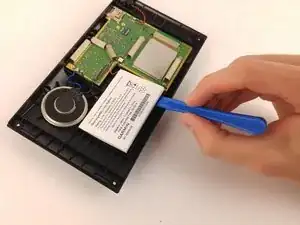
The white battery is attached to the casing with an adhesive. It should be easy to pry the battery up with a prying tool.
-
Plug the new battery into the same plug, with the wires going the same direction.
Test the unit by powering it on.
If it powers on stick the new battery in place with any glue or tape.
Snap the casing back together and replace the 4 screws, again with a T5 bit.


