Introduction
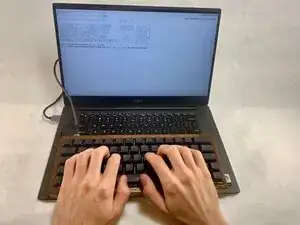
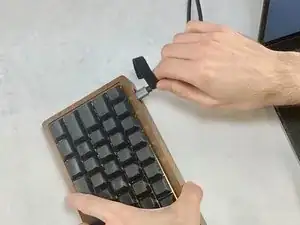
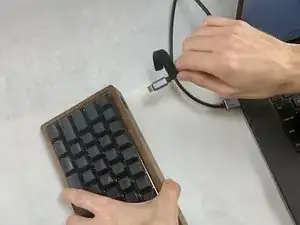
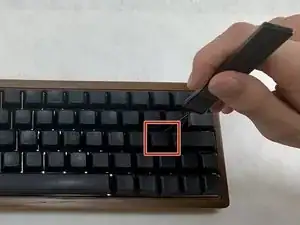
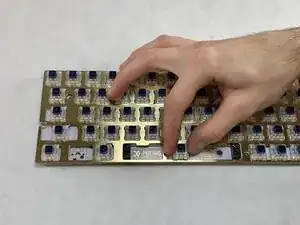
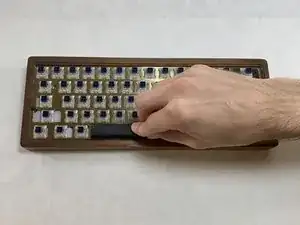
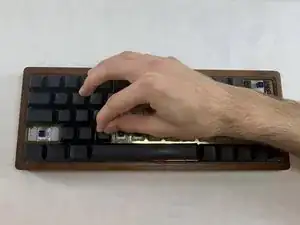
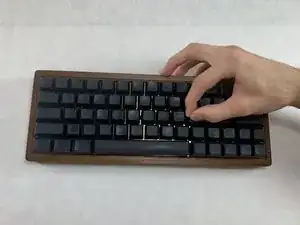
If your GK64 Hot Swappable Mechanical Keyboard has sticking keys or input is not transmitting to your computer, use this guide to replace the faulty switches.
Faulty switches do not transmit a letter when you type to the computer due to sticky keys or switch failure. When replacing switches, the keycaps must be cleaned as buildup can make even new switches still stick.
No special skills are required to complete this repair.
When buying replacement switches ensure they have the same switch weights. The spring inside the switch determines this value. If you are unsure of the weight, you can find this information in the technical specs section of the keyboard manual.
Tools
-
-
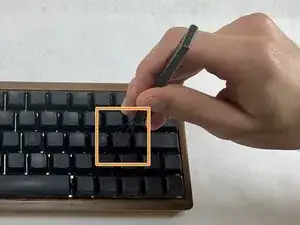
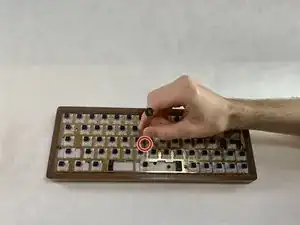
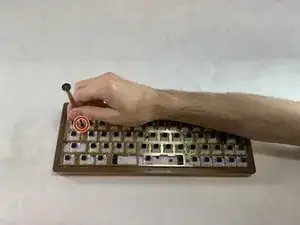
Position the wired keycap puller so the wire ends are horizontally aligned with the key and the flat ends of the wires rest under the key.
-
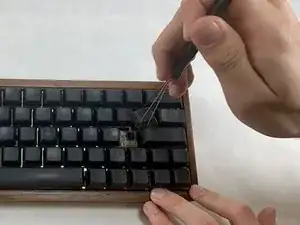
Rotate the wire 45 degrees and pull straight up to remove the key. This may require a bit of force, especially if you have never removed the keys before.
-
Remove every key using this method.
-
-
-
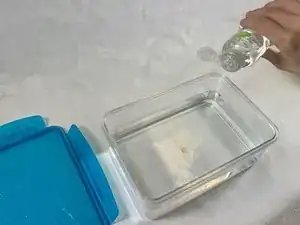
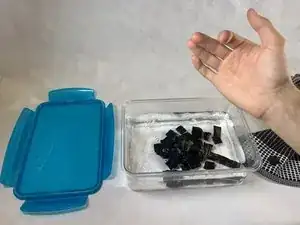
Fill the plastic container 3/4 of the way with warm tap water.
-
Put 2 drops of dish soap into the water filled plastic container.
-
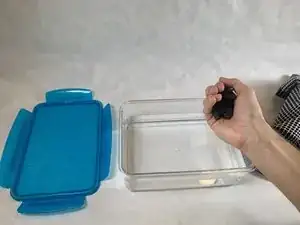
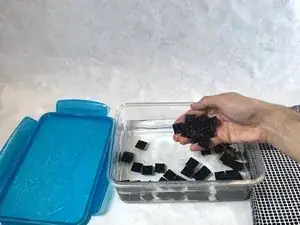
Place the keycaps in the water and ensure they are fully submerged.
-
Seal the container with the lid, and let the keycaps sit in the warm water for at least 1 hour.
-
-
-
Rinse the keys under room temperature tap water for 2 minutes.
-
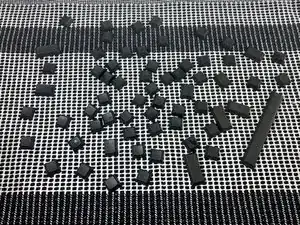
Shake each keycap to free any excess water and place them on a dry dish towel. Ensure the keycaps are not stacked on top of one another.
-
Air-dry the keycaps on a dish towel for at least 24 hours or until completely dried.
-
-
-
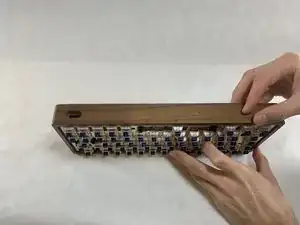
Rotate the keyboard so it is standing on its long edge.
-
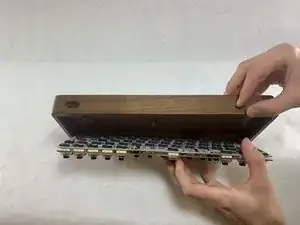
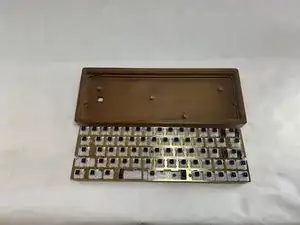
Remove the case by gently pulling it from the rest of the keyboard.
-
-
-
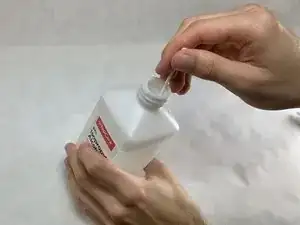
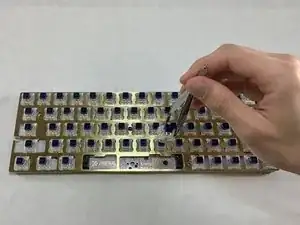
Lightly soak one end of a Q-tip in the isopropyl alcohol.
-
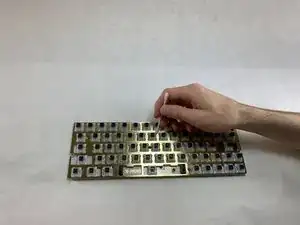
Clean the PCB keyboard by gently wiping the Q-tip along the surface.
-
-
-
Turn the PCB face down.
-
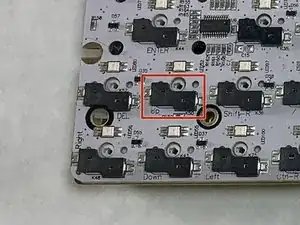
Look for any hot swappable sockets that are not fully connected to the the PCB.
-
Push any misaligned sockets back into place so that they lay flush on the PCB.
-
-
-
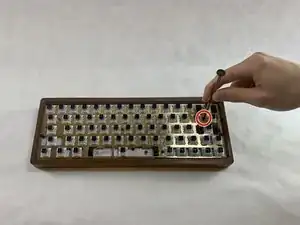
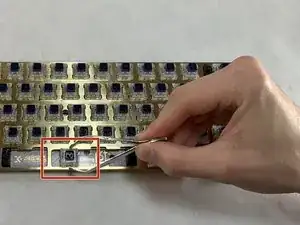
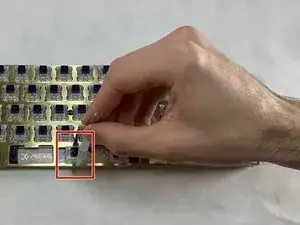
Hold the switch puller parallel to the faulty switch and wrap the ends around the inset of the switch.
-
Pull straight up; the switch should pop out of the PCB and case.
-
-
-
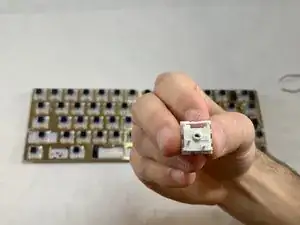
Take a replacement switch and orient it so that the two metal sockets line up with the PCB sockets.
-
Once the sockets are lined up, gently push straight down so that the switch lies flush with the plate.
-
-
-
Place the cleaned keycaps onto their correct position on the keyboard.
-
Align the key mirroring the shape of the switch.
-
Press straight down once the keycap is aligned.
-
Enjoy your smooth typing!
