Introduction
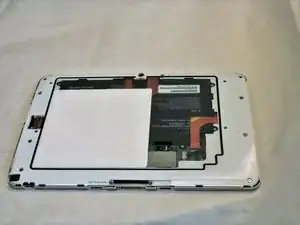
This is another protective layer you will need to remove prior to accessing the internal parts of the device.
Tools
-
-
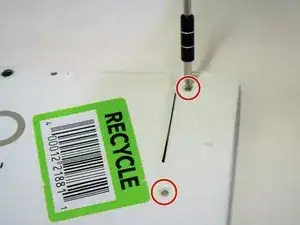
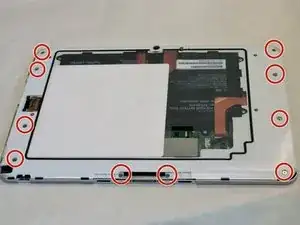
Remove the white sticker covering the screws (if applicable).
-
Use the PH1 screwdriver to remove the four 2 mm screws from the the backside of the device.
-
-
-
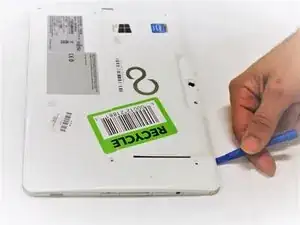
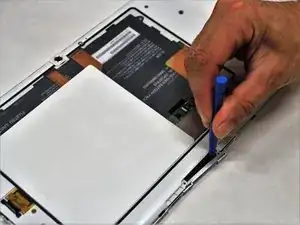
Insert the plastic opening tool along the seam of the back case.
-
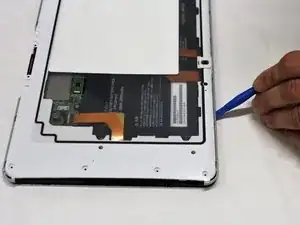
Gently slide the plastic opening tool along the entire seam popping the clips free.
-
-
-
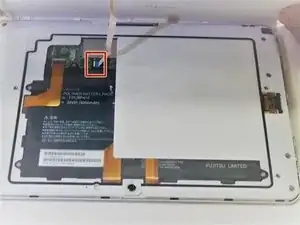
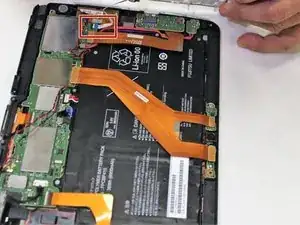
Lift the shield away from the device and remove the fingerprint scanner's ribbon from the motherboard.
-
Conclusion
To reassemble your device, follow these instructions in reverse order.
