Introduction
Before attempting repairs, please take note of certain risks of receiving shock from the camera's flash capacitor. Also make sure to ground yourself before operating on the camera's motherboard or you might discharge static to crucial components.
Tools
-
-
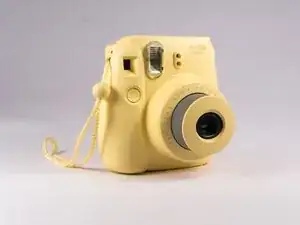
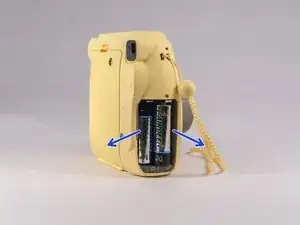
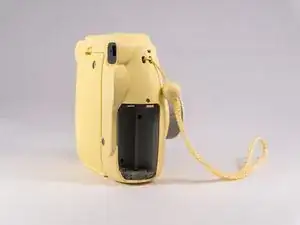
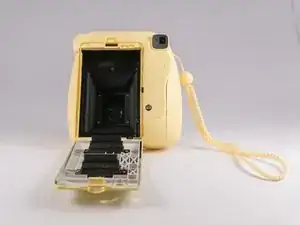
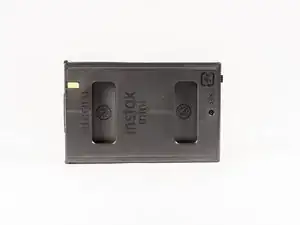
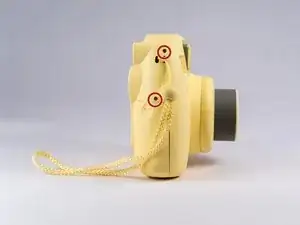
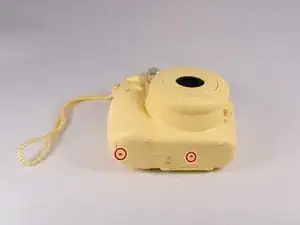
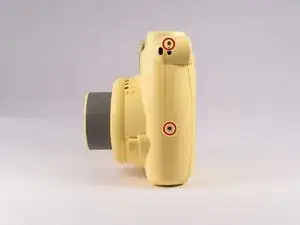
Remove screws from bottom of camera with a small #00 Phillips Screwdriver. Then remove screws around the camera. Additionally, there are two screws in the battery compartment which also need to be removed.
-
-
-
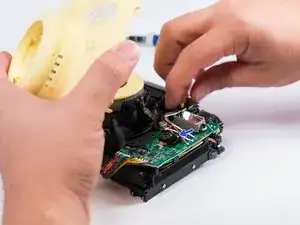
Once all screws are removed, gently pry open the front casing with your hands or plastic opening tools carefully. Do note that there will be a spring that attaches the front casing and the main circuit board, so refrain from allowing excess tension on the spring.
-
-
-
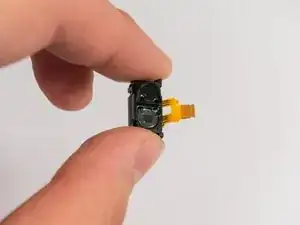
Locate the IR blaster, remove the connecting wire ribbon by prying the connector latch open on the motherboard, then sliding it out. Once the wire ribbon is disconnected, the IR blaster can be lifted away from the motherboard.
-
To reassemble your device, follow these instructions in reverse order.
2 comments
Where can I find the replacements (ir blaster)? What is the function of this part. I dropped my camera and the flash won’t turn on and films develop completely black even in broad daylight.
Jenna -
Can that part be pushed back when cleaning it with a qtip? I think I pushed a bit hard but I don’t know. If it’s pushed back a bit will it effect its use?? Please help!
Orange -
