Introduction
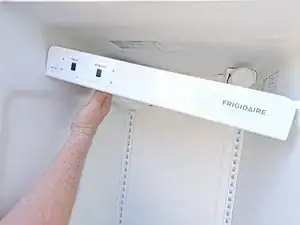
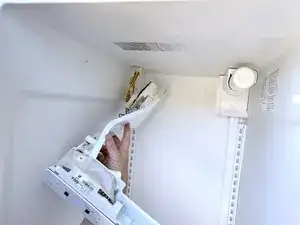
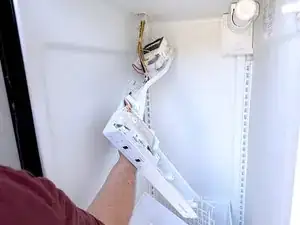
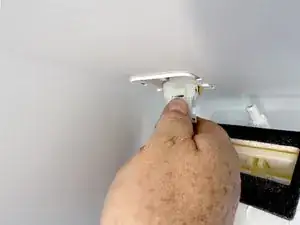
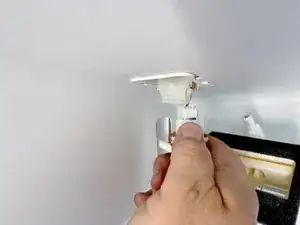
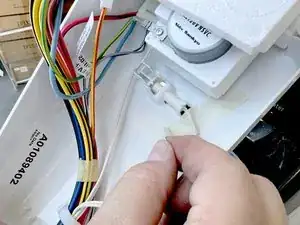
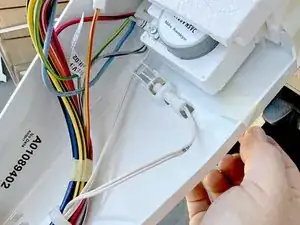
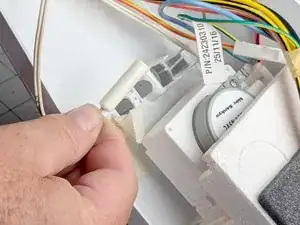
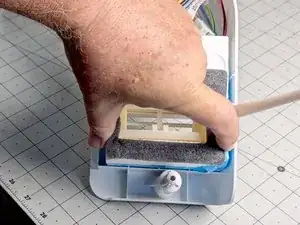
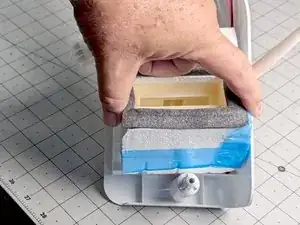
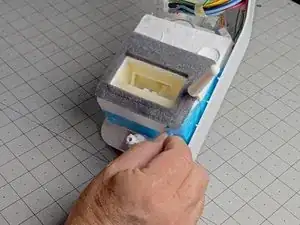
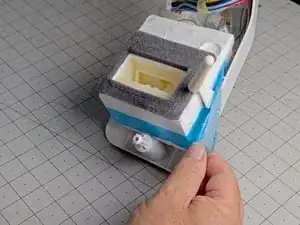
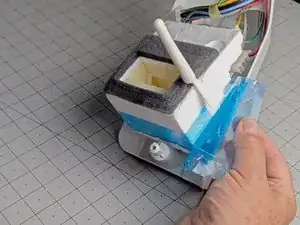
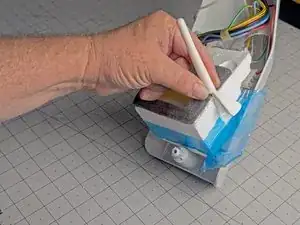
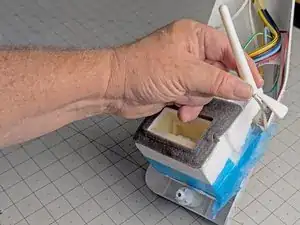
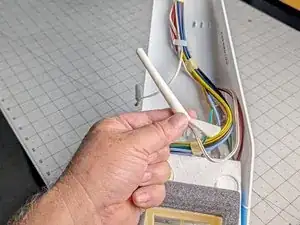
Use this guide to replace your Frigidaire side-by-side refrigerator's freezer compartment thermistor.
This thermistor provides temperature data to the main control board. The board monitors its resistance, which varies with temperature.
If the thermistor fails, the refrigerator will not function correctly. It will generally not be able to maintain the correct temperature in the freezer compartment and will probably have issues mainting the fresh food compartment temperature as well. Depending on the fault (short or open circuit), it may cease functioning altogether. If the failure is either an open or a short circuit, it may flash error codes.
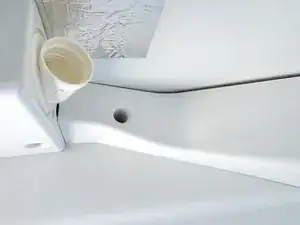
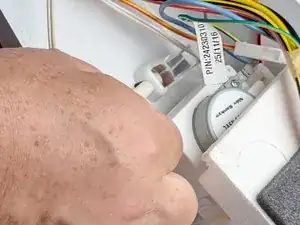
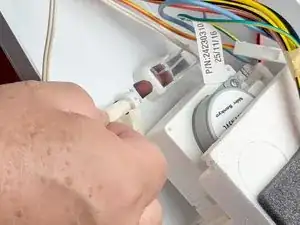
The thermistor comes as a harness unit with the fresh food and freezer thermistors harnessed together. The freezer thermistor case is made long enough to protrude into the freezer from the fresh food compartment from a small hole in the wall between the compartments.
Tools
-
-
Unplug your refrigerator before you begin your repair.
-
Condenser fan motor
-
Compressor motor and thermal overload device
-
Water supply valve assembly
-
-
-
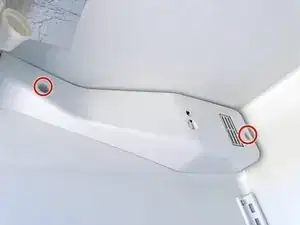
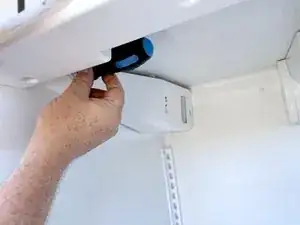
Use a 1/4" nut driver to remove the two 1/4" hex head fasteners, securing the control housing.
-
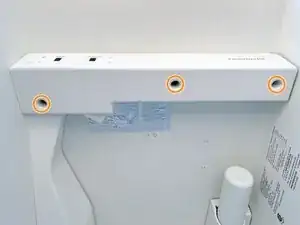
Use a 1/4" nut driver to remove the three additional 1/4" hex head fasteners, securing the control housing.
-
-
-
Lower the control housing, allowing the rear portion to stay closer to the top of the fresh food compartment.
-
-
-
Disconnect the control housing by squeezing the locking tab on the connector and pulling the connector downward.
-
-
-
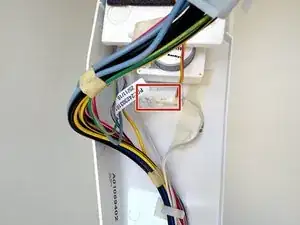
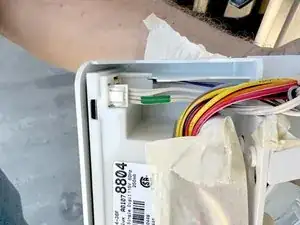
Locate the auxiliary connector and unclip it from the control housing. You may need to push the clip tabs out of the way with a finger.
-
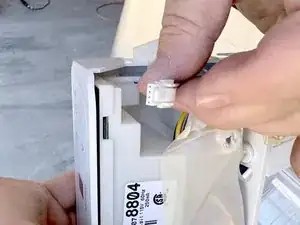
Disconnect the auxiliary connector by squeezing the locking tab and pulling the connector halves apart.
-
-
-
Use your fingers to free the thermistor by pulling it out of the bracket securing it to the control housing.
-
-
-
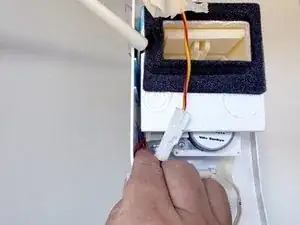
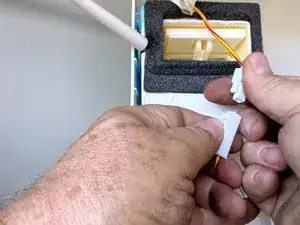
Grasp the freezer thermistor and pull it away from the foam damper assembly on the control housing to free the freezer thermistor from its location.
-
-
-
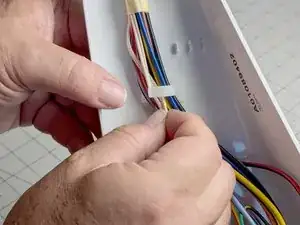
Unclip the thermistor leads.
-
This applies to both the fresh food and freezer thermistor leads. In both cases they are white 2-conductor cords.
-
-
-
Disconnect the thermistors from the control board by squeezing the locking tab on the connector and pulling the connector out of the socket on the control board.
-
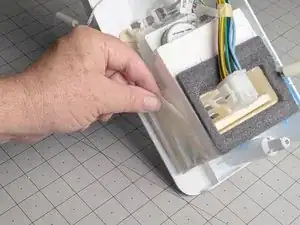
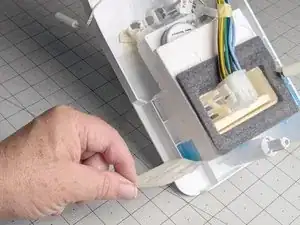
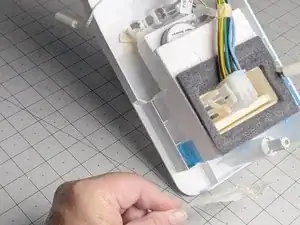
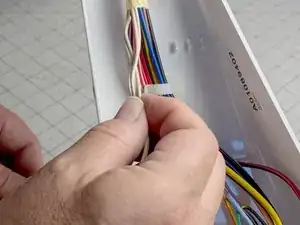
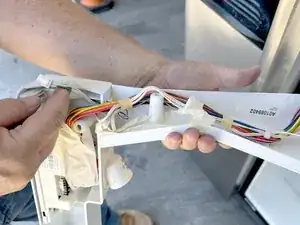
You can peel the tape on the harness or cut it carefully to release the thermistor wires from the harness.
-
To reassemble your device, follow these instructions in reverse order.
Take your e-waste to an R2 or e-Stewards certified recycler.
Repair didn’t go as planned? Try some basic troubleshooting, or ask our Answers community for help.
