Introduction
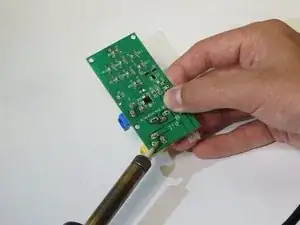
This guide will explain and show how to replace a charging terminal that has stopped working. Replacing it requires the use of a soldering iron and the Spudger. This is a fairly easy replacement guide and should only take around fifteen minutes.
Tools
-
-
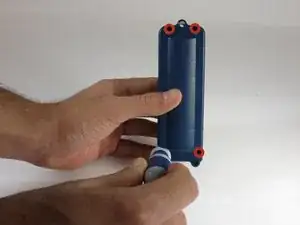
To open up the casing, you will need to unscrew the four Phillips #0 15mm screws which are accessible from the back.
-
-
-
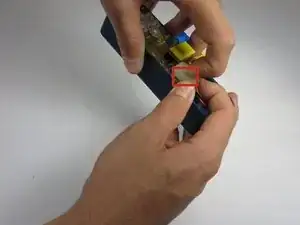
Disconnect the battery from the motherboard by lifting up on the white plastic tab on the top of the connection.
-
Gently pull the cord out by the white plastic adapter. Do not pull from the red and black cord.
-
-
-
Slowly pull the motherboard out of the casing. Make sure the loose battery wire doesn't get snagged.
-
Conclusion
To reassemble your device, follow these instructions in reverse order.


