Introduction

The Fluance RT83 turntable is belt driven. This means that the motor that spins your records is attached to your turntable's platter by a belt.

The rubber belt on a Fluance turntable plays an essential role in preventing the platter which the record lays on from receiving any vibration produced by the motor.

If your turntable is having difficulty playing at your desired speed, or playing at all, it's likely time to replace your turntable's belt.

I will be using a Fluance RT83 for this guide, however, the guide will be applicable to Fluance's RT82, 83, 84, and 85 models.

Follow these simple steps to replace the belt on your Fluance turntable.

  1. LCF5ALNgivkM5HYA
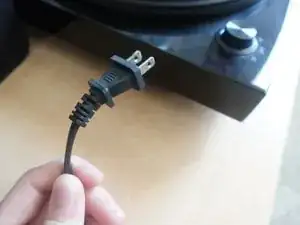
    • Unplug the turntable.

  2. XeFhXKaBlxZSCxxU
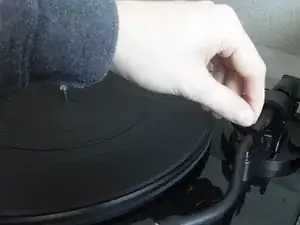
    • Lock the tonearm in place with the tonearm clip.

    • If the tonearm is not locked in place, it could move around and potentially damage the needle

  3. I1lJ5FK6jD3LUDit
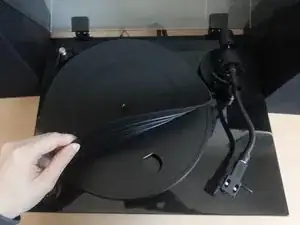
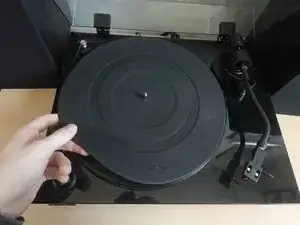
    • Lift the rubber mat and place it to the side.

    • The rubber mat should come off easily, as it is simply resting on top of the metal platter.

  4. Puqp4xNYPMeqWSWi
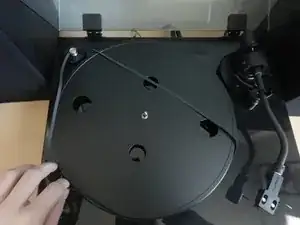
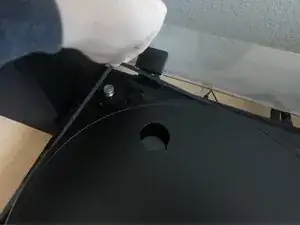
    • Unhook the drive belt from the motor pulley.

    • The drive belt is carefully wrapped around the motor pulley, so it is important to unhook it gently.

  5. LyuaOTgNdO2CqHUm
    • Remove the drive belt from the metal platter.

  6. WAUosWNgxFvWlhDm
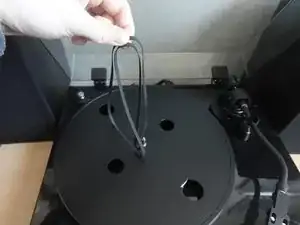
    • Grab the new drive belt.

    • Wrap the new drive belt around the motor pulley.

    • Note: When reassembling the turntable, don't forget to wrap the new drive belt around the motor pulley.

  7. riVZofhZbDO6d6qR
    • Once your drive belt is hooked around the motor pulley, continue wrapping the drive belt around the entire metal platter.

    • If you are having difficulty wrapping the new drive belt around the metal platter, go very slowly and gently. Patience may be required for this step.

  8. EPe65ecoIHD1kYES
    • Make sure your drive belt is flush against the platter.

    • It is very important there are no twists in your drive belt.

  9. 5BOHkesjDiTowTVv
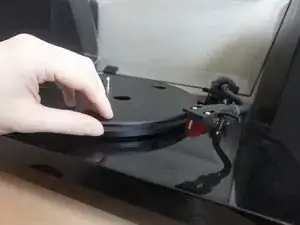
    • Give your metal platter a gentle spin clockwise.

    • When spinning, the platter should continue to spin for a few seconds on its own.

    • If your metal platter is able to spin with the new drive belt attached, you have successfully installed your drive belt.

  10. vWCdOEXD22DuJLeI
    • Place the rubber mat back on top of the metal tray platter.

Conclusion

Test by playing a record.

Austin Daniel

Member since: 20/09/23

181 Reputation

0 comments