Introduction
There is many cheap USB microphones around, some no-name, some models without a particular brand. They can be made up to varying standards in different batches. This guide shows how to rectify a 1kHz noise tone caused by a shortcut taken by the production factory. The 1kHz noise is caused by the USB packets with audio being sent every 1ms and causing ripple on the supply line which isn't stabilized with a sufficiently large capacitor - a common cost-cutting measure.
Tools
-
-
Disassemble the microphone as in the video by a fellow hardware hacker https://www.youtube.com/watch?v=DDfCjkH2...
-
The key is; heat the glue - the glue is very tough and rubbery and strong - unlike regular melt stick glue. Be careful to not heat too much the mount in the middle that holds the microphone capsule. Pry-off the top, heat the glue, squeeze in the side grille into a spiral so it can be pulled out the top.
-
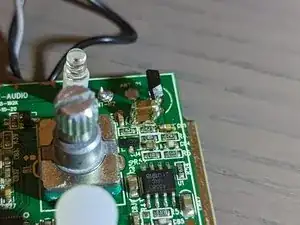
Remove screws of the separation plate and pull the board out. Its held in again with the same glue in the rails.
-
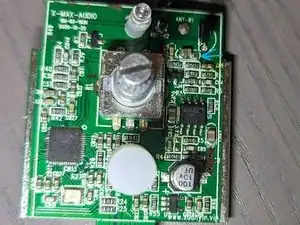
Note the capacitor is much smaller than the pads were designed for. For reasons I assume is - cost saving - the factory decided not to use three size of capacitor but just two.
-
Remove the capacitor and replace it with just a bigger one, perhaps from a donor board. Don't worry about the value - it just needs to smooth out the power supply rail for the FET. Ripples in the current are introduced as the devices sends USB packets every 1ms (at 1 kHz). This capacitor smooths those ripples out noticeably.
-
Do not test the microphone outside of its housing as all you'll hear is your typical 50Hz noise from the electrical system.
-
To reassemble your device, follow these instructions in reverse order.

