Introduction

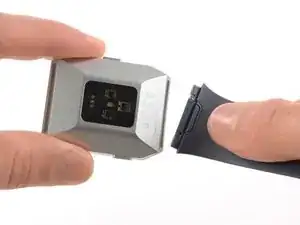
Use this guide to replace a cracked or broken display on your Fitbit Ionic.

If the frame is deformed, we strongly suggest replacing it to make sure the new display will mount correctly and won’t suffer damage from uneven pressure.

You’ll need replacement adhesive to reattach components when reassembling the device.

  1. j3U2pxnNpNDc1XgL
    j3U2pxnNpNDc1XgL
    5LVAPNxPV53ZiZkS
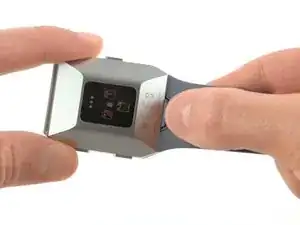
    • Before starting, take your Fitbit Ionic off the charger and power it down.

    • Feel free to attach or remove the watch band as needed to provide more control as you make repairs.

  2. 5GlxOPlV3YAer1HX
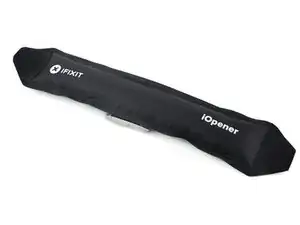
    • Heat an iOpener and apply it on the display for at least two minutes to soften the adhesive underneath.

    • The adhesive of the Fitbit Ionic is very strong. You may need to reheat the iOpener and repeat this procedure several times until the display adhesive gets loose enough.

    Hair dryer on low took about 25 minutes directly blasting on the device, then used the ifixit metal spudger blade with rubber handle in the velcro kit pack

    disgustipated -

    Thanks for sharing your experience!

    Adriana Zwink -

  3. NieMBxeN4NRFTkGt
    NieMBxeN4NRFTkGt
    KUiscVfXSQxE2oVM
    KC5SWFtTAdOIqEgk
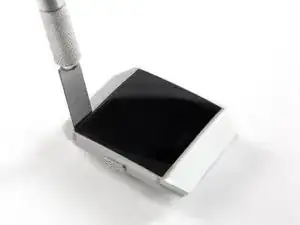
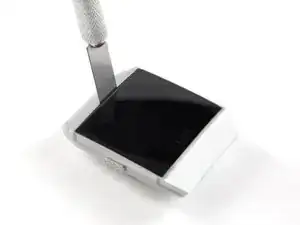
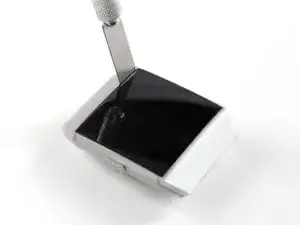
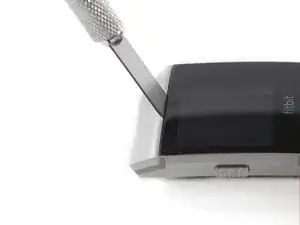
    • Insert a technician's razor with a flat blade into the small gap between the watch case and the display.

    • Cut through the adhesive on the upper side of the Fitbit Ionic.

  4. 6PATXUSPhy2IiRBA
    6PATXUSPhy2IiRBA
    qTDImfYExkgJANJn
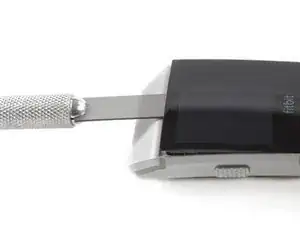
    • Use a technician's razor with a flat blade to pry up the top edge of the display and create a small gap.

  5. vAQbyryoEfv3oGJK
    vAQbyryoEfv3oGJK
    WOmQ4JnQNBGeRv5N
    JPseNP3M2P1iv5RJ
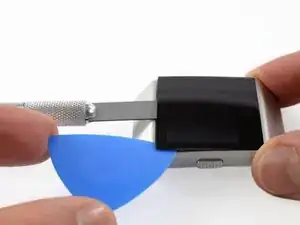
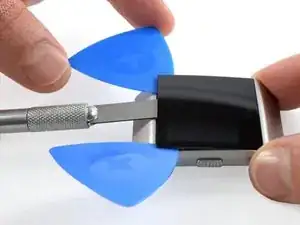
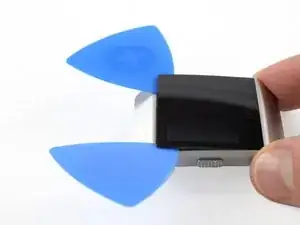
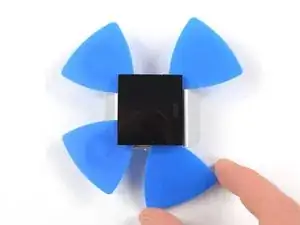
    • Insert two opening picks underneath the top left and the top right corner.

    • Leave the opening picks in place to prevent the adhesive from resealing.

    • Remove the razor blade.

  6. StNV63ipPBPKipVl
    StNV63ipPBPKipVl
    nwaKXnDhTB64JH3J
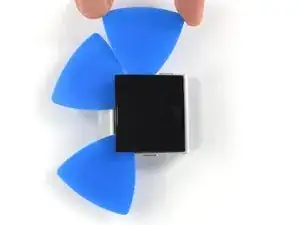
    • Insert a third opening pick underneath the top right corner and slide it along the right edge of the display.

    • Leave the opening pick in the bottom right corner to prevent the adhesive from resealing.

    • If cutting becomes too difficult, reheat and reapply the iOpener.

  7. D2l3JKJmNNPL1Eea
    D2l3JKJmNNPL1Eea
    HFw6GLx5AiQhjrRR
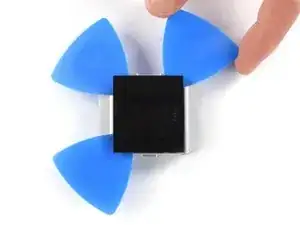
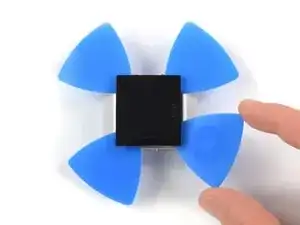
    • Insert a fourth opening pick underneath the top left corner and slide it along the left edge of the display.

    • Leave the opening pick in bottom left corner to prevent the adhesive from resealing.

    • Do not remove the display assembly all the way yet—it's still connected to the mainboard.

  8. WpSZM6JYYAIIZtbM
    WpSZM6JYYAIIZtbM
    MZnOEPQTOgA6owrA
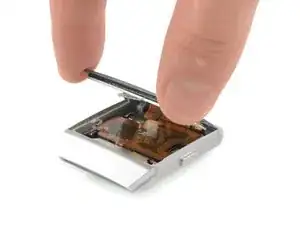
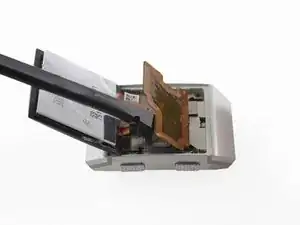
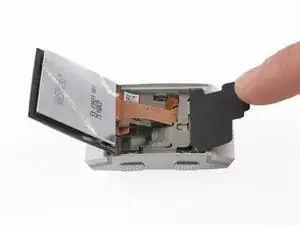
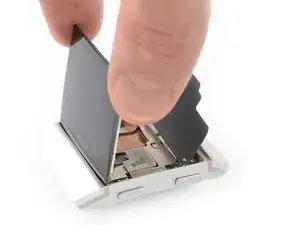
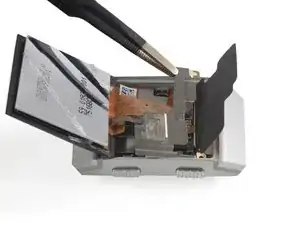
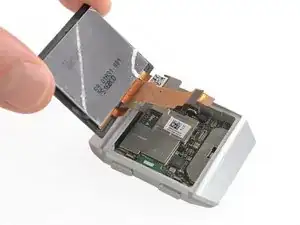
    • Carefully fold the display assembly in the direction of the bottom edge.

  9. XTBDedGgDIpxWRgM
    XTBDedGgDIpxWRgM
    OFAiOLwgCKNiVuIi
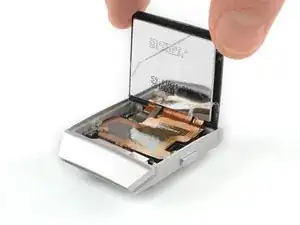
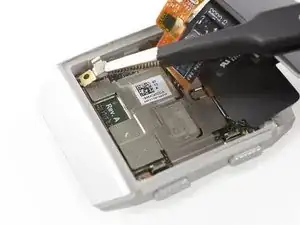
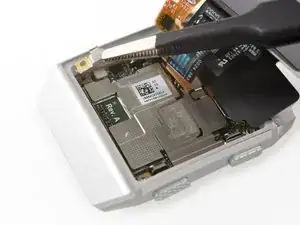
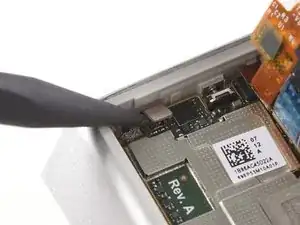
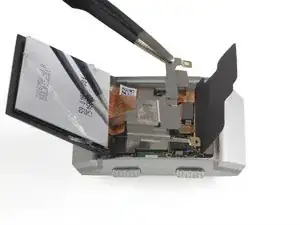
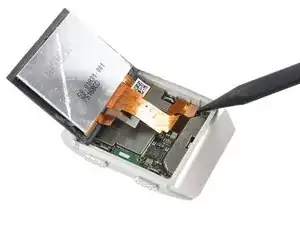
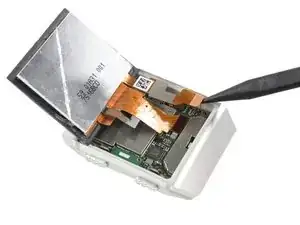
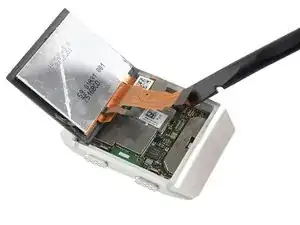
    • Use the flat end of a spudger to loosen and pry up the mildly glued NFC antenna.

    • Carefully fold the NFC antenna in the direction of the upper edge of the watch.

    Il semble qu'il y ait confusion : <vers bord “superieur" > et non "inférieur” .

    Plusieurs cas relevés

    Bernard Tremblay -

    Bonjour Bernard ! Merci pour vos différentes remarques ! Vous êtes un lecteur attentif et éclairé. Nous avons adapté le texte d’origine et/ou les traductions en français. iFixit étant un wiki modifiable par tous, n’hésitez pas à modifier vous-même la prochaine fois que vous remarquez quelque chose.

    Claire Miesch -

  10. BlrwAVditIYrEqaY
    BlrwAVditIYrEqaY
    BMVHPuX1a164PbVM
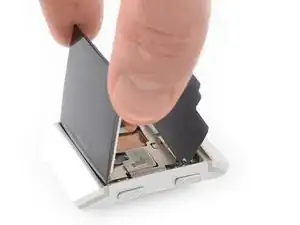
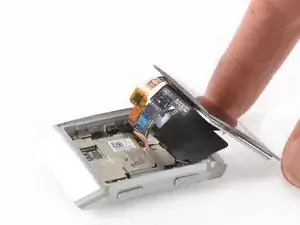
    • Carefully fold the display assembly onto the upper side of the watch.

    • Take care not to pull or bend the cables too much—they are still connected to the mainboard.

    Plutôt que “replier" il vaudrait mieux dire “basculer vers le haut" puis ajouter <en soulevant délicatement la nappe de connection de l'écran qui reste connectée (qui est maintenant libérée) >

    Bernard Tremblay -

  11. joWotNmdRQSCgXeh
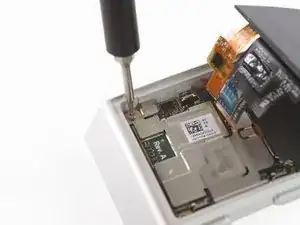
    • Remove the Torx T2 screw (3.65 mm length) on the bottom left corner.

  12. EkPjtVgDpGAP1SFI
    EkPjtVgDpGAP1SFI
    wu15rrJN6mCU3kWG
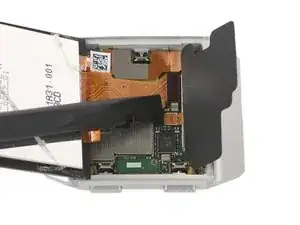
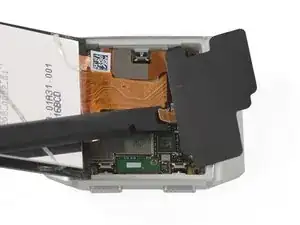
    • Use a pair of tweezers to remove the metal shield covering the battery flex cable.

    The pointy tweezers in the ifixit kit are easier to work with the shield than the ones pictured here.

    disgustipated -

  13. Nr3Gontf2NNHSQiL
    Nr3Gontf2NNHSQiL
    rVT4vyJDl5ptCCDu
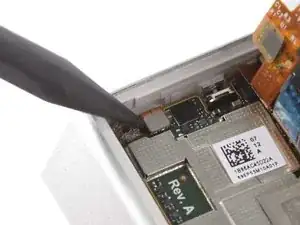
    • Use a spudger to pry up and disconnect the battery flex cable.

  14. sPGBGLbjcUAL6A1R
    sPGBGLbjcUAL6A1R
    FvMovOjhi3weQOPl
    • Fold the display assembly back to its original position.

    Plutôt “basculer” l'ensemble écran dans la position précédente, en bas.

    Bernard Tremblay -

  15. oyLVU2EBIgImxGKq
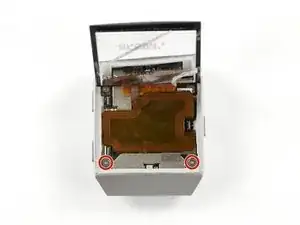
    • Remove the two Torx T2 screws (3.65 mm length) from the top edge of the watch.

  16. pg3GuBLN5ViAlnGB
    pg3GuBLN5ViAlnGB
    tVXtEHqMQHQfKuXE
    • Use a pair of tweezers to remove the metal cover.

    Theres a lip on the right side that goes under the frame, and another lip that goes under the nfc antenna where you need to slightly turn the nfc antenna a bit to get the left side of the shield away.

    disgustipated -

  17. JIbLQiq2tOpKFCbB
    JIbLQiq2tOpKFCbB
    KaNMqpGP5MHWJvgU
    • Use a spudger to pry up and disconnect the NFC antenna.

    • Remove the NFC antenna.

  18. BRDnviyJ5HRJY3bx
    BRDnviyJ5HRJY3bx
    i6AnUbSWj4K2VNJU
    1uT3TD6YPBQ2IXWh
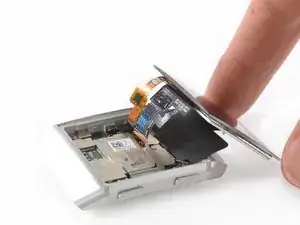
    • Use a spudger to pry up and disconnect the two display cables from the motherboard.

  19. RirGpTJchWGUjWdM
    • Remove the display assembly.

    • If possible, turn on your Fitbit Ionic and test your repair before installing new adhesive and resealing.

    The comment “turn on your Fitbit…” is out of sequence at best - battery is out, etc. However the “Remove the display assembly” is correct.

    John Swartz -

    When reassembling and prior to gluing the screen, turn the device on with all components attached. Verify screen function, button function, nfc function, and HR monitor function.

    disgustipated -

Conclusion

To reassemble your device, follow these instructions in reverse order. Apply new adhesive where necessary after cleaning the relevant areas with isopropyl alcohol (>90%).


Compare your new replacement part to the original part—you may need to transfer remaining components or remove adhesive backings from the new part before installing.


Take your e-waste to an R2 or e-Stewards certified recycler.

Repair didn’t go as planned? Check out our Answers community for troubleshooting help.

Adriana Zwink

Member since: 18/12/19

52753 Reputation

2 comments

It says in the description that you need replacement adhesive when reassembling, but what adhesive do you mean? Adhesive strips, adhesive glue? In all my searching nobody seems to have a good answer. The best thing I could find was b-7000 glue on amazon, but some people say it is water proof some say it Isn’t waterproof, so I’m not sure what to do. Any advice/feedback would be much appreciated!

JJB -

Hi JJB, it’s very difficult to seal your watch waterproof after a repair but I can recommend this glue. I hope your repair works! Feel free to share your experience with us when you have finished it.

Adriana Zwink -