Introduction
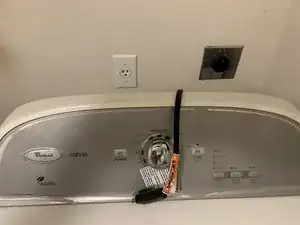
This guide was created to help owners of the Whirlpool Cabrio Dryer Model WGD5500XW1, replace the latch and strike, to keep the dryer door from opening while in operation and allowing it to operate properly.
Tools
Parts
-
-
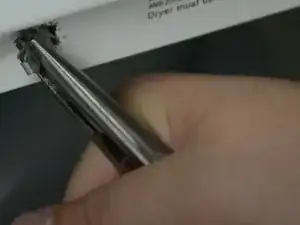
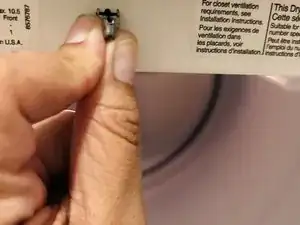
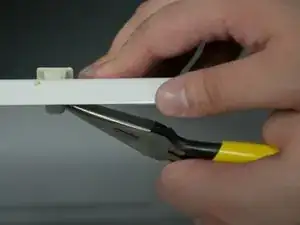
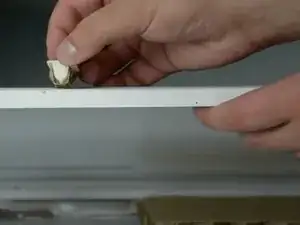
Take the pliers and clamp onto the strike.
-
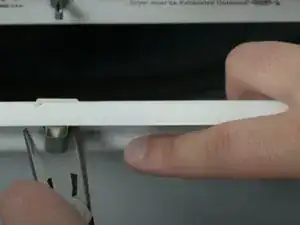
Push it from one side and then lift it out on the other side.
-
-
-
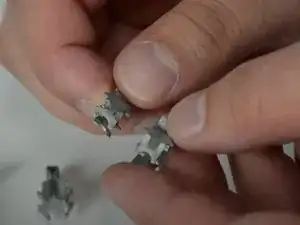
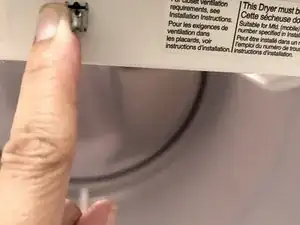
Compare the old strike to the new ones that come in the kit to see which one will go into our dryer.
-
Make sure the new strike has all of the same fittings as the old strike.
-
-
-
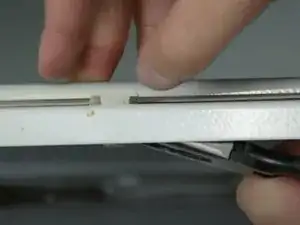
Take the new strike and set it into position.
-
Using a bottle nose pliers, push on one side of the strike until it's in place.
-
Using your hand, push the strike into place.
-
-
-
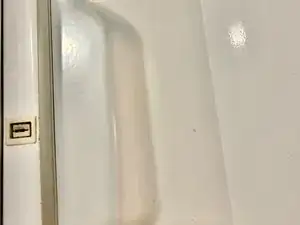
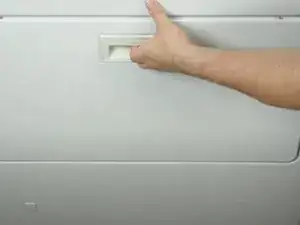
Next, we'll replace the catch.
-
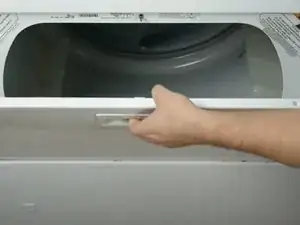
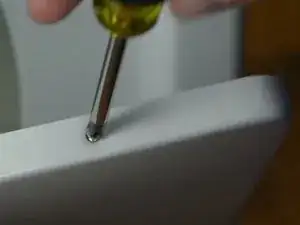
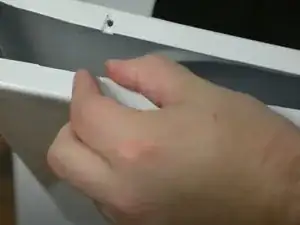
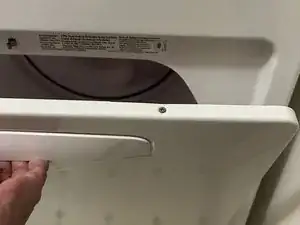
Remove the screws that are holding the inside of the door to the outside panel.
-
Once both screws are removed, you now have access to the back of the door catch.
-
-
-
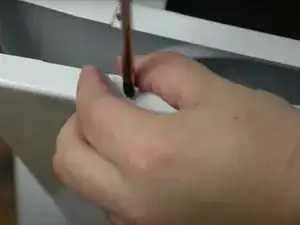
Take the pliers and push out the top of the door catch.
-
Now, take the pliers and push out the bottom of the catch.
-
Take the pliers and squeeze the metal clip, then push the catch all the way through.
-
-
-
Replace the screws that were removed and put the door back together.
-
After confirming the door shuts properly, reconnect the dryer to its power source and test out the dryer to ensure the door remains closed while in operation.
-
If the door remains closed during the test run, the repair is done.
-
To reassemble your device, follow these instructions in reverse order.
