Introduction
In this guide, I will be showing you how to remove or adjust your violin's chin rest. Whenever you feel like your violin's chin rest can be adjusted, just follow these simple steps to ensure every practice is the best! The process is very simple and fast, this way you'll finally always be comfortable while playing your favorite violin tunes.
Warnings
If you do not have the correct chin rest, for example, a middle-adjusted chin rest, you can cause harm to yourself or your instrument in the process of attempting to adjust the chin rest in a wrong manner( because it could be a low chin-rest). If you would like to understand the different types of personalized chin rests, please look through the links section at the bottom of this introduction.
Tips
It is safer to understand what type of chin rest exists and match the best one to your style of playing before attempting to buy a new chin rest or re-adjusting your current violin's chin rest. To learn more please look through the links provided below.
Links
Tools
Parts
-
-
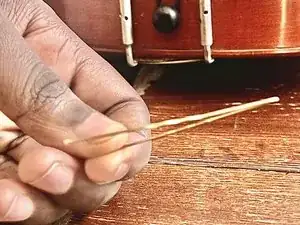
Insert your tool's tip inside a hole in your current violin chin rest attached to your violin
-
Continuously twist your tool in choosen hole towards the left (loosey) or right (tighty)
-
-
-
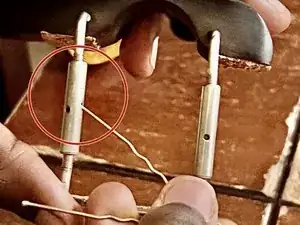
Great Job! If you notice that both the left and right side of your chin rest is screwing off, as shown in the first picture, you're on the right track!
-
-
-
Just remove all the parts from the chinrest on your violin and reattach them as shown.
-
Afterward, simply screw them back in using your chosen tool as shown.
-
-
-
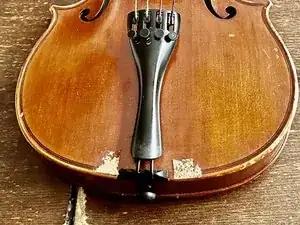
Nice Work! If you have removed your chin rest successfully, there should be wood residue left on your violin and chin rest.
-
To reassemble your device, follow these instructions in reverse order. (steps 2 and 3)


