Introduction
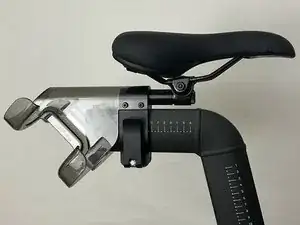
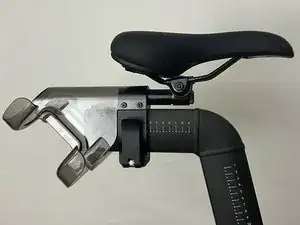
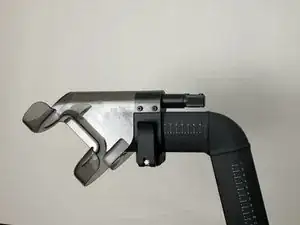
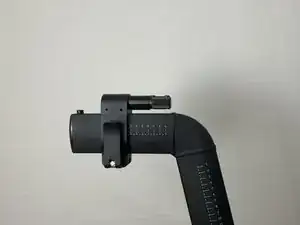
This guide will show the procedure on how to completely replace the bike seat and seat slider on the Peloton Bike+ by removing the seat and slider, and replacing it with a new one. It is a fairly simple process that people with little to no experience in repairing things should be able to do.
Note: This guide is for the Peloton Bike+, not the base Peloton Bike. Both bikes are similar, but some mechanisms are a bit different.
If there are other issues with your bike, the Peloton Support Page contains much repair information that may be useful to you.
The tools needed for this guide are included in the toolkit that comes with the Peloton bike. Those tools are:
- A 13mm Wrench
- A 3mm Allen Wrench
Now lets get fixing shall we?
Tools
-
-
Remove any weights or other items from the weight holders. Also, make sure there is nothing on the bike seat itself.
-
-
-
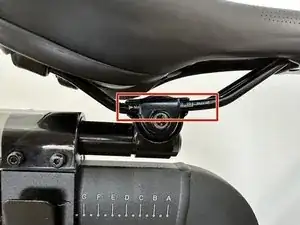
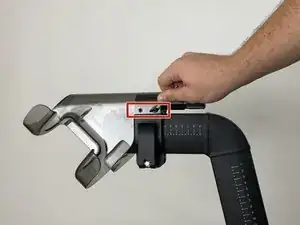
Make note of the seat depth setting on the seat slider & seat rails so it can be set back on those settings when we install the replacement seat.
-
-
-
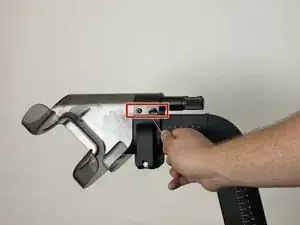
Using the 3mm allen wrench, remove the 4 weight holder screws, and remove the weight holder itself. There are 2 screws on each side of the weight holder.
-
-
-
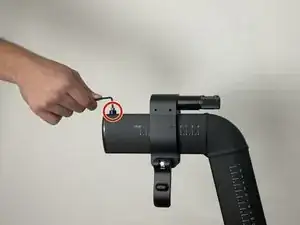
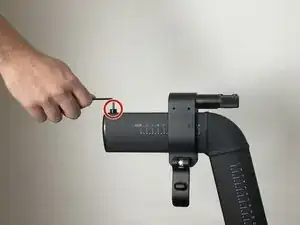
Remove the screw and washer from the seat post end with the 3mm allen wrench.
-
Do this by gently unscrewing the screw from inside the washer, and then removing both once it is loose enough to gently pull out of the socket.
-
-
-
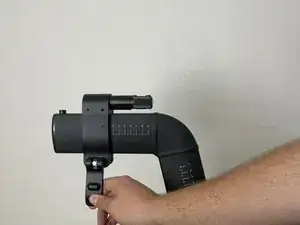
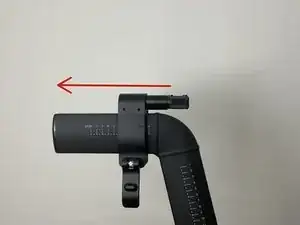
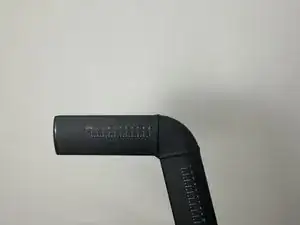
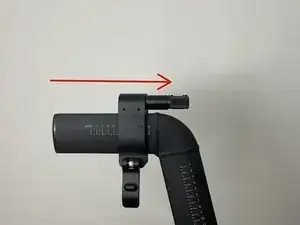
Slide the seat slider off of the seat post and slide on the new seat slider in its place. Do not close the latch just yet!
-
-
-
Re-install the screw and washer onto the seat post end with the 3mm allen wrench, then close the latch on the seat slider.
-
-
-
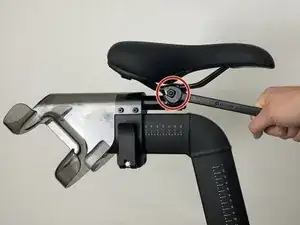
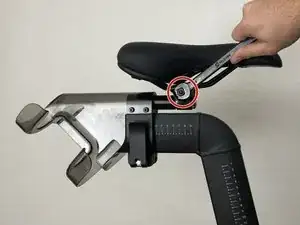
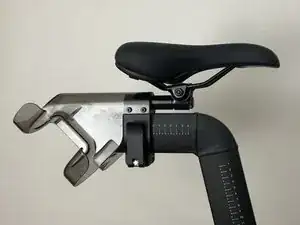
Finally, install the replacement seat and nuts with the 13mm wrench, aligning with the previously noted depth settings.
-
If you notice anything off with the new bike seat and slider, make sure that everything is secure and all screws/nuts are tight. If you still notice issues, simply follow the guide again, but do not replace any parts with new parts, just remove and replace those same parts.
One comment
I need a seat slider can you sell too me ?
