Introduction

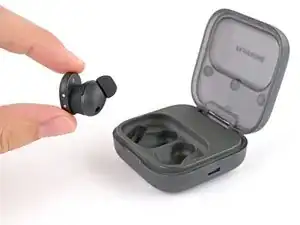
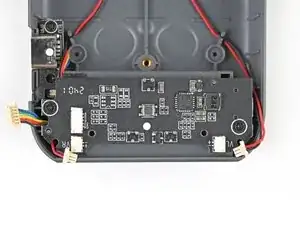
Use this guide to replace the mainboard in your Fairphone Fairbuds.

You should replace your mainboard if your charging case isn't working, and you've ruled out any issues with the charging case's battery.

  1. cRraJONmYVGbpqJd
    cRraJONmYVGbpqJd
    xXvNP25mQIJDbQFP
    • Remove your earbuds from the charging case.

  2. lXay4EagVDRK6LON
    lXay4EagVDRK6LON
    aUd1McARvpJFRVnI
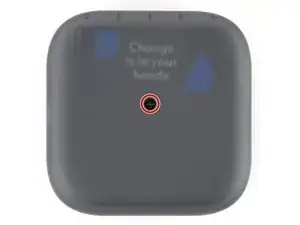
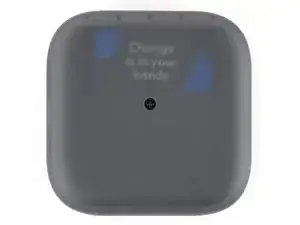
    • Flip your charging case upside down.

    • Use a Phillips screwdriver to remove the 4.5 mm‑long screw securing the outer shell.

  3. dhOS2gTspVWxpbKA
    dhOS2gTspVWxpbKA
    tgkFvDkDNbOIj1iw
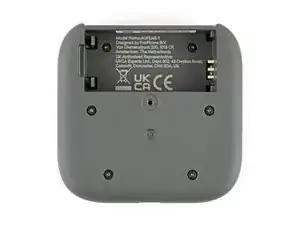
    • Flip up the bottom of the outer shell to expose the battery.

  4. bJeAkHv6pELr6RSP
    bJeAkHv6pELr6RSP
    AuMwLE36qkuYcpAn
    GEQweoUy4JPi2RTo
    • Use your finger to pry up the battery at its notch and remove it.

  5. yRtRuKUPYrnXaIcu
    yRtRuKUPYrnXaIcu
    bGpYFKFrKJ1hc1nY
    • Lift the charging core out of the outer shell and remove it.

  6. pRAKA2tteaoWAS22
    pRAKA2tteaoWAS22
    LOR2YYN34peTyVMB
    • Use a Phillips screwdriver to remove the six 3.9 mm‑long screws securing the two halves of the charging core.

  7. ZaoUan133piZHLZT
    ZaoUan133piZHLZT
    LJpPvDgsL5rigPML
    wUtbBYSnpK5yKbHD
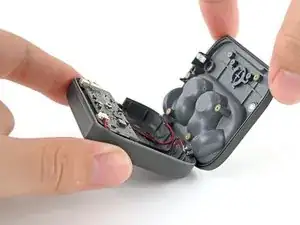
    • Flip over the charging core and grip its top half, near the pairing button.

    • Lift the top half and swing it over the core, letting it rest on something sturdy.

    • Don't try to separate the two halves, as they're still attached by cables.

  8. 2QA4IwZYaQMbRYnx
    2QA4IwZYaQMbRYnx
    vXtxhVJ5HkLHhuW4
    MObGt1i6VFSK6dZb
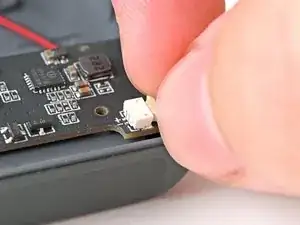
    • Use your fingers to pull the left earbud charging cable out of its socket.

    • Don't grip the cable! Only pull on the cable's plastic head.

    • If you're having trouble gripping the cable's head, use the tip of a spudger to push it out of its socket.

  9. UVD1fjdXWDHcaTsE
    UVD1fjdXWDHcaTsE
    U3psZWN1PgiJuiMe
    cZbC2msK2GXMHymM
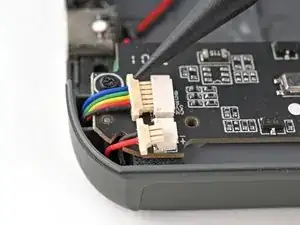
    • Since the remaining connectors are next to each other, it can be difficult to grip them with your fingers. The following instructions use a spudger instead.

    • Use the tip of a spudger to push the right earbud cable head out of its socket to disconnect it.

    • Repeat for the USB-C port cable.

  10. qluPaH2M6rGjC12J
    qluPaH2M6rGjC12J
    KUDeDrB3APoiOqIN
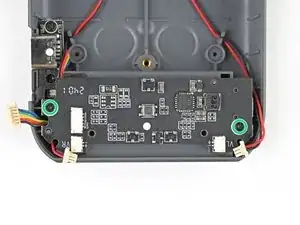
    • Use a Phillips screwdriver to remove the two 3.9 mm‑long screws securing the mainboard.

  11. cwtPxqeHpjAoUCtf
    cwtPxqeHpjAoUCtf
    MlMfTefMcGGMTU1R
    S2CWYJ1USfanvDMK
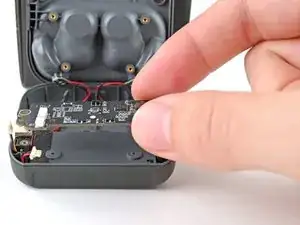
    • Lift the mainboard off its posts in the charging core and remove it.

Conclusion

To reassemble your device, follow these instructions in reverse order.

Take your e-waste to an R2 or e-Stewards certified recycler.

Repair didn’t go as planned? Try some basic troubleshooting, or ask our Answers Community for help.

Alex Diaz-Kokaisl

Member since: 16/01/22

134278 Reputation

0 comments