Introduction

  1. XyeaAOLjBR6Xunq5
    XyeaAOLjBR6Xunq5
    A3B4M5V5gPMmNadg
    • Before you start, make sure your vacuum is unplugged the power outlet.

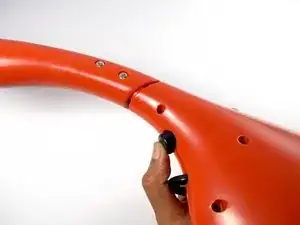
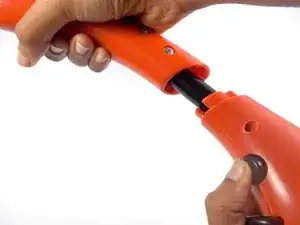
    • Press and hold down the black button below the handle while pulling the pole out.

  2. uGWXmJURxZYGnDlH
    uGWXmJURxZYGnDlH
    GbLFYifUZrYx5r6M
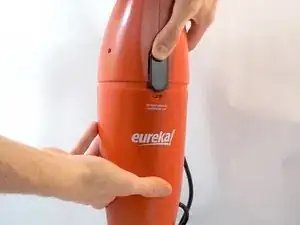
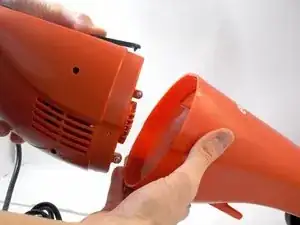
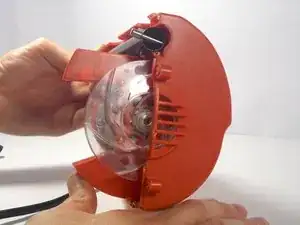
    • Press the black separator switch to separate the top and bottom halves of the vacuum.

  3. hSGgqLPE2VEgkHEq
    hSGgqLPE2VEgkHEq
    pxAEaH3NZEOMmMrm
    PTf4oTZPha5NmEtT
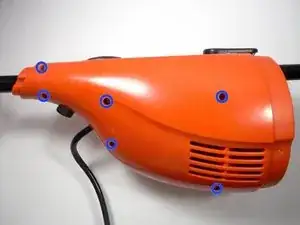
    • Use a #2 Phillips head screwdriver to remove six 13.9mm screws from the side of the motor housing (top half) as shown.

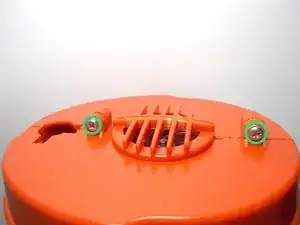
    • Remove two 14.1mm screws from the front face of the housing. You are now all set to open the housing.

    • Keep a watchful eye on the two screws from the front face. These two have additional collars to their necks and will not fit in any of the other holes, yet no other screw will fit in their spots without the collar.

  4. bTokcmmjbKYHRxyH
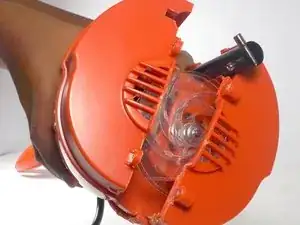
    • Once the housing is open, locate the solid chrome plated piece at the front end of the extendable pole.

  5. KZPaxWm2Kg4tofxd
    KZPaxWm2Kg4tofxd
    A2EiRxgPcutIENwK
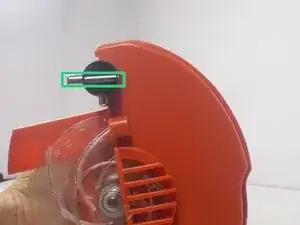
    • On the side of the motor housing which does not hold the engine, find the center track which runs along the inside of the housing.

    • Re-insert the chrome plated piece into the center track.

Conclusion

To reassemble your device, follow these instructions in reverse order.
Evan Fodi

Member since: 24/09/13

122 Reputation

0 comments