Introduction

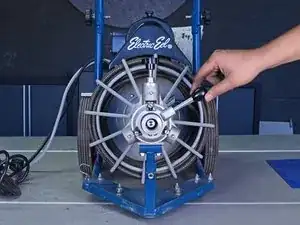
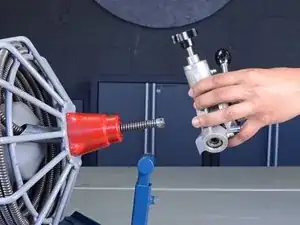
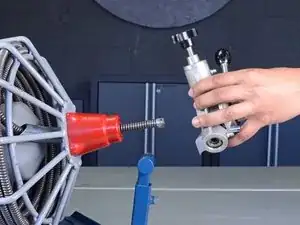
Follow this guide to remove the Auto-Feed mechanism from your Electric Eel 75’ Drain Cleaner Z5K12IC75AF for replacement or further disassembly.

  1. P4lTpgLwLEUKfkiB
    P4lTpgLwLEUKfkiB
    LUIHdnyOdY3GBsjd
    6TZvZ2tyGLxDVWvv
    • Unplug your drain cleaner before starting this guide. Because this device may have been used in a septic setting, it should be cleaned and disinfected as much as possible before disassembly.

    • Wear gloves to protect your hands from injury when handling the cable.

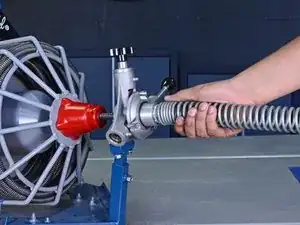
    • Ensure the cable is completely retracted into the auto-feeder.

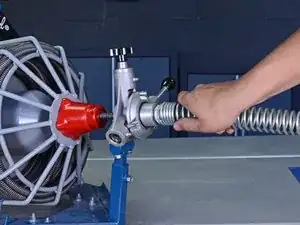
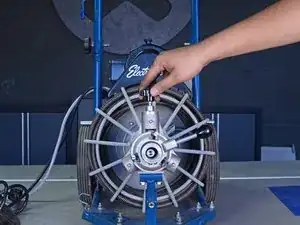
    • Twist the guide spring counter-clockwise to unscrew it from the auto-feeder.

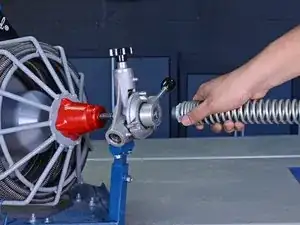
    • Remove the guide spring.

  2. davZ6vQZJJ5grSSh
    davZ6vQZJJ5grSSh
    W5AVMwWZWfQFn3iM
    JZmIOIgDmUOTNPrj
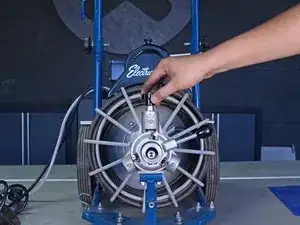
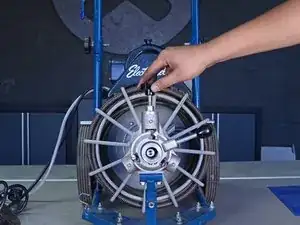
    • Unscrew the tension knob to loosen the tension spring in the top feeder assembly.

  3. ArKKXVtRdPkjnbm1
    ArKKXVtRdPkjnbm1
    fRpgnqxyCKh2nROA
    S3RmJrh2lOBV4pmA
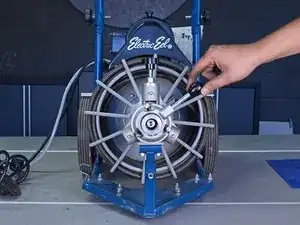
    • Set the feeder adjustment knob in the neutral position, in between the "FWD" and "REV" positions.

  4. BTlRN3kcb6TAgRGg
    BTlRN3kcb6TAgRGg
    vFvdrabPlfStShsT
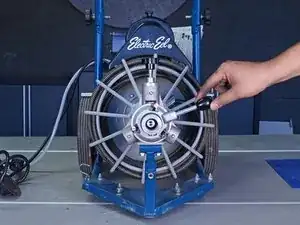
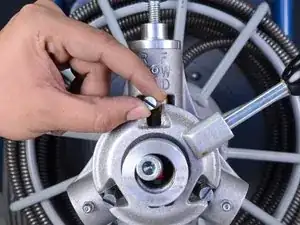
    • Push the top control finger up as far as possible.

    • This disengages the top feeder assembly and allows the cable to freely move through the feeder. The finger may fall back down on its own and restrict cable movement. If this occurs, simply push the finger back up.

  5. FFBv3prAfCYGwOye
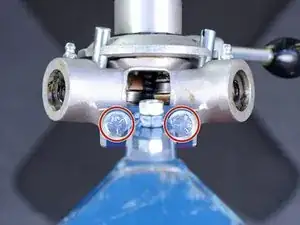
    • Use a 1/2" open-ended wrench to remove the two bolts from the bottom of the feeder body mounting arm.

  6. WERZXKK6k3bPN5H6
    WERZXKK6k3bPN5H6
    jtBJlo1wdDAnJQci
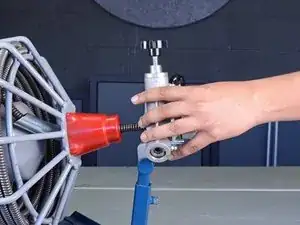
    • Remove the auto-feeder from the cable.

    • If the end of the cable won't pass through the feeder, ensure that the top bearing is completely disengaged as described in step 4 of this guide.

    Now yo have the head off. You need to remove the bearing. Snap ring pliers. Then unscrew the flat head screw. The bearing holder should slip out and then you are done.

    PART NUMBER IS DE-10SET

    REPLACE ALL 3.

    Mark W -

Conclusion

To reassemble your device, follow these instructions in reverse order.
Tarun Thiruma

Member since: 20/11/19

36553 Reputation

3 comments

Removal of what part number? Replace with part number xxx.. Needed to do the job of replacing a part IS the part and it's part number.

KEVIN -

Bearing part number

DE-10SET

Mark W -

So how do you take the rest apart to change out the bearings.

TIMOTHY -