Introduction

This guide will allow you how to access the internal components of the device.

  1. HEXOAKwZeqSAkvao
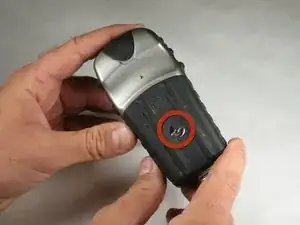
    • Flip the device to the backside, and locate the metal tab at the center of the back cover.

  2. h2M62JaoSRfIRGkA
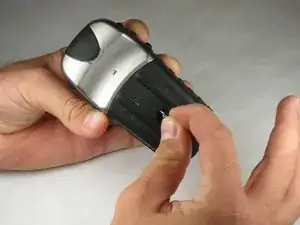
    • Lift the metal tab up, and rotate it counterclockwise. This will unlock the back case cover.

  3. 6gUIY1dtdp5I2Bnw
    6gUIY1dtdp5I2Bnw
    baFSCeRZV1YohWjM
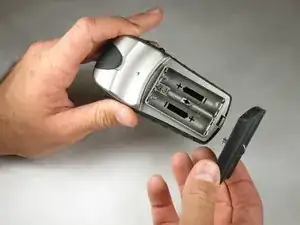
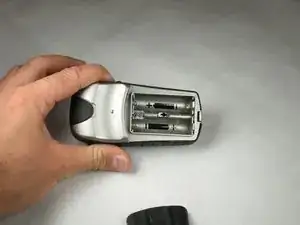
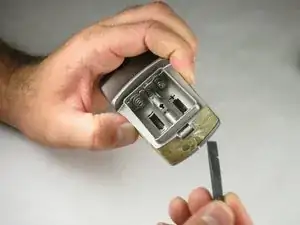
    • Lift the battery plate off to either insert or remove 2 AA batteries.

  4. MnSnnkXy5ZDU5Ovh
    MnSnnkXy5ZDU5Ovh
    IjC3MXC3M14ZELMT
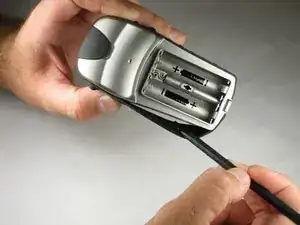
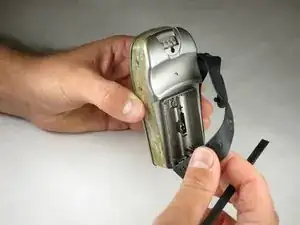
    • With the wedge side of a spudger (or a small, flat head screwdriver), remove the black rubber case support from the device body.

  5. kdSNfX2tsbcBfQFI
    kdSNfX2tsbcBfQFI
    QhJdRWX2VEIZd5RI
    iNsMAAmgHW4Hy56c
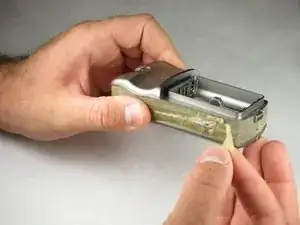
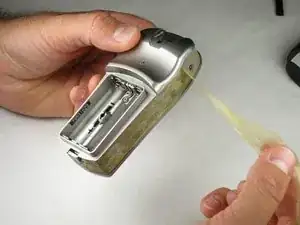
    • With the pick side of a spudger (or tweezers), peel the sticky tape from the device.

  6. XeL3FOMO4OdWqn4Z
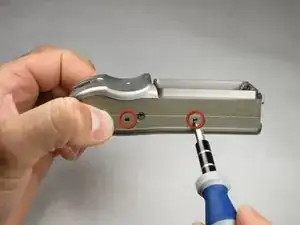
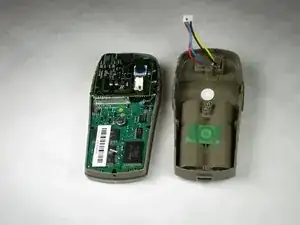
    • Split the front and rear panels by inserting a small pointed tool (such as a pen point or a screwdriver tip SL1.5) in the 5 plastic tabs along the sides of the device.

    • Do not remove the back panels quickly. If too much force is applied, there is a wire connection that will break.

    • CAUTION! Be careful not to force the tabs inward. This will result in broken tabs.

  7. FHUKWClKqHNKNkHy
    FHUKWClKqHNKNkHy
    kp3hBd2BOlRBndPj
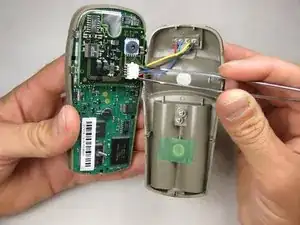
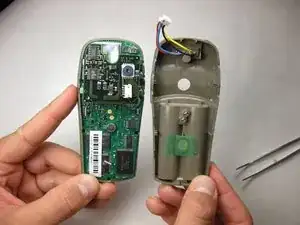
    • With tweezers (or your fingernails), carefully disconnect the wires between the PC input and the motherboard.

Conclusion

To reassemble your device, follow these instructions in reverse order.
Ryan Green

Member since: 17/10/10

93 Reputation

0 comments