Introduction
Prerequisite only.
Tools
-
-
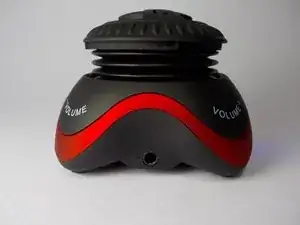
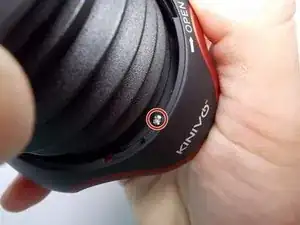
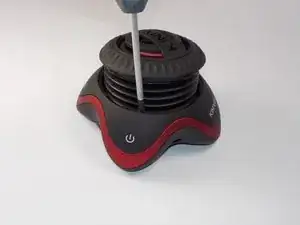
Open the circular portion at the top of the speaker by twisting it until it reaches the maximum possible height.
-
-
-
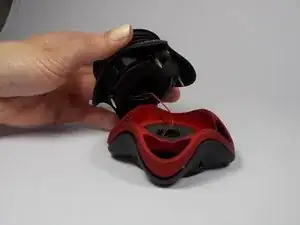
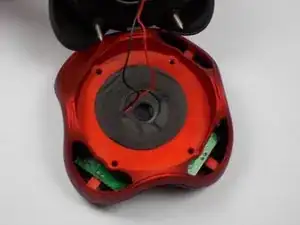
Separate the resonator portion from the base of device to reveal the middle separator of the enclosure. The enclosure will now be in two pieces.
-
Hold the resonator portion of the enclosure gently aside to make sure there is no tension on the black and red wires coming from the bottom portion of the device.
-
-
-
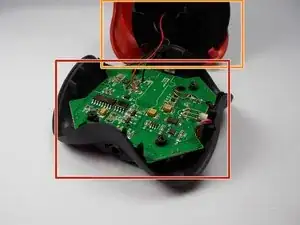
Separate the very bottom portion of the enclosure (marked in red) by pulling vertically on the red portion of the enclosure (marked in orange).
-
Gently set the very bottom portion and the resonator section aside once they have both been separated.
-
Remove the circuit board with your hands by lifting and sliding the board away from the LED indicator.
-
To reassemble your device, follow these instructions in reverse order.
