Introduction

  1. HEXOAKwZeqSAkvao
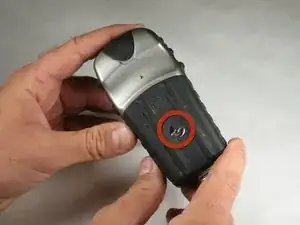
    • Flip the device to the backside, and locate the metal tab at the center of the back cover.

  2. h2M62JaoSRfIRGkA
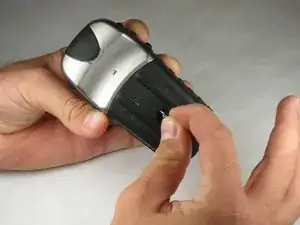
    • Lift the metal tab up, and rotate it counterclockwise. This will unlock the back case cover.

  3. 6gUIY1dtdp5I2Bnw
    6gUIY1dtdp5I2Bnw
    baFSCeRZV1YohWjM
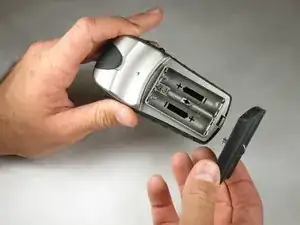
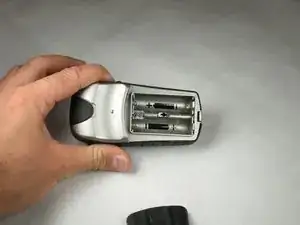
    • Lift the battery plate off to either insert or remove 2 AA batteries.

  4. MnSnnkXy5ZDU5Ovh
    MnSnnkXy5ZDU5Ovh
    IjC3MXC3M14ZELMT
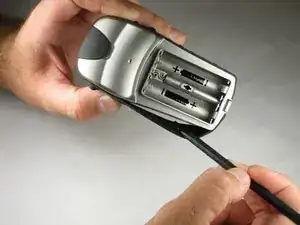
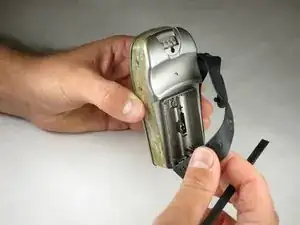
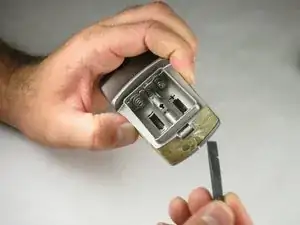
    • With the wedge side of a spudger (or a small, flat head screwdriver), remove the black rubber case support from the device body.

  5. kdSNfX2tsbcBfQFI
    kdSNfX2tsbcBfQFI
    QhJdRWX2VEIZd5RI
    iNsMAAmgHW4Hy56c
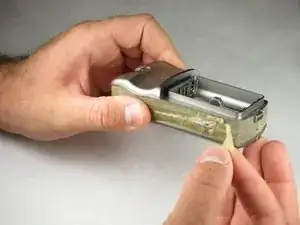
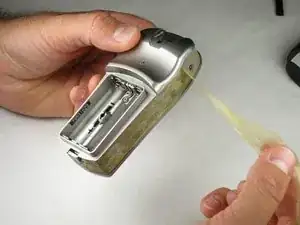
    • With the pick side of a spudger (or tweezers), peel the sticky tape from the device.

  6. XeL3FOMO4OdWqn4Z
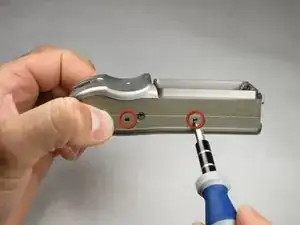
    • Split the front and rear panels by inserting a small pointed tool (such as a pen point or a screwdriver tip SL1.5) in the 5 plastic tabs along the sides of the device.

    • Do not remove the back panels quickly. If too much force is applied, there is a wire connection that will break.

    • CAUTION! Be careful not to force the tabs inward. This will result in broken tabs.

  7. FHUKWClKqHNKNkHy
    FHUKWClKqHNKNkHy
    kp3hBd2BOlRBndPj
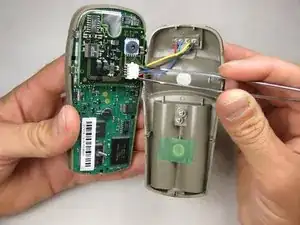
    • With tweezers (or your fingernails), carefully disconnect the wires between the PC input and the motherboard.

  8. COUQkOLbs6wO56x4
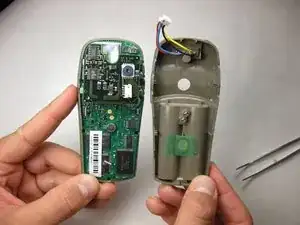
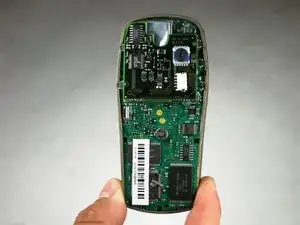
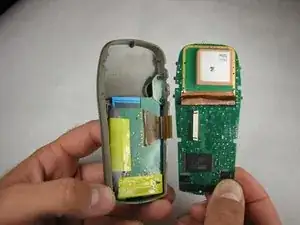
    • The motherboard should look like this. If it is dirty, gently use a small paintbrush to clean it of dust.

  9. QESDKOvW1LMuhLoZ
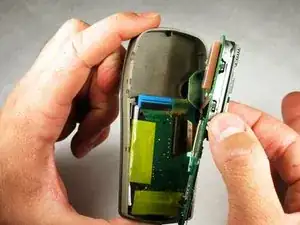
    • There are no screws holding the motherboard in place.

    • Carefully lift the motherboard from the case.

  10. TYaWdmFeIgFxPFvg
    TYaWdmFeIgFxPFvg
    UeLOjYEjecroSdLQ
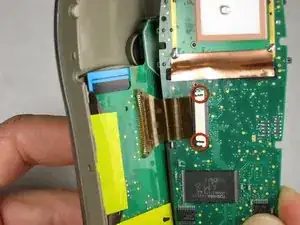
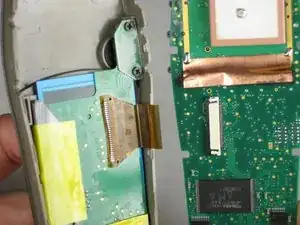
    • With the pointed end of a spudger (or the small end of a Philips #00 screwdriver), gently unhook the small black tabs by pressing into the interlocking hooks that are sunk into the white wire connector.

    • Gently pull the wire ribbon from the white connector.

    It is easy to pull the ribbon cable off, but reinserting the ribbon cable back into the wire connector is very challenging. Any tips?

    Robin Van Eyk -

Conclusion

To reassemble your device, follow these instructions in reverse order.

Lauren Noyes

Member since: 17/10/10

248 Reputation

6 comments

Hello, friend. Name’s Arthur. I have this old Garmin Etrex H GPS device (the yellow one) and it looks very similar to your Etrex Vista H, but it has no stick button. The disassembling method suited just fine here, so I thank you Sir for this tutorial. I was trying to disassembly my Garmin because I am having a problem with its display. There’s a vertical line that its not displaying, so I decided to take a look. However, there was something strange. The display contacts were not locked by a connector, but by something like a durex tape. Seemed very precarious. Have you ever disassembled this yellow Etrex H model? Any ideas on how to solve my problem?

arthurhenriquedefreitasamaral -

I forgot to remove battery for years and the battery chamber got damaged. So chamber was cleaned and repaired but now I cannot on it.

Posangouri Posangouri -

My gps often says low battery when the battery is fine.

It just shuts off after a while of saying ‘low battery’.

How can I fix this?

Terry -
Perhaps I need to take it apart and clean something to do with the battery connection?

I did once have a small battery leak but it all looked good…. did not see any damage.

Terry -

We have a Garmin etrex vista h..we are using it..but the battery had been leak for just an hour..we opened it.it was still good..but 2days later we opened it.it still open but the bottons are not working..what will we do?

Tonet -

We have a Garmin etrex vista h..still using it..but we open it the bottons are not working..what will we do?

Tonet -