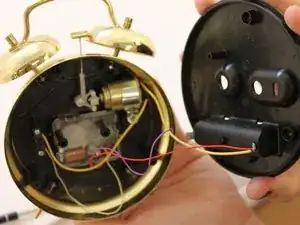
Introduction
Tools
-
-
Remove battery cover using the 26 bit driver kit with the #030 bit screwdriver or use thumbnail into indentation within the battery cover. Proceed with the removal of the battery. Set battery and battery cover aside.
-
-
-
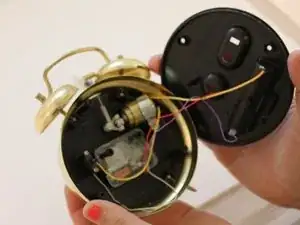
Using the 26 bit driver kit, use the PH1 screwdriver bit to remove the three gold screws from the black plastic back plate from the alarm clock.
-
-
-
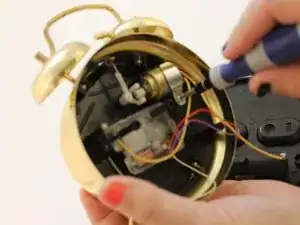
The solenoid is located in the upper right corner of the alarm clock and is supported by a silver brace. Using the screwdriver remove the silver screw from the silver brace supporting the solenoid. Set the silver brace aside.
-
-
-
Carefully remove the silver brace which is located on top of the cylindrical solenoid. Set aside.
-
-
-
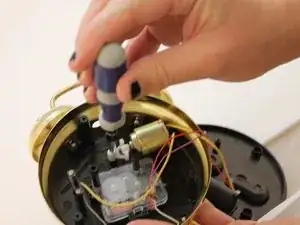
Using the mini screwdriver remove the silver screw located within the white plastic post located on the right side of the solenoid and remove the striker from the bottom of the oval opening which is located on the top of the alarm clock.
-
-
-
After removing the screw from the alarm plastic post, remove the ringer by feeding the ringer through the bottom of the top oval opening located at the top of the alarm clock.
-
-
-
Remove the right hand silver screw from the central square plastic apparatus. Set aside. Repeat with the left hand silver screw. Set aside.
-
-
-
Remove the left leg and washer by unscrewing counterclockwise by hand. Set aside. Repeat with the right leg and washer.
-
-
-
Using needle nose pliers, remove the left alarm bell post top. Set aside. Repeat with the right alarm bell post. Set aside. Remove the top handle from the pair of bells. Set aside.
-
-
-
Remove the right post with needle nose pliers by unscrewing counterclockwise. Set aside. Repeat with left post. Set aside.
-
-
-
Remove by hand, the black plastic central component. Invert to remove hex screws. Set aside.
-
To reassemble your device, follow these instructions in reverse order.
One comment
hello i just wanted to ask if you could add the pictures to the steps because i’m doing a project in reverse engineering and this article helps alot but it would help more if you could add the pictures. please?
