Introduction

If one or both of the footswitches works inconsistently or not at all, refer to this guide.

  1. OrjgPDq2feho53Ai
    OrjgPDq2feho53Ai
    pAfkGCYBHXoL14ZC
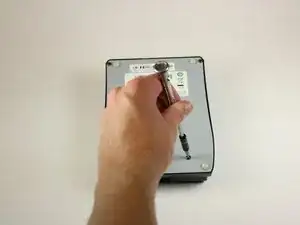
    • Unplug the device from its AC power adapter; unplug anything connected to the input/output jacks.

    • Remove the four 8mm Phillips #0 screws located on the back panel.

  2. SvSqM1H4AY3dyrPv
    SvSqM1H4AY3dyrPv
    sGQFAGaGesvr6pbf
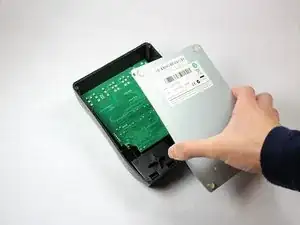
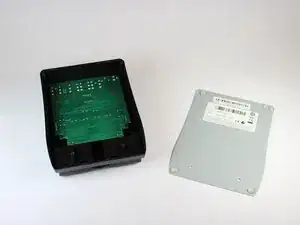
    • Remove the back panel to expose the motherboard.

  3. pIdYF3SBFiiSQHFX
    • Remove the two 11mm #0 Phillips screws located at the bottom of the motherboard.

  4. VClvmoEdeDiCuoQG
    • Lift the indented end of the motherboard opposite the input/output jacks. Then, pull away from the input/output jacks to slide the motherboard out of the casing.

  5. wviMJWsGCQsijutP
    wviMJWsGCQsijutP
    FqKPFqiAjvuTBnVT
    HYRWVWlM1bC6fFSI
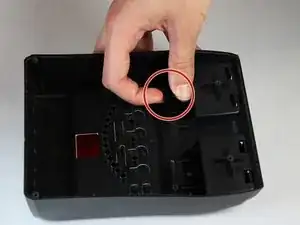
    • Pull firmly on the binder clips that are holding the footswitches in place to remove them.

    • To get the binder clips back in place, you will need to attach handles from another binder clip to hold them open.

  6. Vx4TY1ZeOx5RsSnM
    • Pull the footswitch down and upwards to remove it from the casing.

Conclusion

To reassemble your device, follow these instructions in reverse order.

Elijah Smith

Member since: 10/09/18

738 Reputation

One comment

So what is the fix? Replacing both foot switches with new ones? Or removing them and reinstalling them will fix the problem of them not working at all? What’s Step 7? If you stop after completing Step 6 you now just have a casing without foot switches. What will fix the problem of them not working qt all after removing the foot switches?

Carl -