Introduction
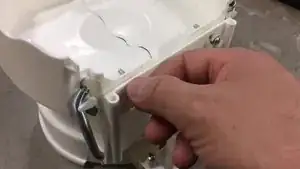
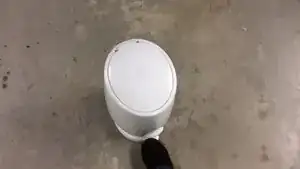
I got upset at the Diaper Genie since it broke again less than a week after fixing it for the first time. So to get back at them, I created a guide on how to fix it...
...And then realized the culprit was my wife, who did not know that the diapers should not be pushed *through* the trap doors.
Tools
Parts
-
-
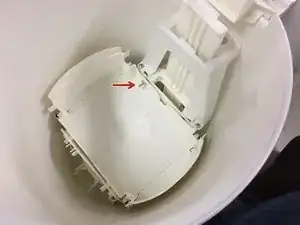
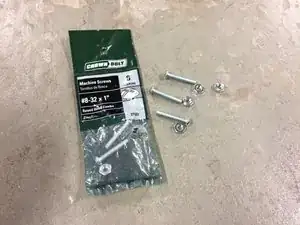
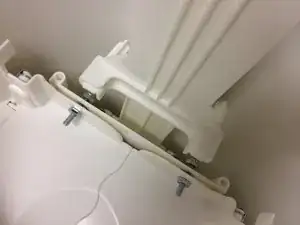
Get your stuff together. You'll be replacing one of the plastic side support tabs, just like the one I had already replaced.
-
-
-
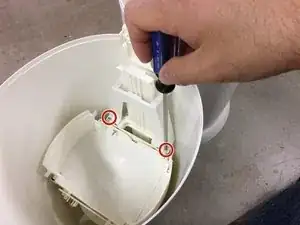
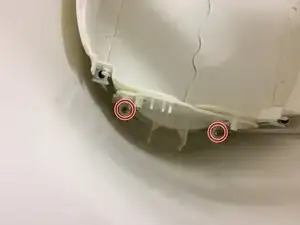
Unscrew these Phillips screws.
-
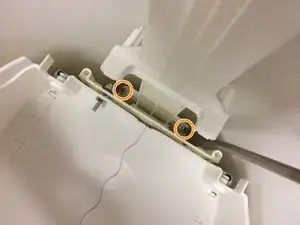
Now unscrew these Phillips screws!
-
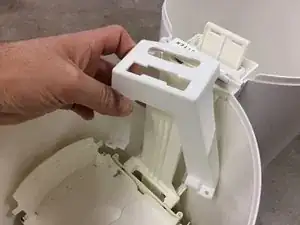
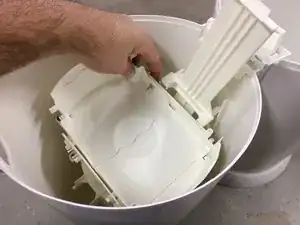
Pull out the whole assembly.
-
-
-
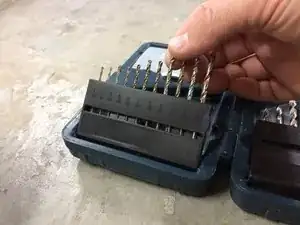
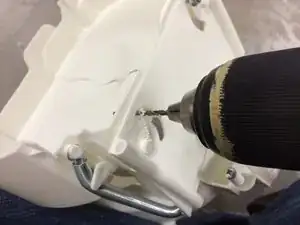
Use a 1/8" drill bit to drill through the center of the original tab location until you have a nice, clean hole.
-
-
-
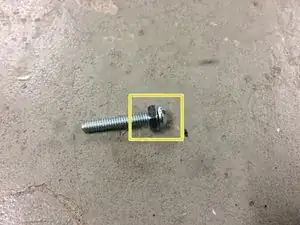
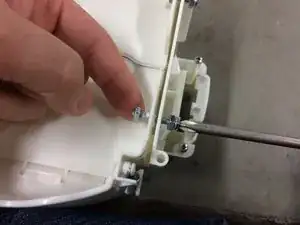
Screw the screw through the hole you've just created. It should stick out approximately 1/2" from the side of the mechanical assembly.
-
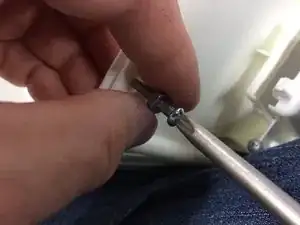
Add a nut to the other side of the screw, just to hold it together.
-
-
-
Perform a little test to make sure everything works as it should. The mechanical actuation should open smoothly and quickly.
-
-
-
Put the assembly back into place (without screwing it in), and verify that the actuator pole hits the screws at a good location.
-
Adjust the length of screws if needed.
-
Put everything back together in reverse order, including all the screws you took out.
-
To reassemble your device, follow these instructions in reverse order.
4 comments
Works great now. Thank you Miroslav! You saved me $50. Appreciated
The same thing happened to my unit. I bought the same bolts (which you have referred to as screws) and nuts, drilled the 1/8-inch diameter hole and installed the bolts, making a few modifications. I used a #8 washer underneath of the bolt head instead of a nut as you did. I installed a #8 washer and nut on the free end of the bolt. However, there was not enough clearance to allow the mechanism to slide freely. So, I removed the washer and nut at the free end and reinstalled just the nut. With the small amount of additional clearance, the mechanism worked freely, just like new. Incidentally, the photograph that you have shown in Step 7 appears to have the free end of the bolt on the wrong side of the plastic piece that it is threaded through. The free end of the bolt needs to engage the curved slot on the other piece located on the opposite side. So, I was a bit confused, but figured it out. The 1/8-inch diameter drill hole worked perfectly. Just a warning to anyone: DON’T overtighten or plastic will crack.
Todd -
One more comment - if I were doing this repair again, I would have used a 5/8-inch or 3/4-inch long #8 bolt instead of 1-inch long as I had a full 5/8-inch of thread extension beyond the curved slot when I was finished. The reduced thread extension associated with a shorter bolt will make it easier to reassemble the two parts together after the bolt is installed in the first piece. Thanks for taking the time to post this repair and giving me an opportunity to comment and improvise. It is quite apparent that a lot of others are having the same problem with this piece breaking on their Diaper Genie.
Todd -
