Introduction

This guide will take you through the steps of replacing the LED in your device.

  1. TljcA5pQXVRTPQJc
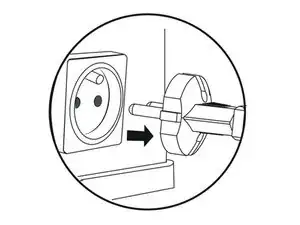
    • Before you begin, remember to disconnect the mains plug.

  2. 5ukpvBIchAGAGKxT
    • Remove the seal on the back of the device.

  3. Ja4gxVOkT2iHJrXi
    Ja4gxVOkT2iHJrXi
    mVCTfLFQVmhKP2iT
    r1D2oFYxuKFxdFfD
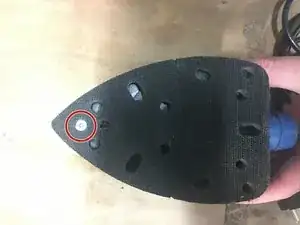
    • Unscrew the first screw of the pad.

    • Then unscrew the four remaining screws and pull up to remove it.

    • Finally remove the screws located on the hull of the device.

  4. This step is the same for both carbons.
    • This step is the same for both carbons.

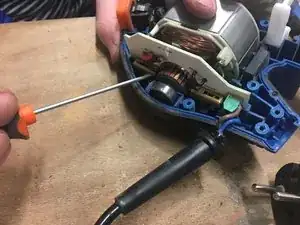
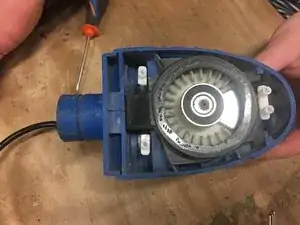
    • Wedge the two carbons to be able to take out the rotor. Reassemble them with a screwdriver, then with another screwdriver press the tab.

    • Lift the carbon and with the other tip of the screwdriver, twist the small leg.

    • Then remove the carbon.

  5. Remove the rotor by lifting the frame to be able to retrieve it more easily.
    • Remove the rotor by lifting the frame to be able to retrieve it more easily.

  6. e4FewPV1JcuuyJFe
    • Pull out the switch for more space.

  7. Remove the LED from its housing using pliers
    • Remove the LED from its housing using pliers

  8. YbLUHnjXNSshXyBN
    YbLUHnjXNSshXyBN
    dwP4gqJPKQvN2lS1
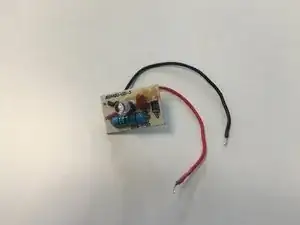
    • Desolder the two black and red wires to be able to change the part.

  9. HGIP5AcAsO53CLLS
    HGIP5AcAsO53CLLS
    uy5o1K5ZEE3kFnIg
    fkH2P2O3YNCZbUrV
    • Resolder the new LED.

    • Then replace the LED in its housing, taking care to put the cables back in their path.

  10. VkLkogOIXtdRFYCS
    VkLkogOIXtdRFYCS
    Wx2vbhJPgcGBRssR
    HHS3wIXcXrHQL1aZ
    • Replace the switch, the rotor in its housing. and unlock the carbons.

  11. FXBuEjAShqyExYnp
    FXBuEjAShqyExYnp
    CNlfBYaBgXjFPUaZ
    APh4XJTQn1TMLLes
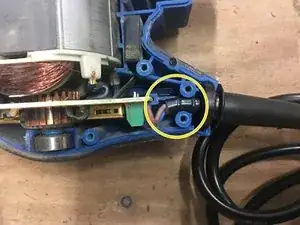
    • Replace the cable, the sheath must arrive between the two studs and the sleeve must be positioned in its housing.

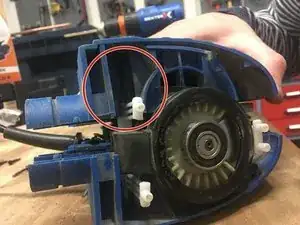
    • Replace the shell of the sander, taking care to position the stabilizers correctly in their housings.

    • Finally remove the screws located on the hull of the device.

  12. Ep3oH3ULLlKNyqL6
    Ep3oH3ULLlKNyqL6
    1xriUbbF4PR3WG4V
    1rGX12itEEjHwESZ
    • Replace the pad by positioning it perfectly in the tips.

    • Tighten the four screws.

    • Then the last screw. Finally put the gasket back in place.

Conclusion

By the end of the guide you will have successfully replaced the LED.

To reassemble preform the steps in reverse.
Céline Chemineau

Member since: 29/01/20

16638 Reputation

0 comments