Introduction
Tools
-
-
Minimize exposure to items that can charge up and produce static electricity.
-
Use an anti-static wrist band.
-
-
-
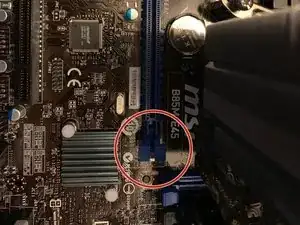
Verify that the notch in the connector matches the motherboard before sliding in.
-
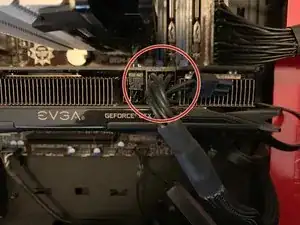
Carefully slide in GPU until you hear a click on the motherboard.
-
-
-
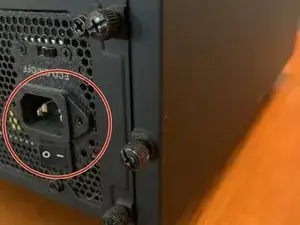
Flip power supply switch back to on.
-
Plug in PC and turn on.
-
If PC does not post go back through the steps to see if you missed something.
-
-
-
Go to manufacturer's website or use the CD that came with the card to download the latest drivers for the GPU to ensure better stability of GPU.
-
Conclusion
To reassemble your device, follow these instructions in reverse order.
