Introduction
If many parts of your controller, like the buttons and touchpad, do not function properly, you have found the correct guide. This guide requires a plastic opening tool, spudger, and Phillips #0 screwdriver head. You will not need any expert knowledge, but you will have to take apart most of your controller.
Tools
-
-
Orient your controller so that the black ring is on the bottom and the buttons are facing away from yourself.
-
Place your thumb on the small arrow that is on the controller's battery cover and firmly push upwards.
-
Slide the cover off and separate it from the controller.
-
-
-
Remove the right battery by pushing the positive end down and pulling the battery out toward yourself.
-
Repeat the procedure for the left battery.
-
-
-
Hold the joystick down with your left thumb to make space for the plastic opening tool.
-
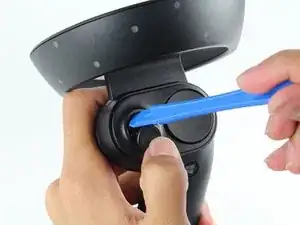
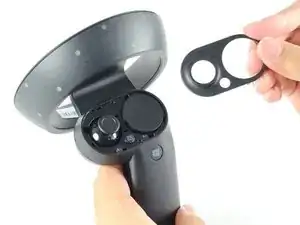
Insert the plastic opening tool into the circle above the joystick and pry upwards to lift the front panel.
-
Slide the plastic opening tool around the perimeter until you can lift the front panel.
-
-
-
Turn your controller over and orient it so that the thin side is on the top.
-
Remove four 4mm Phillips #0 screws.
-
-
-
Turn your controller 90 degrees clockwise and insert a blue plastic opening tool into the crease of the back panel.
-
Push down on the end of the plastic opening tool closest to you to lift the panel up.
-
Slide the plastic opening tool around the perimeter of the back panel until you can remove it.
-
-
-
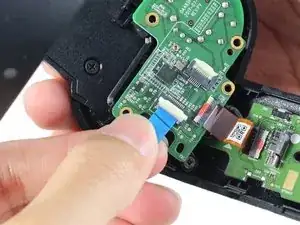
Use the tip of the blue plastic opening tool or your fingernail to gently flip-up the white locking flap.
-
Grab the blue cable and pull away from the socket.
-
-
-
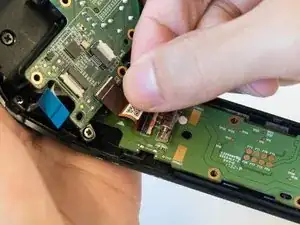
Use the tip of a spudger or your fingernail to gently flip-up the small white flap holding the orange ribbon cable.
-
Grab the orange cable and pull away from the socket.
-
-
-
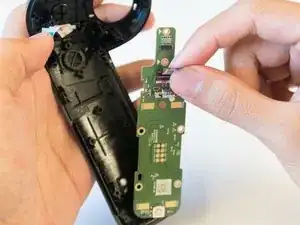
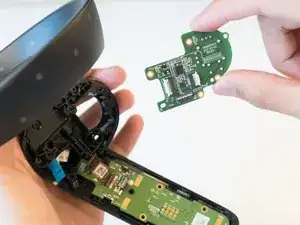
Place two fingers on the perimeter of the daughterboard and lift it away from the controller.
-
-
-
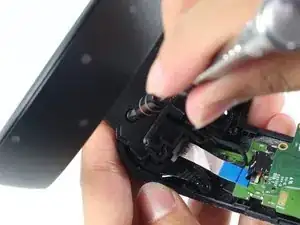
Pinch the black ring on the top of your controller and pull toward yourself to disconnect it.
-
-
-
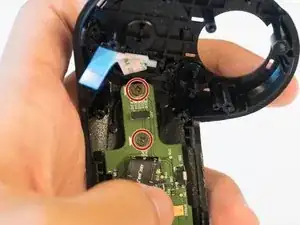
Grab the black and red wires attached to the motherboard and wiggle the connector out of the socket.
-
To reassemble your device, follow these instructions in reverse order.
4 comments
Thanks, using this as a tear down guide.
Hi, do anyone know where this motherboard can be purchased?
does anybody know where I can buy the ribbon cable, between the two boards. in Step 10
Tim Bury -
