Introduction
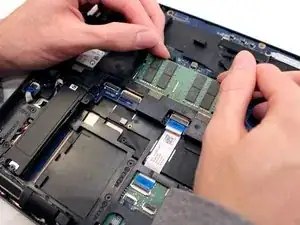
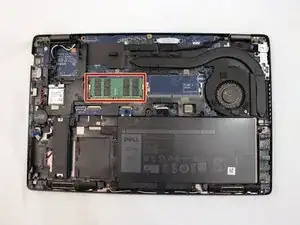
This guide will demonstrate the process of replacing RAM on a Dell Latitude 5401 series laptop.
Excessive use, poor ventilation, external or internal damage, and power surges may all result in RAM becoming dysfunctional and rendering the laptop useless. By following along, you will learn how to restore your laptop to working condition - allowing you to continue using it and helping to save both money and the environment!
Before you begin the repair, power off your device and disconnect it from the charger.
Tools
Parts
-
-
Disconnect any devices plugged into the computer.
-
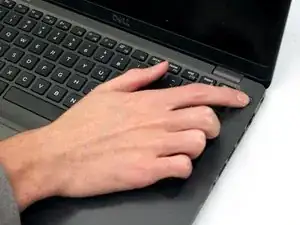
Hold the power button down for 5-10 seconds to shutdown the laptop.
-
-
-
Flip the laptop so the bottom is facing up.
-
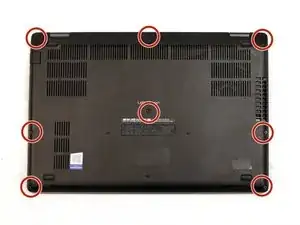
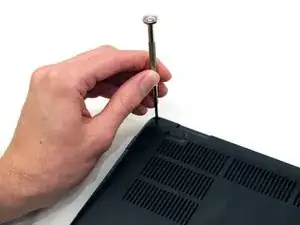
Use a small Phillips screwdriver to loosen the eight screws on the back case.
-
-
-
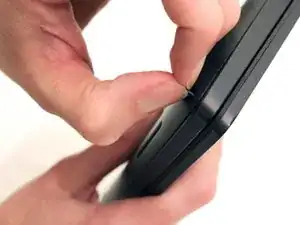
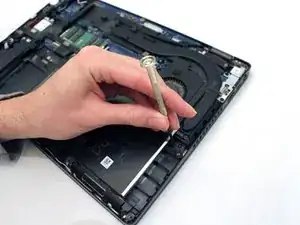
Expose the seam that connects the laptop case by pulling on a corner screw while holding the base.
-
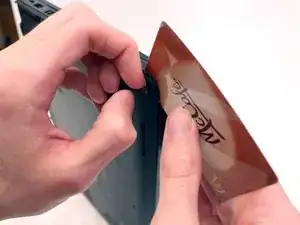
Insert a plastic card into the gap.
-
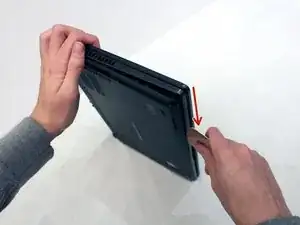
Slide the card around the perimeter of the case to release the clips.
-
Gently pry the laptop apart.
-
-
-
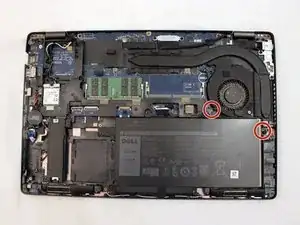
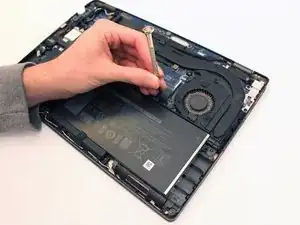
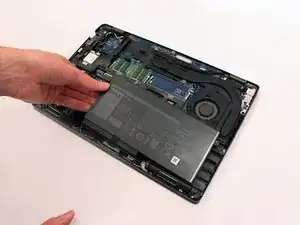
Carefully remove the battery from the case.
-
Flip the battery over.
-
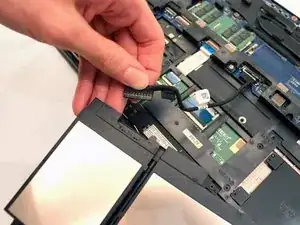
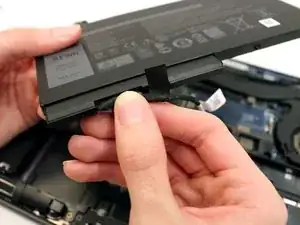
Grip the battery cable tab and pull the cable from the battery to separate it from the device.
-
-
-
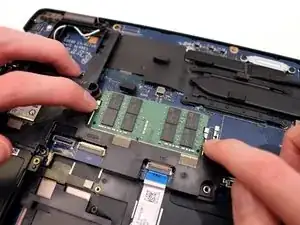
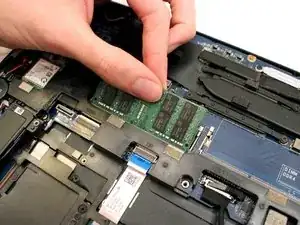
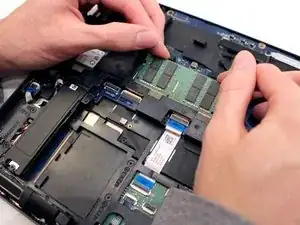
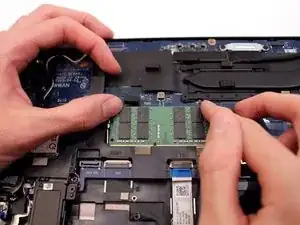
Insert the new RAM stick into the slot at the same angle that you used to remove the original.
-
Push down on the RAM until you hear a "click".
-
-
-
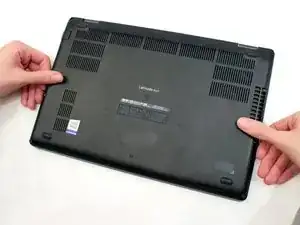
Using both hands, push the lower cover back onto the laptop.
-
Use a small Phillips screwdriver to secure the eight captive screws on the bottom cover.
-
Congratulations, you have successfully replaced your laptop RAM, saved money, and reduced your carbon footprint!
