Introduction
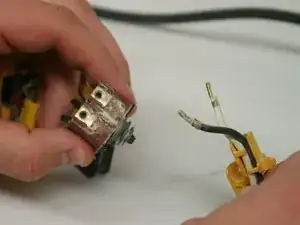
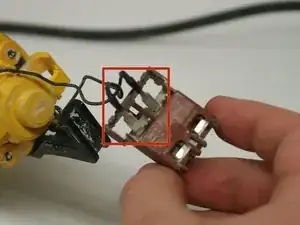
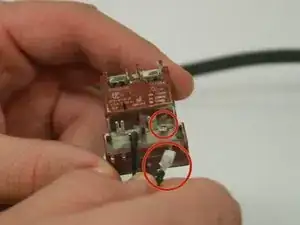
The power switch is the combination of two pieces working together, the mechanical switch and the electronic switch. If the switch is problematic, you may want to replace one or both of these components.
Tools
-
-
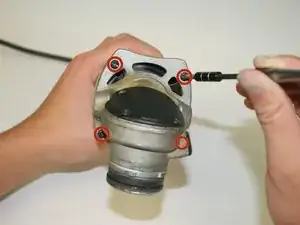
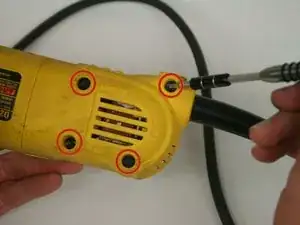
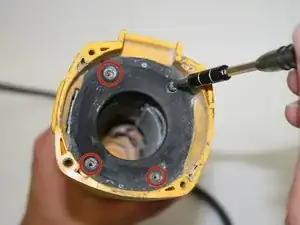
Using the T-15 screwdriver, remove the four 22-mm torx screws holding the back panel in place.
-
-
-
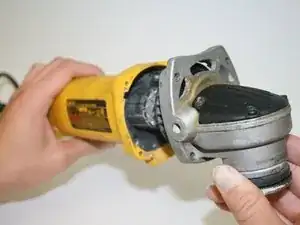
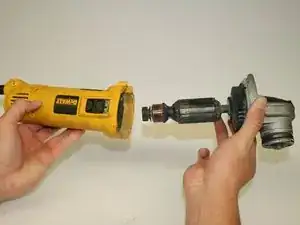
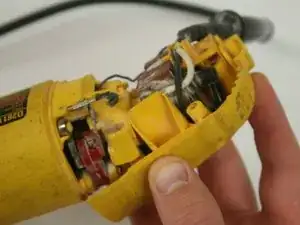
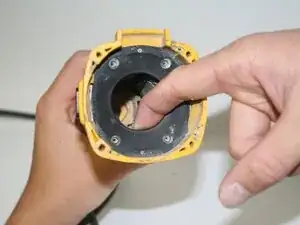
There is an inner plastic guard behind the motor shaft.
-
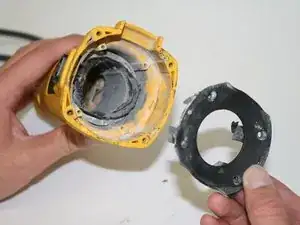
Unscrew the four screws at each corner.
-
The guard should pull out with a good firm tug.
-
-
-
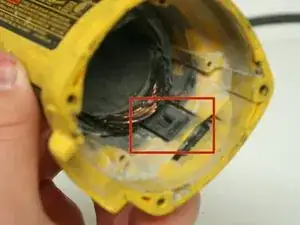
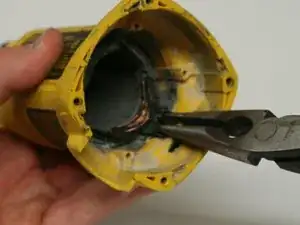
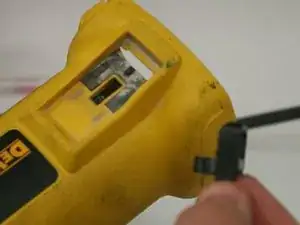
Just behind the inner guard is the button slide.
-
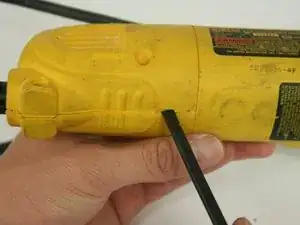
Use needle nose pliers to pinch and push the button's flanges together, and out of the slot.
-
-
-
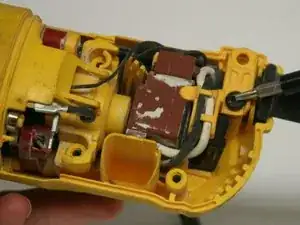
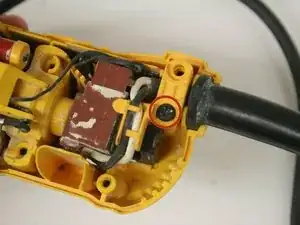
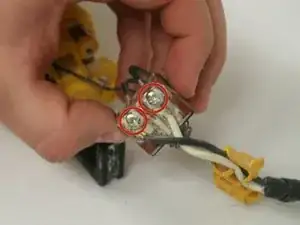
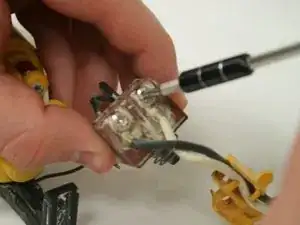
Using the J-1 screwdriver, unscrew the power cord wires from the red switch box (located in the back of the grinder).
-
-
-
Disconnect the motor wires from the other side of the switch box.
-
They wires are connected as a sleeve to the flat pin out of the switch box. A firm pull should do it.
-
To reassemble your device, follow these instructions in reverse order.
One comment
Very clear and concise guide with relevent pictures. Very well done, thank you
