Introduction
Covers:
- Air Scrubbers and Stepper Fans
- Feet
- LED Diffusers
- Nozzle Brush
- Y Endstop
Printed parts needed:
Air Scrubber
2x Air_scrubber_-_back_cap.stl
2x Air_scrubber_-_main_box.stl
2x Air_scrubber_-_screw_spacer_1.stl
2x Air_scrubber_-_screw_spacer_2.stl
Stepper fan mounts
1x Right_motor_40mm_fan_mount.stl
1x Left_motor_40mm_fan_mount.stl
Feet
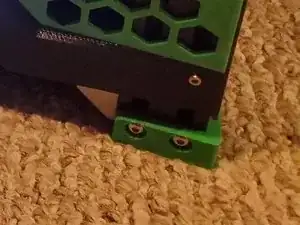
2x LF RR Foot.stl
2x LR RF Foot.stl
LED Diffusers
1x Leds_diffuser_-_front_left.stl
1x Leds_diffuser_-_front_right.stl
1x Leds_diffuser_-_rear_left.stl
1x Leds_diffuser_-_rear_right.stl
Brass Brush
1x Brash Brush Base.stl
1x Nozzle_cleaner_-_main_holder.stl
2x Nozzle_cleaner_-_spacer X2.stl
1x Y_Endstop_-_Front_Left_-_Rear_left.stl
Grill
2x bottom_grill X2.stl
4x Grill X4.stl
Tools
Parts
-
-
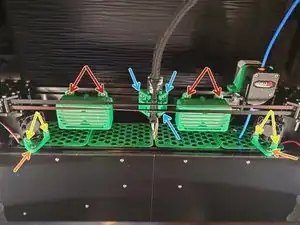
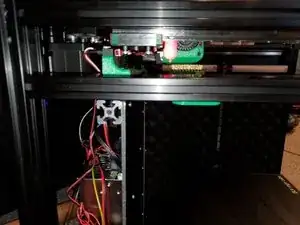
To mount the Air Scrubbers to the back of the frame use 4x M5x8 button head screws and 4x M5 T-nuts
-
Mount the fan to the Motor Fan Mount with 4x M3x14 socket head screws and 4x M3 nuts.
-
The Wire Loom Frame Mount mounts to the rear of the 2040 with 3x M5x8 button head screws and 3x M5 T-nuts
-
Mount the Motor Fan Mount and the 4010 Fan to the frame with 2x M5x10 button head screw and 2x M5 T-nut
-
-
-
As mentioned before you can mount the LEDs during the frame assembly step before you mount the Z linear rails. I chose to wait until later in the build to prevent damage.
-
It's easiest if you remove the bed and the bed frame together. Remove the 4x M5 screw holding the 2020 bed frame to the Z mounts.
-
You can choose to remove the lead screws to make it easier to gain access to the M3x8 screws mounting the Z linear rails.
-
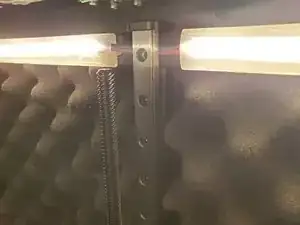
Insert the LED strips into the LED Diffusers
-
Loosen all M3x8 screws enough to where you can slide the wire behind the linear rail so it rests in the channel.
-
Snap in the LED Diffusers.
-
Tighten the Z linear rails using the same method in Step 10 of Frame Assembly
-
-
-
Press in 2x M3 NYLOC nuts into the bottom of the Nozzle Brush Base.
-
Thread in 2x M3x16 button head screws through the Nozzle Brush Holder into the Nozzle Brush Base.
-
Insert the brush head into the holder.
-
Mount the Nozzle Brush assembly to the frame with 2x M5x10 button head screws and 2x M5 T-nuts
-
When the nozzle is at X min and Y max the nozzle should be a few mm behind the brush. This is to ensure during the wipe movements the X mount isn't hitting the endstop
-
-
-
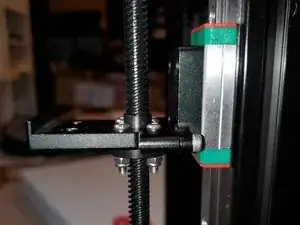
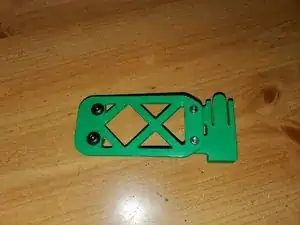
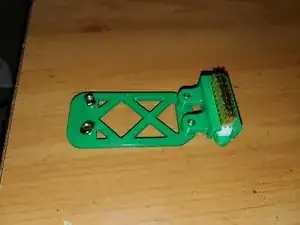
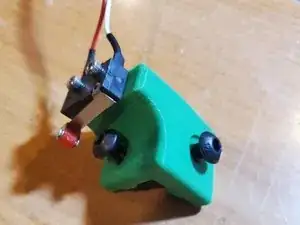
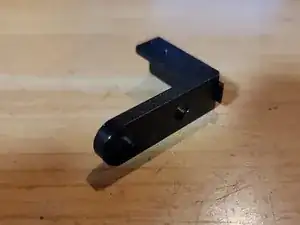
The Y endstop mount that comes in the kit is not correct for what is provided in the kit. Use the printed replacement from FYSETC Github
-
Using 2x M2.5x8 socket head screws mount the Y Endstop to the Y Endstop mount
-
Mount the Y Endstop to the frame with 2x M5x10 button head screws and 2x M5 T-nuts
-
The Y Endstop will be 60mm from the inside of the back 2040. Basically the back of the endstop mount should be in line with the cross 576mm 2020
-
FYSETC manufactured a new Y endstop mount for the metal kit. I do not know when they started including the part in the kit.
-
To mount use 2x M3x8 button head screws and 2x M3 T-nuts. -More info to come
-
