Introduction

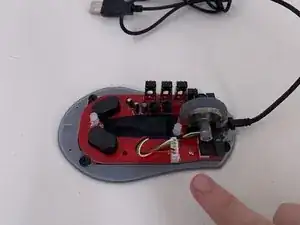
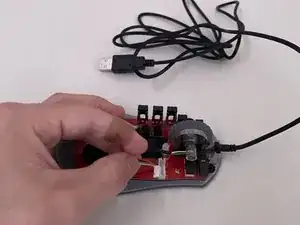
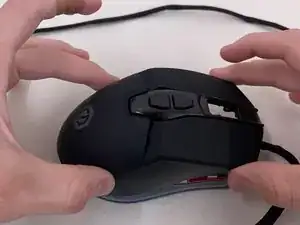
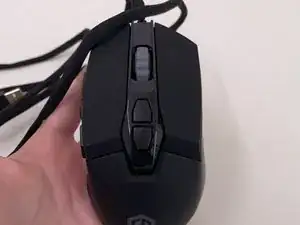
Whether your Elite M1-131 cord is broken and not responding or you simply want a new style, this guide will show you how to replace your mouse cord step-by-step. Over time the mouse cable will become worn out, resulting in the mouse getting discounted randomly and the cable itself not providing its smooth lightweight feeling anymore.

Before using this guide, try plugging your mouse into a different USB port on your computer along with removing any dust or debris that could be in the way. If the issue is still at hand, follow this guide and make sure the mouse is unplugged.

  1. 14OxCwvgZuqH6yoR
    14OxCwvgZuqH6yoR
    q5jvfbSZwwcfCOT6
    PuZejuaJe6kJXFZo
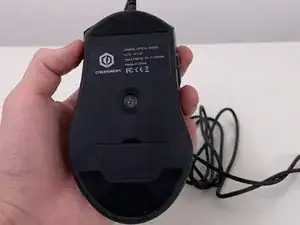
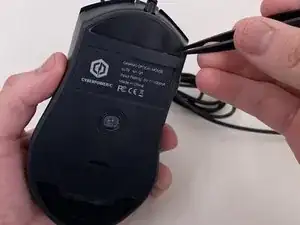
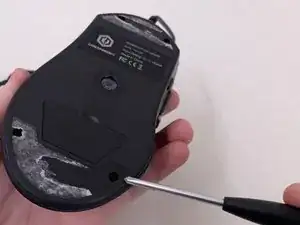
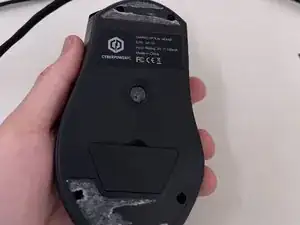
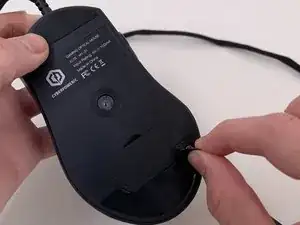
    • Hold the mouse in a position where the feet are facing you.

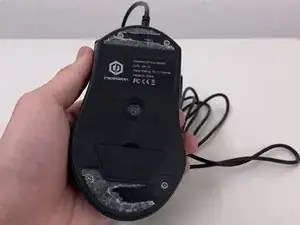
    • With a plastic anti-static tweezer or a Spudger, take off the mouse feet carefully.

    • The feet will need to be reapplied during reassembly.

  2. mmTIfTpiKOFcWS3C
    mmTIfTpiKOFcWS3C
    alWk5yFaBuWXhmIx
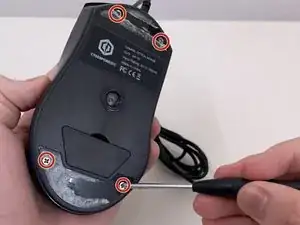
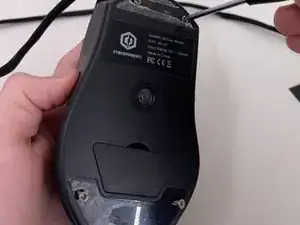
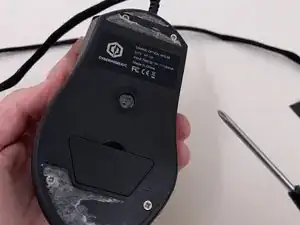
    • Use a Phillips #0 screwdriver to remove the four 2 mm screws on the back.

    • Do not remove the white part on the mouse feet. They are sticky and will help put your mouse feet back on.

  3. GEPJOUCpJuxaUSJh
    GEPJOUCpJuxaUSJh
    Jyl2sLvmMCXGgh2e
    IxijTKUr56RFqLrP
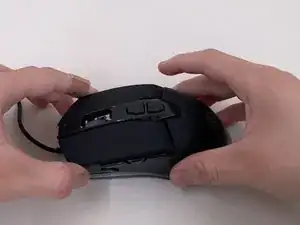
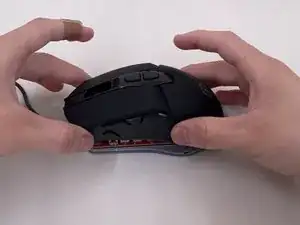
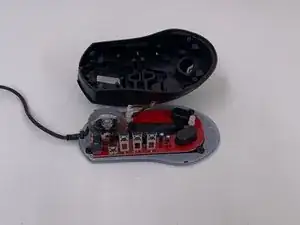
    • Gently put the mouse down with the sensor facing down and carefully pull the top shell from the mouse.

  4. 3yRVRf1TuamyRbmd
    3yRVRf1TuamyRbmd
    WmgPnAaXOnpPoe6F
    PTTsg4cKUYor2bPD
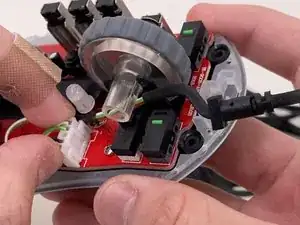
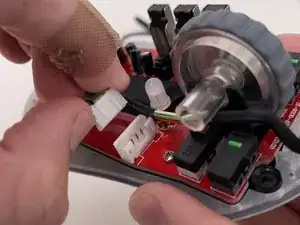
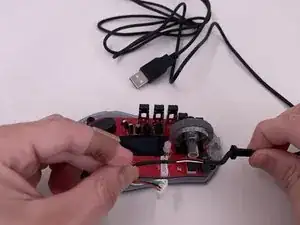
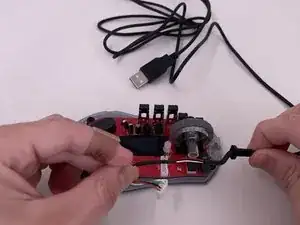
    • Grasp the 5-pin plastic white pin connector from both sides and gently pull it up.

    • Do NOT pull on the wires.

  5. mcMBYu1fQcdQYlHC
    mcMBYu1fQcdQYlHC
    wPICDoEYnbQIQVPX
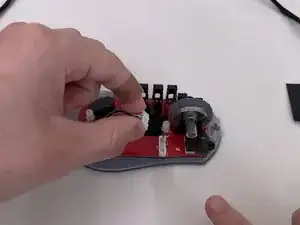
    • Unwrap the old cable, pull it out, and remove it from sight.

  6. dYhGYYTLklhBEJyt
    dYhGYYTLklhBEJyt
    sLuICyFQ6PcXKcBa
    3Iil4bVE1W4rcXNu
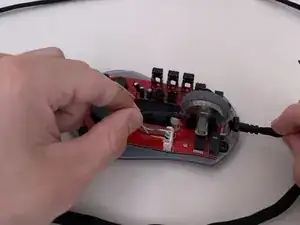
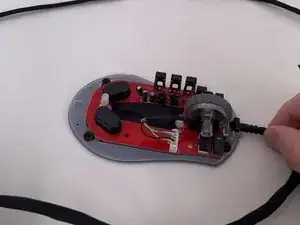
    • With your new cable, place the 5-pin connector into the connector socket.

    • Do NOT push down on the wires.

    • Tuck in the cable.

    • Place the plastic cube in front of the mouse wheel. There will be a perfect fit for that cube to hold the cable in place.

  7. 44DPWJZB2tjcXAIY
    44DPWJZB2tjcXAIY
    2T1GdipBGBaIKgIp
    • Place the top shell back on top of the mouse and press down until you hear a small click.

    • Lift the mouse so the sensor is facing you.

  8. ZX2SRoHPGiHYdVBe
    ZX2SRoHPGiHYdVBe
    ZYsKZSqiPixkkMra
    • Screw back in the four 2 mm screws that you removed earlier with your Phillips screwdriver.

  9. 3QB2DRd2MhLBoUGn
    3QB2DRd2MhLBoUGn
    LBY3meM4JfJ1rERt
    • Reapply the mouse feet that you carefully took off earlier.

    • You can also apply new ones if you have any.

Conclusion

To reassemble your device, follow these instructions in reverse order.
Nathaniel A

Member since: 19/09/23

169 Reputation

0 comments