Introduction

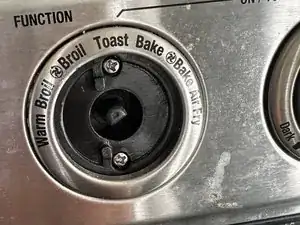
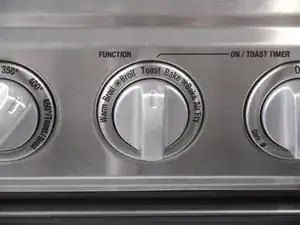
This guide will instruct you on replacing the function switch that toggles between the "warm broil","Broil","toast","Bake" and "Bake Air fry" functions.

  1. FQiIK633HA1xH2J5
    • Using a 25-hexagon head, unscrew these 7.31 mm three screws.

  2. 2ZKKRuyXQrXNBS4X
    2ZKKRuyXQrXNBS4X
    tH4XieoeMHA5iIjk
    • Using a Phillips #1 screwdriver, remove all these 7.31 mm screws.

    • Pull off the back.

  3. AKcjop32RlEsvEAl
    AKcjop32RlEsvEAl
    QZmMhdTAgfCNuAnc
    UDj5E2drGCNfRgbt
    • Flip the oven upside down.

    • Pick the grey stoppers out with a sprudger.

    • Using a Phillips #1 screwdriver, remove these three 11 mm screws.

  4. H4nftFS6vMtLCHj1
    H4nftFS6vMtLCHj1
    rWWfQKTRDMOSsWXm
    • Unscrew all of the 11.05 mm screws that connect the outer shell to the device.

  5. ItHgCPkSurRHJUcK
    ItHgCPkSurRHJUcK
    wfC2r4SAdcqOZmT2
    ofKmDrmHAjC5TQPR
    • Pull the top piece off.

    • Push down with a screw driver between the tabs before pulling up to release the tabs.

  6. lxjlVnUgXZJMCwTG
    lxjlVnUgXZJMCwTG
    bCsbigtJMtBZ4oIp
    H6EXNyGKREMfXQAK
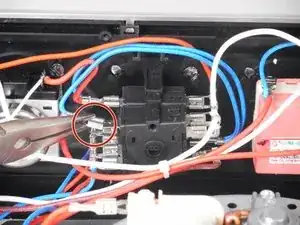
    • Inside of the device locate the function switch and remove the indicated screws (4.97mm).

    You do not have to remove these two screws and at least one of them is not in a position that is easy to reach. The two screws shown actually hold parts of the switch together, they do not connect to the oven.

    Nancy Kecso -

  7. fDZ6WTByaRXK13Ku
    • Unclip all connections.

  8. JrtXfSduulEbjqek
    JrtXfSduulEbjqek
    4RrBYtkgnyyWfnvA
    OatU2BFDkbRjrDxJ
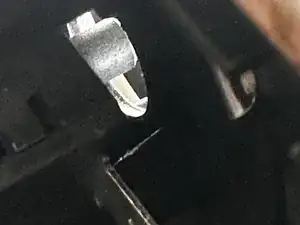
    • Rotate function knob to broil so plastic tab is visible when looking from the inside between the switch and control panel. Use screwdriver to push tab down and pull knob out from front side.

    • Remove 2 screws revealed under the front knob

    I got to this point and can’t figure out how to remove the switch entirely - I have a replacement but can’t get the full switch removed from the knob

    Stan Hung -

    Let me try to explain this a bit better. Try to imagine that when the knob is inserted into its hole from the front side, two small tabs on either side of the knob are pushed in towards the center of the knob. Once the knob is inserted far enough, the 2 tabs expand outward to anchor the knob against the back side of the panel. They don't expand very far, but enough to hold.

    Now, from the back of the air fryer, take a peak into the gap between the front panel and the (broken) switch, and rotate the knob back and forth. You will be able to see the tabs. They look like skinny cutouts in the white plastic. When you rotate the knob to the Broil setting, you can insert a screwdriver into the gap to push down the tab and pull out the right side of the knob (when looking from front) out a bit. Then carefully, without pushing the knob in again, turn the knob to the right, and while looking into the gap from the inner side of the fryer, you should see the second tab. Push that down with a screwdriver and pull the knob out from the front.

    Took a while to figure this out.

    Patrick De La Rosa -

Conclusion

To reassemble your device, follow these instructions in reverse order.

TRiels

Member since: 08/09/23

160 Reputation

3 comments

Anyone have a source for a replacement switch?

Josh -

I ordered mine on Amazon

Martin Baumeister -

Big thanks for providing these instructions! It worked!
Martin Baumeister -