Introduction
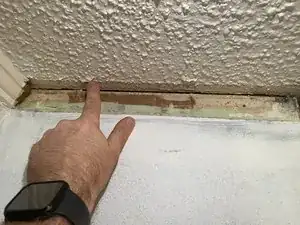
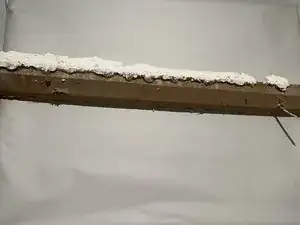
This guide will help those trying to preserve and restore crown molding within their home or business. My step-by-step guide will show you how to remove, restore, and reinstall crown molding without causing further damage.
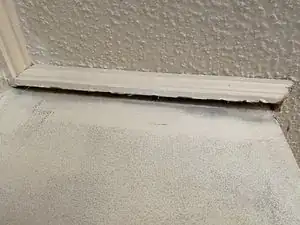
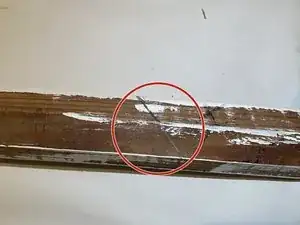
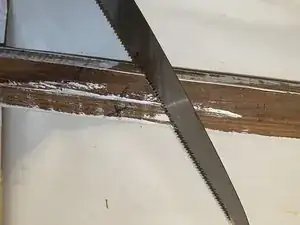
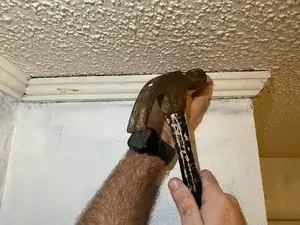
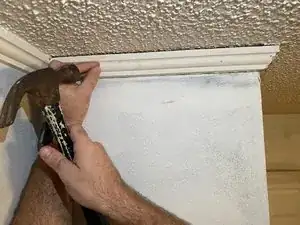
The most difficult task for this repair is removing the crown molding. This can take patience. It is important to go slow and work the crown molding from the wall a little at a time. Going too fast or applying too much pressure at once could potentially cause more damage.
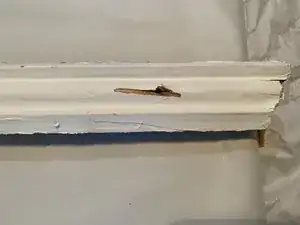
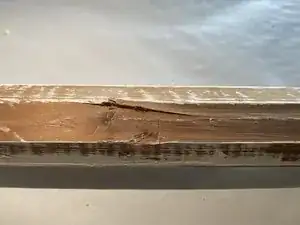
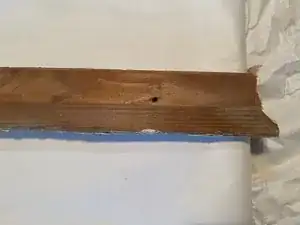
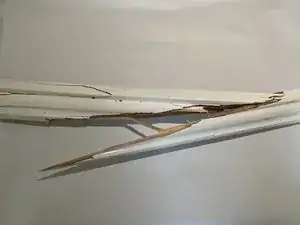
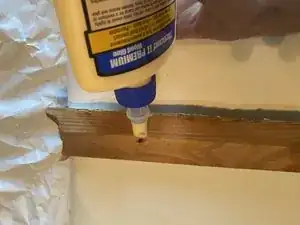
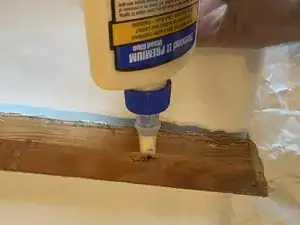
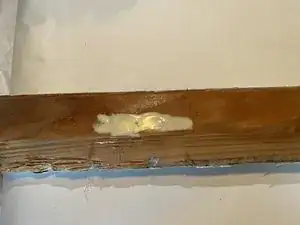
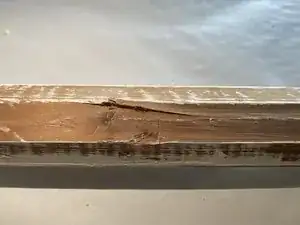
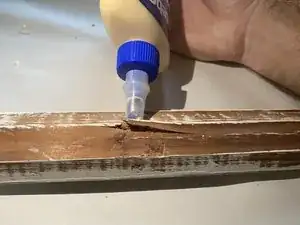
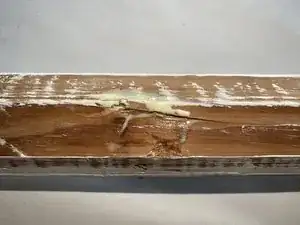
After the molding is removed, the magic happens. Identify any damage that may have already existed and/or that might have occurred during the removal process. Once you have identified what needs repaired, you can add your adhesive to the splits, cracks, or holes. Keep in mind the adhesive has to dry or it will not be effective.
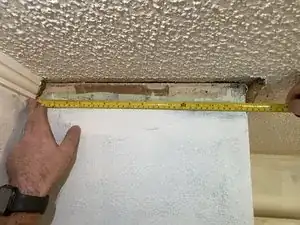
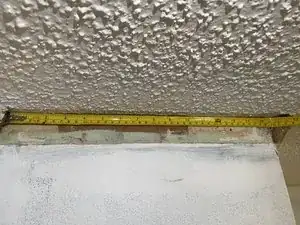
Once the cure time has expired, you can begin to reinstall your molding. If you’ve determined that new material is needed, you need to make some measurements and cuts before continuing. Make sure to measure the top and bottom lengths of the molding since joints can vary. Also, take into consideration the angle at which the cut needs to be made. If possible, it is always good to gauge your new cuts with the molding being replaced. However, careful measurements may be needed if the cuts from the original molding are not within expectation. Once the cuts have been made and the molding fits to standard, you can begin reinstalling.
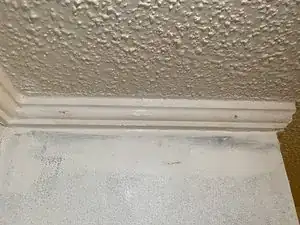
During the installation process you will need to make sure the molding is in the correct position before securing it to the wall. Make sure the seams between the wall, joints, and ceiling are smooth. This will create a perfect bond between surrounding surfaces after the caulk is applied.
After the caulk has cured, paint can be applied to restore your home or business to its original glory.
Tools
-
-
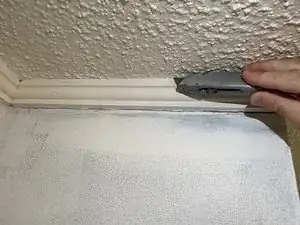
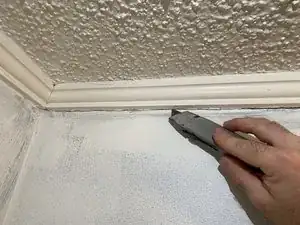
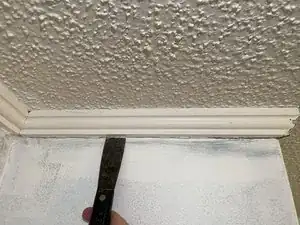
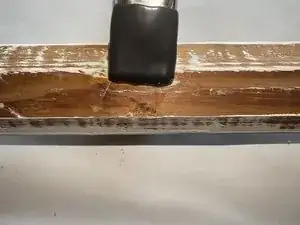
Gently pry the molding from the wall using a flat prying tool such as a putty knife.
-
Work the putty knife back and further along the seams to gradually pry the molding from the wall.
-
-
-
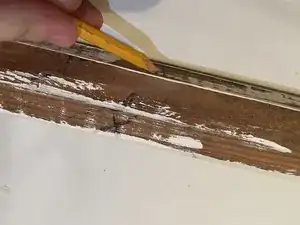
Identify splits or cracks that are within the scope of repair.
-
If possible, place the nozzle underneath the split or crack and apply adhesive.
-
Remove any excess adhesive.
-
-
-
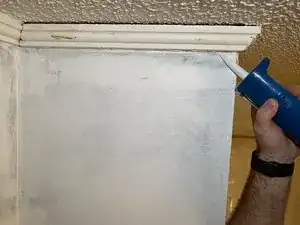
Caulk the seams of the trim to make a clean transition between wall, ceiling, and adjacent trim.
-
2 comments
Hello Merrick Juarez
sir can you guide me on which glue I select from these all top 10 types of glue for furniture and Crown Molding Trim Replacement I have been read your all instructions but not clear about such glue which I use for the project. I have facing trouble in selecting the right glue for wood
Thomas -
For a project like this, I suggest using any brand of wood glue. You can find these products at Home Depot, Lowes, or other similar stores. It does not matter which brand you buy. Just make sure the product is made for wood, and that you read the instructions on the product that you buy for the required cure times. I hope this helps.
