Introduction
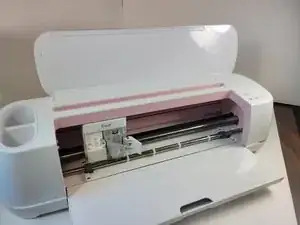
In the event that the door of your Cricut Maker won't stay closed because it's damaged, it could be time for a replacement. Follow this step-by-step guide to change the lid on your own.
First make sure the connecting magnets are clear of debris, which may be preventing them from closing. If there are any obstructions, clear these away and the magnets should stick once again. However, in the event that there is no obstruction, perform a magnetic test on the lid magnet to the front door to determine if you need to replace the lid.
In step one, you must pry glue from plastic, so be gentle to avoid breaking or damaging the lid further.
Tools
-
-
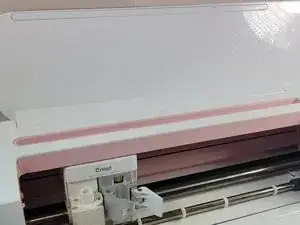
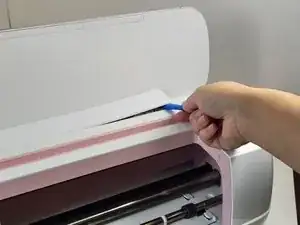
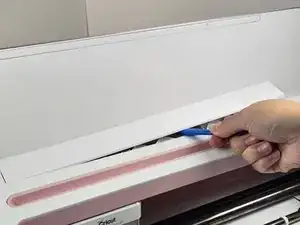
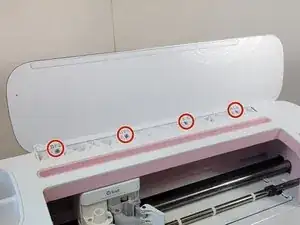
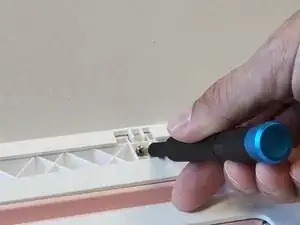
To remove the cover from the connecting joint, use an iFixit opening tool, and pry around the perimeter of the cover to release it.
-
Remove the cover from the connecting joint and set it aside.
-
-
-
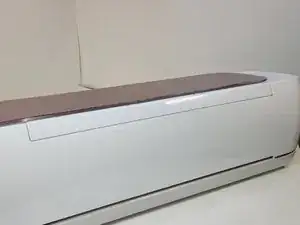
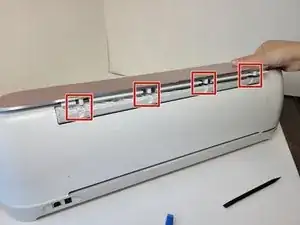
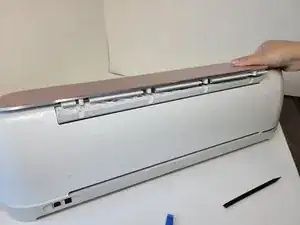
Turn the device around, so that the back is facing you.
-
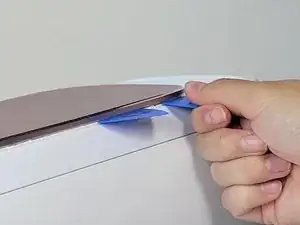
Wedge one or two iFixit opening picks in the seam connecting the Top Door to the device, and use the iFixit opening tool to pry upwards along the seam.
-
These actions should reveal the cylindrical connectors.
-
To reassemble your device, follow these instructions in reverse order.
One comment
Where i can buy Cricut Maker Top Door/ Lid Replacement?

The outer two attachment points of my Cricut were actually glued on, and I had to reach in with the torx driver and remove them while the strip was still on, to be able to get the lid off. On inspection, there would have been no way to lift the strip off in the way described here.
cjberry -