Introduction
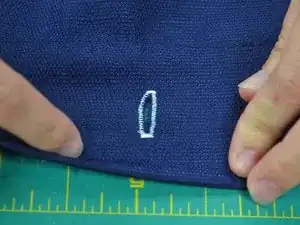
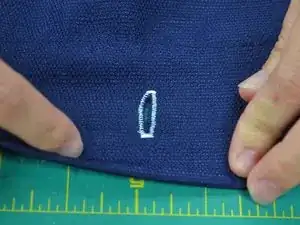
Use this guide to create a buttonhole with your sewing machine. We’re using a Bernina 830, but the process should be similar for all sewing machines with a mechanical buttonhole dial. Since every sewing machine is different, refer to your sewing machine’s owner’s manual for specific information. In this guide we’re using contrasting thread for visibility. When it comes time for your actual project, you’ll want to use thread that matches the color of your fabric.
Tools
-
-
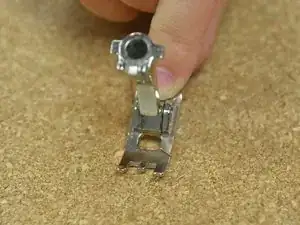
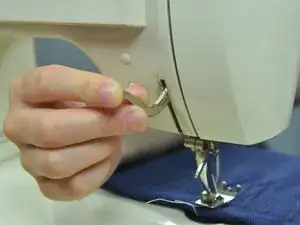
Select your buttonhole foot. Buttonhole feet can vary in appearance, so check you manual.
-
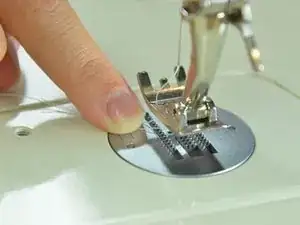
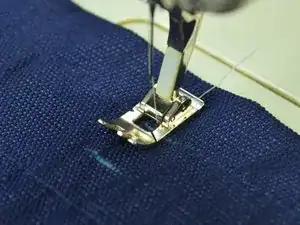
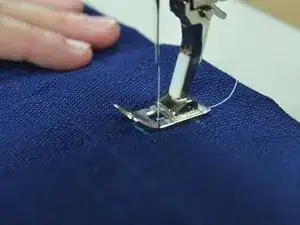
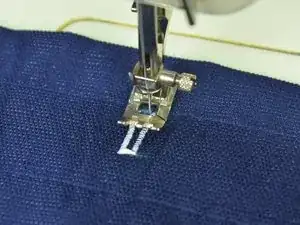
Thread the buttonhole foot by sliding the thread through the diagonal slit into the center hole.
-
-
-
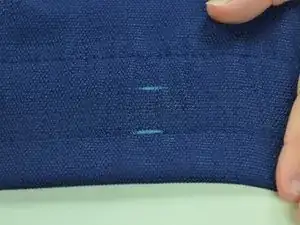
Mark where you would like the top and bottom of the buttonhole to be with tailor's chalk.
-
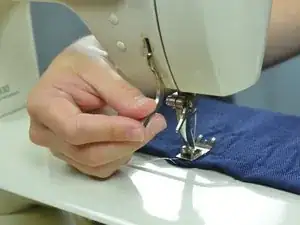
Align the sewing machine at the upper left corner of the buttonhole.
-
-
-
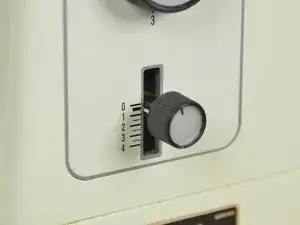
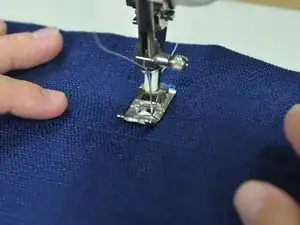
Set your stitch length dial to nearly zero, this will create a satin stitch. The usual stitch length is around the 2.5.
-
-
-
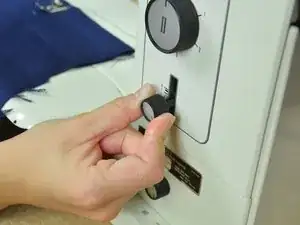
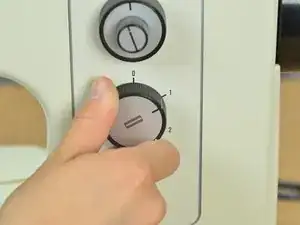
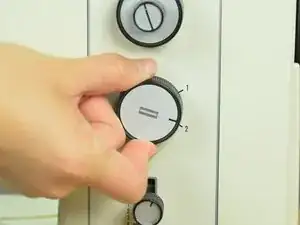
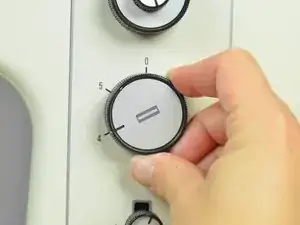
Set your button hole dial to one. If you have an electronic sewing machine, refer to your manual.
-
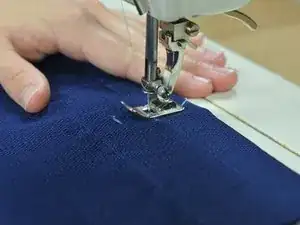
Start sewing. Sew to your second line.
-
-
-
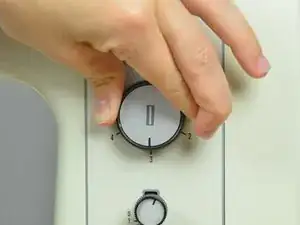
Set your buttonhole dial to three.
-
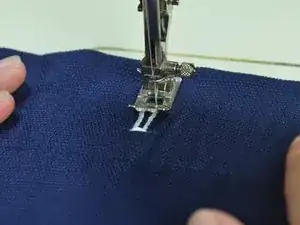
Sew up the second side of your buttonhole, stopping at your top mark.
-
-
-
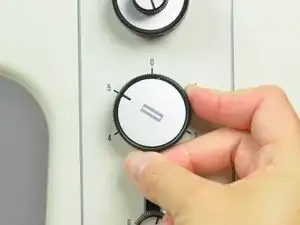
Set your buttonhole dial to five.
-
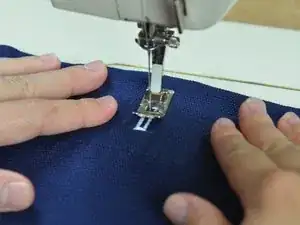
This setting backstitches to hold the thread in place. Sew a few more stitches, which will finish the buttonhole.
-
2 comments
I got up to position (!) 2 ok, then when I tried to go back up on position 3 it didn't work and just chewed up my fabric. Is it supposed to go backwards, or are you supposed to turn the fabric around? Did I do something wrong?
Holly -
The same thing happened to me when I first tried this too, Holly.
I discovered that I was over-stitching position 2.
Now, I do a maximum 3 stitches only, before I go on to position 3 and everything works beautifully. I don’t have to turn the fabric around - position 3 stitches in reverse, and I finish off with a couple of stitches in position 2, to top off the button-hole.
I hope this helps!
Roszarie -
