Introduction
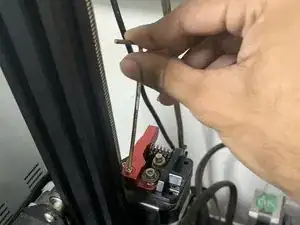
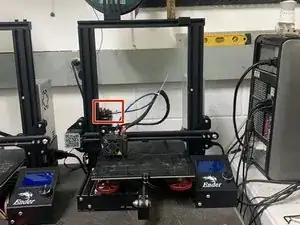
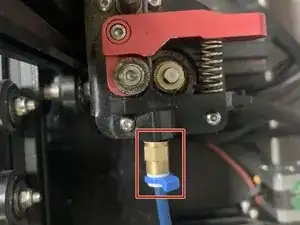
This guide's intention is to solve problems like your filament grinding in your Creality Ender 3 Pro. This is often caused by the extruder arm applying too much pressure (or too little) to the filament. To complete this guide, you should have a replacement extruder ready for your extruder mechanism, which you can purchase online.
All the tools you need are a 2.5 mm hex key, a 8 mm wrench, and around 10-15 minutes of your time!
Tools
Parts
-
-
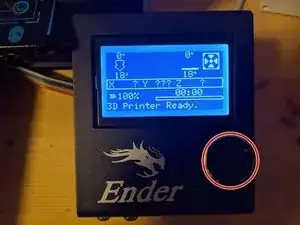
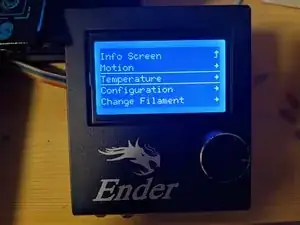
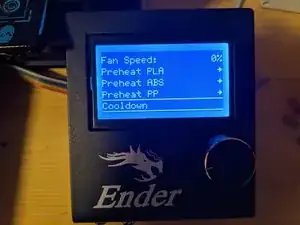
Press the knob to enter the marlin LCD menu and turn it to navigate between the options.
-
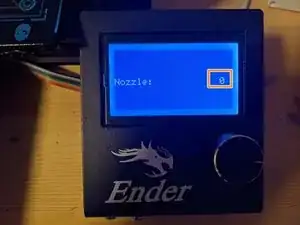
Navigate to Temperature > Nozzle.
-
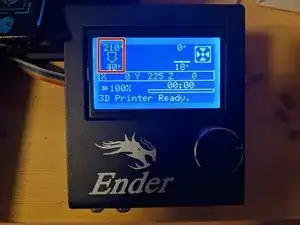
Adjust the nozzle temperature by turning the knob and confirm by pressing it.
-
-
-
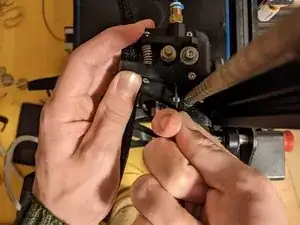
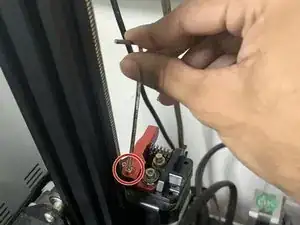
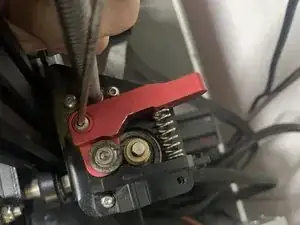
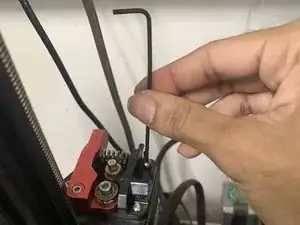
Unscrew the single M3x18 socket head screw with a 2.5 mm hex key.
-
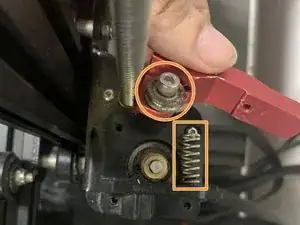
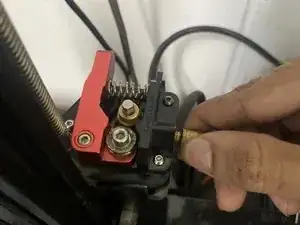
Remove the extruder arm and spring.
-
-
-
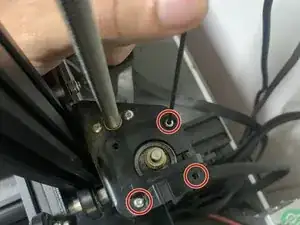
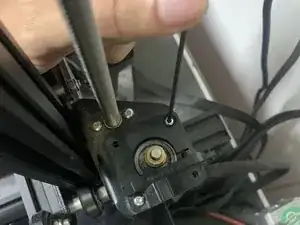
Use a 2 mm hex key to remove the three remaining M3x10 socket head screws while making sure to not let the motor drop.
-
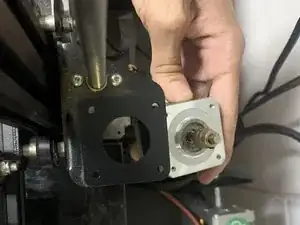
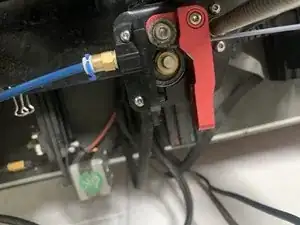
Remove the plastic bracket and the motor.
-
-
-
Install the replacement extruder and screw it to the motor, following all the previous steps backwards.
-
Don't forget to recalibrate your E steps!
