Introduction

Did you spill coffee or any other liquid on your Corsair K65? Or do you just need to open up the keyboard to access the interior? This guide will teach you how to do either one of those!

  1. evpkZw5STUNMCFwN
    evpkZw5STUNMCFwN
    h3CIWPZ1gQRhwWl2
    Y2xSv4jfUhBb43Ry
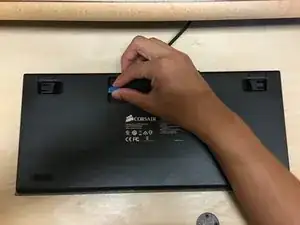
    • Unplug your keyboard. The wire is located near the back and on the bottom of the keyboard.

    • Place your keyboard onto a workspace with plenty of room.

  2. aU46GEU15t3yZDIo
    aU46GEU15t3yZDIo
    RGjEejVaUJ2D3EBG
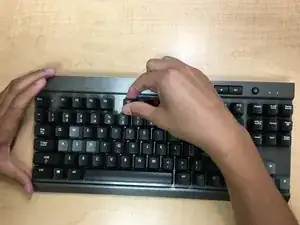
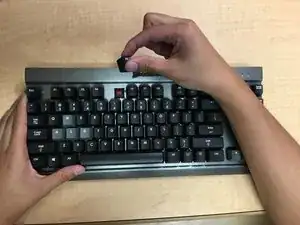
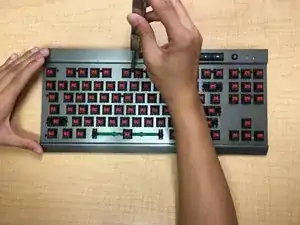
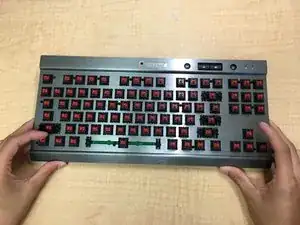
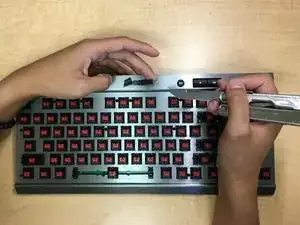
    • Pry each keycap off by grabbing the keycap with your fingers and pulling directly up.

    • Pulling the keycaps off at an angle may damage the keys or the switches on the keyboard.

    • A specialized tool to remove the keycaps will make this process a lot easier and faster, but is not required.

  3. 1XrTg5nAUnvjfWee
    1XrTg5nAUnvjfWee
    mkHohSQmsLQGRuuo
    NPcsyu4A5OYHMXw1
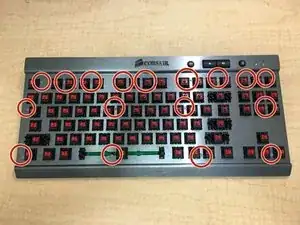
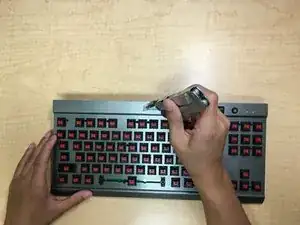
    • Unscrew the exposed 9mm Phillips #0 screws with your mini Phillips #0 screwdriver.

    • There should be 17 exposed screws in total.

  4. oCJX5bAxkkZdA5lN
    oCJX5bAxkkZdA5lN
    lePQaJoxaTZ5JTZY
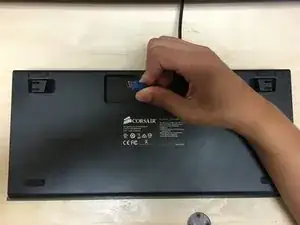
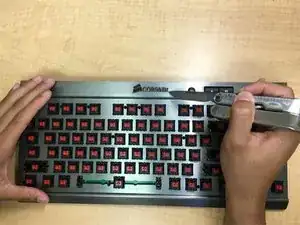
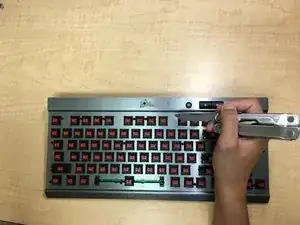
    • Peel back the Corsair logo with a knife.

    • Remove the logo, exposing another 9mm Phillips #0 screw.

    Nice. Tried opening it on my own before but couldn't get it open due to this hidden screw. Thank you. And what a crappy place to put a screw… But in a world where the keyboard community loves modding their keyboards they go an extra step to make opening it hard.

    Jairo Verma -

  5. KJHVNxX3A1XkOXvG
    KJHVNxX3A1XkOXvG
    5BJI1EcABrdSP3Gt
    • Unscrew the now exposed 9mm Phillips #0 screw.

    • There should now be a total of 18 9mm Phillips #0 screws.

  6. MTuAnAgKUJiduVbn
    MTuAnAgKUJiduVbn
    QDKafILdNvJccCVP
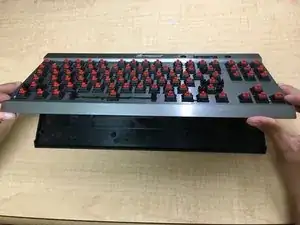
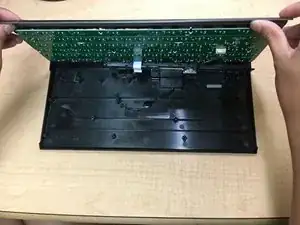
    • Carefully separate the bottom half of the keyboard from the top half of the keyboard.

    The plastic par with the LEDs and volume buttons is detachable from the plastic shell. You might need to lever it off carefully.

    St Schiff -

    After you detach the metal plate from the plastic, a small, 1-2cm long semi transparent white plastic bar with two spikes may fall out. This goes between the LEDs and the metal plate to dim and even the light!

    St Schiff -

  7. KdIQ2BfSOVBsVhHB
    KdIQ2BfSOVBsVhHB
    UodXgWcBIl4bYKEl
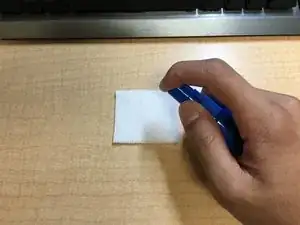
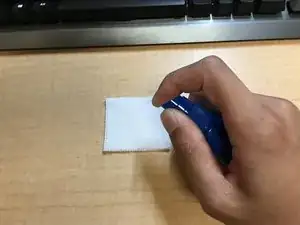
    • Apply the rubbing alcohol to your cotton pad.

  8. 4VjuW2Fn31r1rUNL
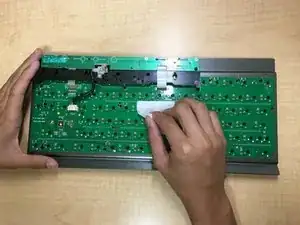
    • Wipe down the affected parts of the keyboard interior with the alcohol-soaked pad.

    • Allow the interior of the keyboard to dry for a few minutes before reassembling the keyboard.

Conclusion

To reassemble your device, follow these instructions in reverse order.

Michael Le

Member since: 29/09/15

733 Reputation

5 comments

キーボードの中に液体が入ってしまい、どうしようかと困っていたところこちらのサイトに辿り着きました。

丁寧な説明のお陰で無事、拭き取ることが出来ました。本当に有難うございました。

kumashikota -

useless guide. buttons cant be cleaned

Robert Lipowski (robdevilXI) -

broke the white and blue connector, no way to get the board in the same orientation as you did.

qwuzzy -
Extremely bad guide. Doesn’t go over how the switch to change the LEDs need to be carefully moved away or it will snap. I can’t imagine how many people you’ve costed a keyboard. 0/5 stars.

ah93493 -

Nice guide, helped me to clean the board after I spilled a drink on my beloved board. ade some comments at points that proved difficult for me. Unfortunately I only understood what the white plastic thingie that fell out is used for after I reassembled the keyboard. It is supposed to sit on the LEDs to dim them and even out the light.

St Schiff -