Introduction
This guide details the replacement of the fan grille on the Conair Cord-Keeper 169XR. The fan grille of a hair dryer can sustain damage or dents when the dryer is dropped on the floor, leading to restricted airflow and uneven performance. Therefore, replacement is essential.
Before you begin, it is crucial to ensure that the hair dryer is turned off and unplugged. Additionally, be aware that hair dryers can become hot during operation. Thus, it is important to allow the dryer to cool down sufficiently to prevent burns.
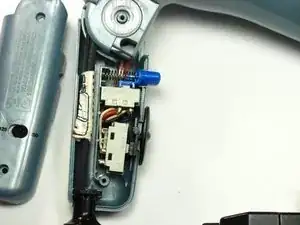
During the removal of the handle cover in Step 2, exercise caution to prevent the spring from falling out. The loss of the spring could render the dryer unusable.
In Step 10, you will need to remove the coil from the back of the hair dryer. Handle the coil with care and take measures to prevent it from unwinding completely. It can be challenging to wind it back during reassembly if it becomes fully unwound during the removal process.
Tools
-
-
Once you have taken the screws out, take the top half of the handle off by lifting it off of the dryer.
-
-
-
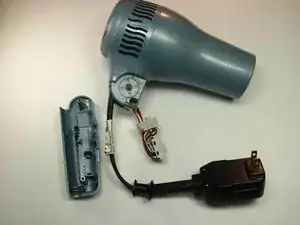
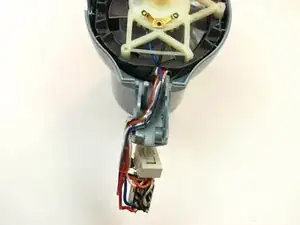
Gently remove the tan boxes (power supply) by wiggling them out of place and set them aside so you can take the back part of the handle off.
-
-
-
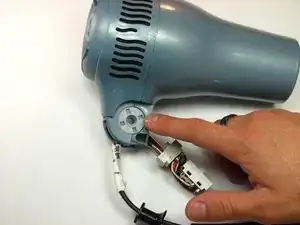
Remove the inner white disk piece from the base of the dryer head by gently pulling it out with your finger nail.
-
-
-
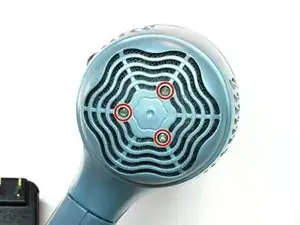
Once the three screws are removed, pop the back of the dryer off by wiggling it until it comes loose. This shouldn't take too much effort.
-
-
-
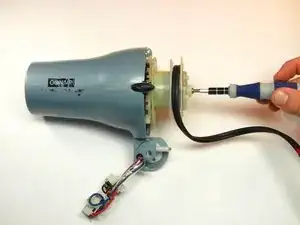
Unwind the cord and lay it to the side so you can get to the screw in the middle easier.
-
Remove the single 12 mm long Phillips #2 screw in the middle of the cord track.
-
-
-
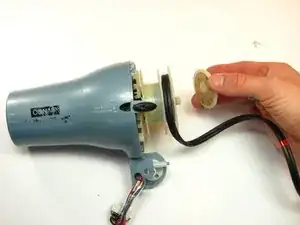
Take off the white cap that covers the heating coil. You will see a wound up piece of metal (cord retracting coil) underneath once the cap is removed.
-
-
-
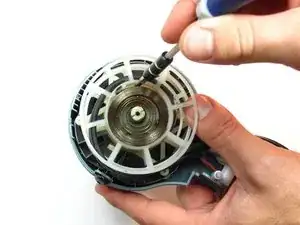
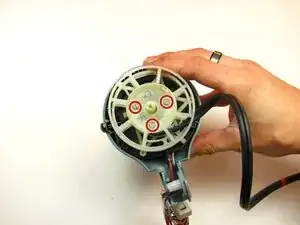
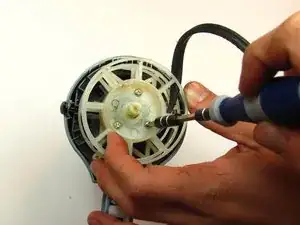
Once the coil is removed, unscrew the three 11 mm long Phillips #2 screws underneath to remove the retracting wheel.
-
-
-
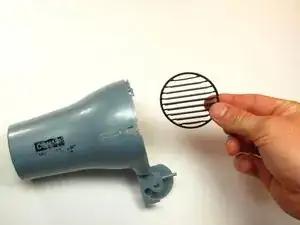
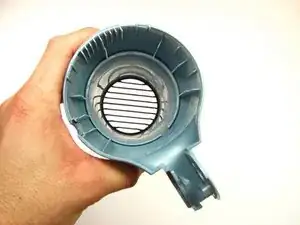
Once you have removed the inner parts of the dryer head, pull out the front grill piece and replace it with a new one.
-
To reassemble your device, follow these instructions in reverse order.
