Introduction
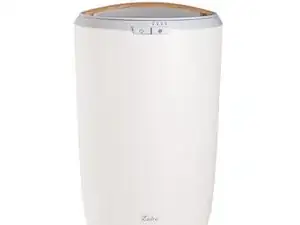
My spouse ordered two of these towel warmers. One of them would intermittently stop working. I was able to figure out that the buttons weren't clicking on the broken one (the buttons were soft compared to the working one where the buttons were clicky).
Tools
Parts
-
-
You will need a Phillips head screwdriver with a long thin shaft to be able to get to the recessed screws.
-
-
-
I used the sharp edge of a flat head screwdriver, but the point of a knife would also work. The plugs just slide out.
-
-
-
The white cable is taped to the side of the warmer. If you pull the top of the warmer out too far, don't worry. You can easily tape it back in place later on.
-
You will need to press down on the latch on the connector in order to remove it. Do NOT put a lot of pressure on the connector.
-
-
-
This part can be slightly tricky. You will need to reach inside the warmer to disconnect the other end of the white cable. The bottom connector also has a latch, but it is not visible.
-
-
-
This step is optional. I personally did not choose to disconnect the power cord, but doing so can make working on the warmer easier.
-
-
-
Make sure that the bottom plate is as far down the power cord as possible. You will need to fish the power cord through the opening at the bottom as you remove the internals.
-
While I was sliding the internal parts of the warmer out of the shell it did get caught a few times. I had to twist it to get it free. Do NOT put a lot of force into removing the internals.
-
-
-
This step is optional. The power cord called are the black and white connectors on the left. I did not get a picture of the connector for the ground cable (green). It is connected to the side of the warmer. Removing the power cord can make working on the warmer easier.
-
I did not know that the white coard was taped to the inside of the warmer. In the photo it is still connected.
-
-
-
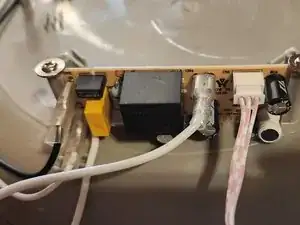
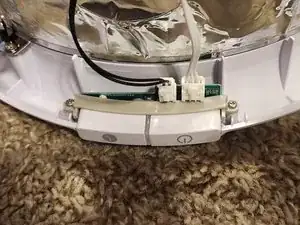
There are two small screws that hold the upper circuit board to the top of the warmer.
-
I did not know that the white coard was taped to the inside of the warmer. In the photo it is still connected.
-
-
-
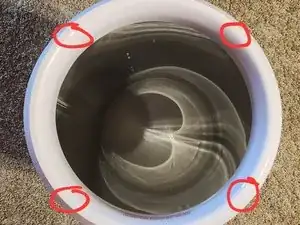
One of the small screws (circled in the photo) was not fully tightened. The small amount of play was keeping the plastic part of the button from engaging the button on the circuit board. Tightening the screw fixed my issue.
-
You can also remove the black cable to make working on the upper circuit board easier.
-
-
-
I had to tape the white cable back in place before I reassembled the warmer. It came untaped as I pulled the internal parts from the plastic body.
-
To reassemble your device, follow these instructions in reverse order.
3 comments
I’m interested in this as I want to connect the device to an Alexa device; bypassing the switch. Did you see that as an option?
Chris G -
I'm not sure. At the very least, it would take some electrical engineering and/or modification to the upper circuit board (shown in steps 8 and 9). I'm not sure how it would work but you would need to replicate the power button being pressed. Unfortunately taping it down and connecting the dryer to a WiFi enable outlet won't work, because holding the power button turns the dryer off.
I bought many of these towel warmers for gift of course mine is only 6 months old and wouldn't work I don't feel comfortable doing repairs myself so I am going to throw it out. So disappointed to pay that amount for 6 months I bought thru fingerhut.


