Introduction
This guide will help users be able to remove the backboard, as well as detach the motherboard, and finally remove the old speaker to be able to replace it with the new speaker.
Tools
-
-
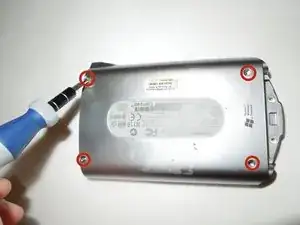
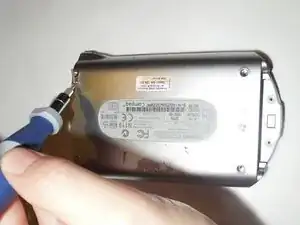
Remove the four 0.8mm Phillips # 00 screws from the back board using the screwdriver from your tool kit.
-
-
-
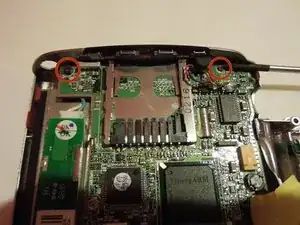
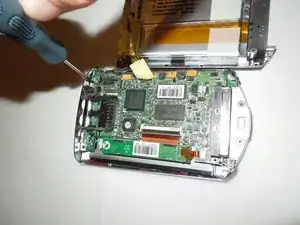
Once the backboard is removed, remove the four screws on the motherboard. Two on top of the motherboard and two on the bottom of the motherboard using the Phillips screwdriver.
-
-
-
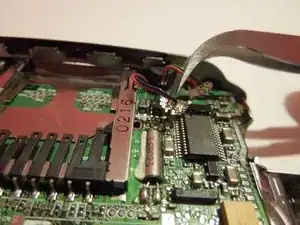
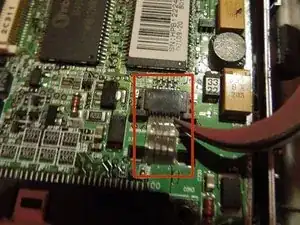
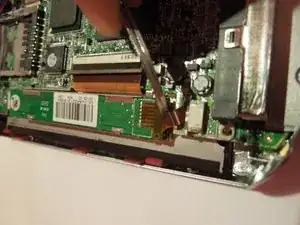
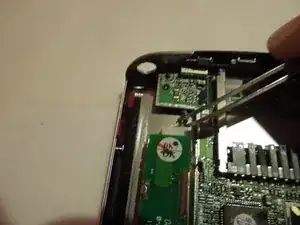
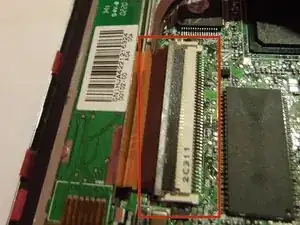
In order to get to the speaker, try to free the motherboard by removing all the wires from their combs using the tweezers.
-
-
-
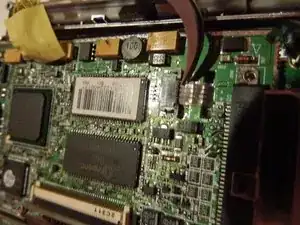
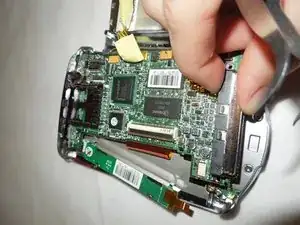
Once you have all the wires freed from the combs, you can detach the motherboard just by lifting it out of place.
-
-
-
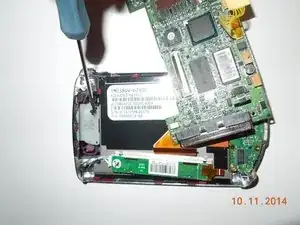
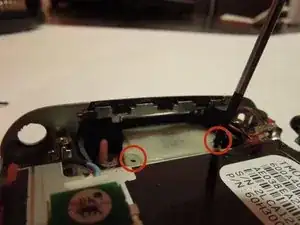
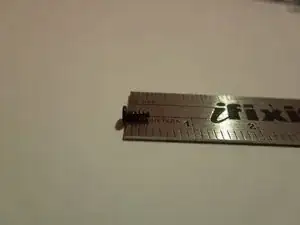
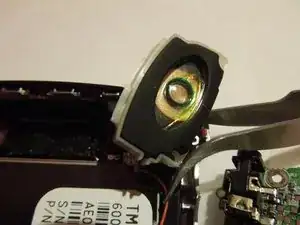
Unscrew the two Phillips #00 screws to get the speaker loose using a Phillips screwdriver. The screws measure 0.3 mm in length.
-
-
-
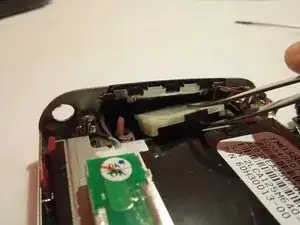
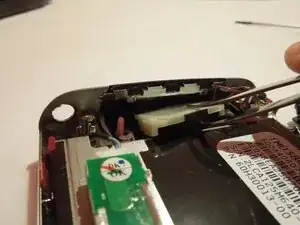
Once the two screws that hold the speaker in place are removed, remove the speaker using tweezers.
-
To reassemble your device, follow these instructions in reverse order.
