Introduction
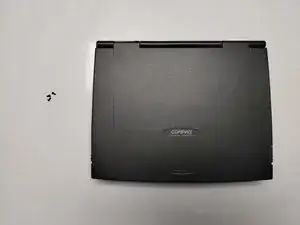
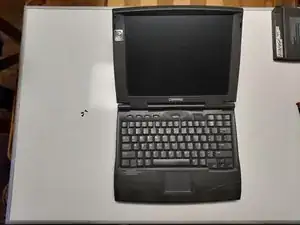
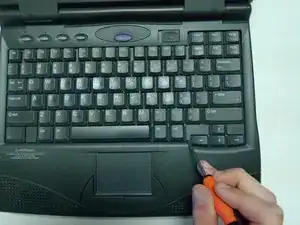
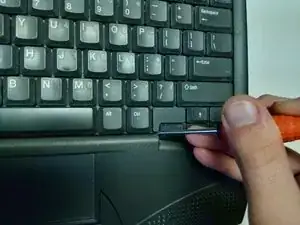
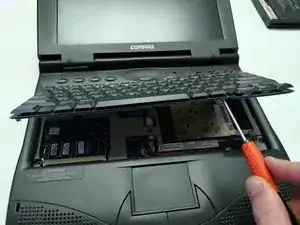
If your Compaq Armada 1585DMT Laptop is functioning slowly, or if you have witnessed the nefarious “blue screen of death,” it is likely time to replace your random-access memory (RAM). RAM functions to store temporary data and is a crucial part of any computer. Replacing your RAM using this guide will improve the speed and performance of your laptop.
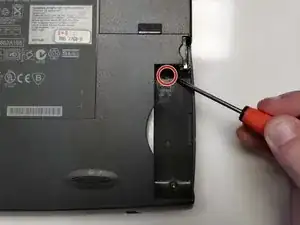
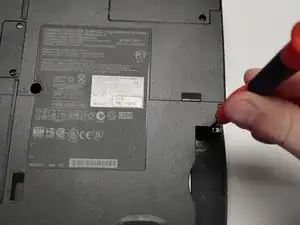
Before beginning, be sure to power off your laptop and disconnect it from any power sources or external cables/devices.
Remember: Always take care when disconnecting and reconnecting cable pins and RAM sticks, as any damage to the pins and/or connectors can cause the device to not work properly.
Tools
Parts
-
-
Push down the battery pack clamp located on the right side of the laptop.
-
Pull the battery pack outwards and away from the laptop.
-
-
-
Push down the floppy disk drive clamp located on left side of laptop.
-
Pull the floppy disk drive outwards and away from the laptop.
-
-
-
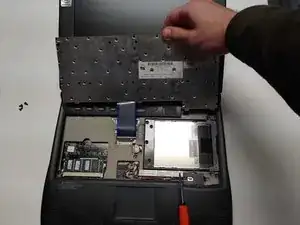
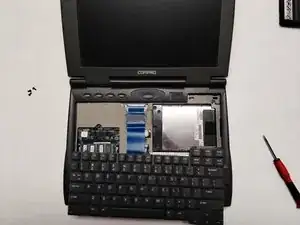
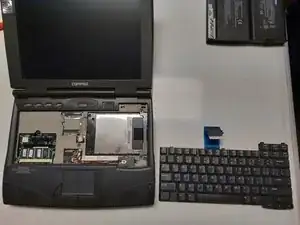
Move the keyboard away from the blue ribbon connector.
-
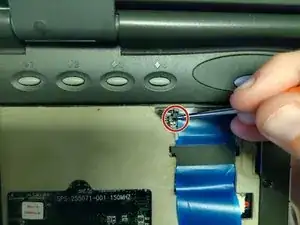
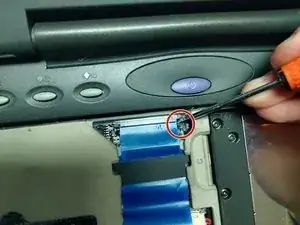
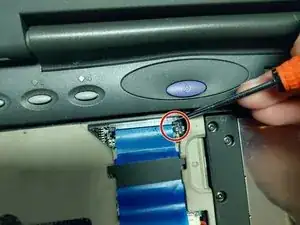
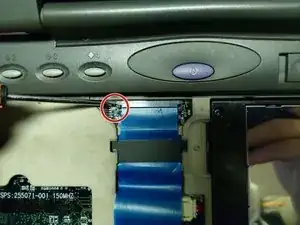
Using a spudger, pull the two small tabs connecting the cable to the motherboard away from the cable's connector bay.
-
-
-
Pull back both the black tabs until the tabs are completely extended.
-
Pull the connector away from its bay.
-
-
-
Slide the cable down until the indicators are visible under the open slot of the motherboard casing.
-
Pull the cable out and away from the motherboard.
-
-
-
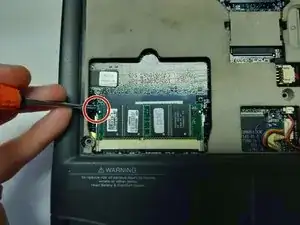
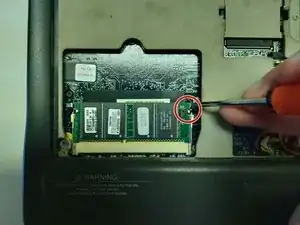
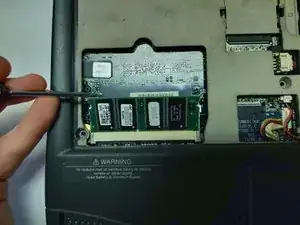
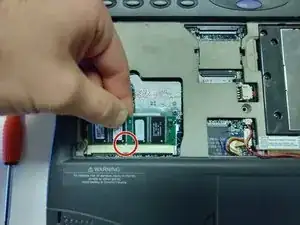
Using a spudger, pull back the two metal tabs holding the RAM in place until the RAM pops out of its socket.
-
-
-
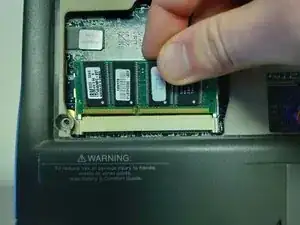
Lift the RAM stick gently with your spudger.
-
Use your hand to gently press the RAM stick back, towards the laptop, without reattaching it to the metal tabs.
-
Pull the RAM stick outwards and away from the connector it was previously attached to.
-
-
-
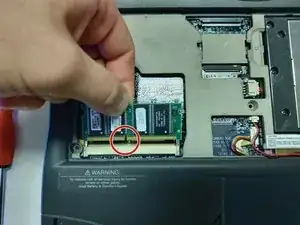
Align the replacement stick's connector notch to the notch seen on the motherboard connector.
-
Slide the stick in at an upwards angle.
-
Firmly press down on the stick until it locks back in to the metal pins.
-
To reassemble your device, follow these instructions in reverse order.
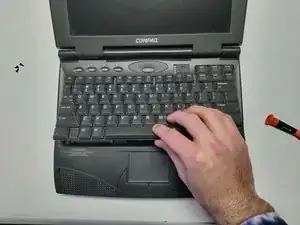
When reattaching the keyboard, slide the board in topside first, then lay the bottom down to secure.


