Introduction
If you've been playing a classical, nylon string guitar for a while you probably noticed that the strings aren't as shiny as they used to be. Guitar strings get worn out and dirty over time with play and nylon strings are no exception to this. It's important to change the strings every couple months to keep your guitar sounding as good as possible, because having new strings makes a big impact on the sound quality.
Whether this is your first guitar ever or you've been playing a steel string acoustic or electric for years, it is important to know how to change nylon strings and what the differences are from steel strings. The main difference is that nylon strings need to be tied around the bridge of the guitar instead of having a ball at the end that secures them in place. The most important part of this process is making sure the knot tying the strings to the bridge is secure, and if that is done successfully changing the strings should be a quick and easy process.
Tools
Parts
-
-
Unwind the string by turning the tuning knob clockwise until the string is slack.
-
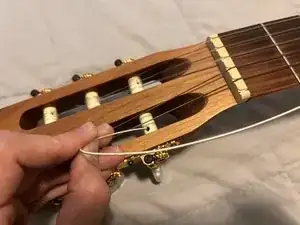
Once the string is slack take it out of the tuning peg.
-
-
-
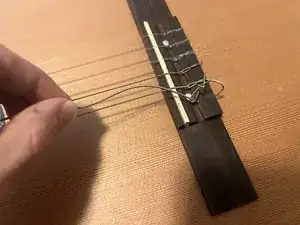
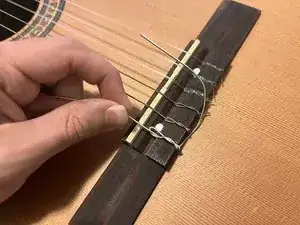
Push the old string out until it comes out the bridge as shown in the picture.
-
Unwind the knot and pull the old string out of the bridge.
-
-
-
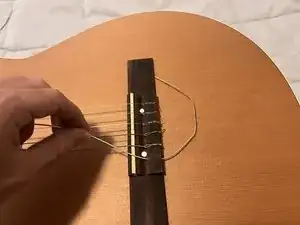
To tie the knot, start by wrapping the string back over the bridge and behind itself.
-
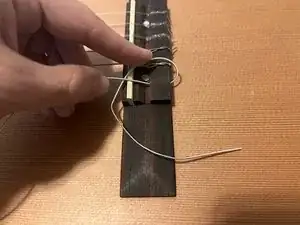
Put the end of the string through the opening created above the bridge.
-
While holding the string taut, loop the end through the opening again so it looks like it's wrapped around itself.
-
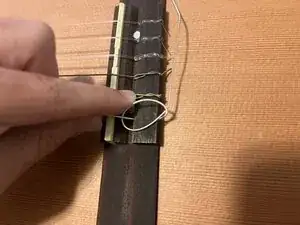
Pull the long end of the string away from the bridge to tighten the knot.
-
-
-
Tighten the new string by turning the knob counter-clockwise.
-
Tune the new strings a bit higher than what they are supposed to be at to stretch it out and help it settle faster.
-
Repeat Steps 1-6 for the remaining five strings.
-
-
-
Let the new strings settle for at least a few hours to make sure they are properly secured and the knots all hold.
-
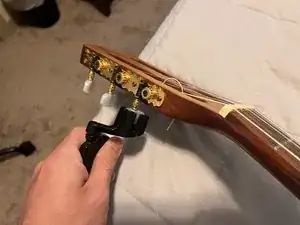
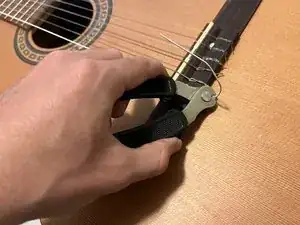
Once they are settled, cut off the excess length of string below the bridge and on the tuners.
-
Congratulations, your guitar now has a shiny new set of strings on it! It should have a much fuller, clearer, and louder sound than it did with the old strings. Now get out there and make some music!

