Introduction
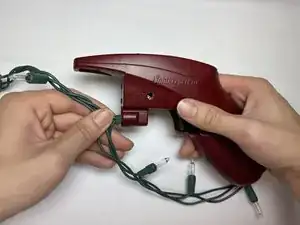
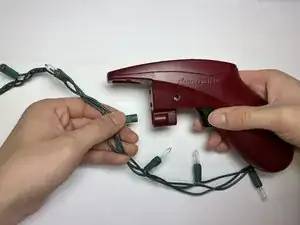
If a section of your string lights are not lighting up, this is likely caused by only one or two bulbs that have been damaged. The LightKeeper Pro repair tool makes it easy to determine the culprit and replace the broken bulb.
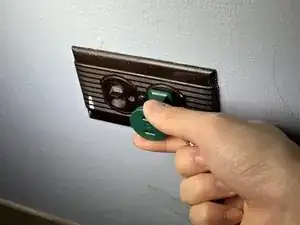
Although there is a low risk of shock, we recommend that you unplug the lights whenever handling the bulb sockets directly during this guide. Shock will happen if you manage to put your fingers inside the socket, connecting the two metal plates inside, which is fairly difficult to do even on purpose. Additionally, be sure to act carefully and thoughtfully if a bulb is clearly shattered. The broken glass can be sharp and will cut you if you don't act with caution.
Tools
-
-
Press the button on the top side of the repair tool to activate the voltmeter.
-
The repair tool will beep when it detects running electricity. If it is silent, then one of the bulbs on that specific wire is keeping the electricity from flowing.
-
-
-
Identify the first lightbulb from the plug point that is not lighting up.
-
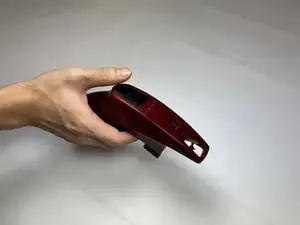
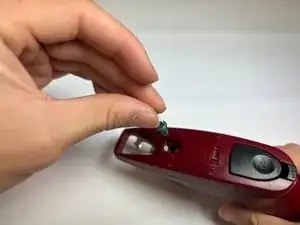
Remove this bulb by sticking it through the metal opening on the front of the tool. Stick the pronged piece under the plastic cap and pull gently.
-
-
-
Click the trigger on the repair tool 20 times rapidly.
-
If your lights do not turn on, skip to the final step.
-
-
-
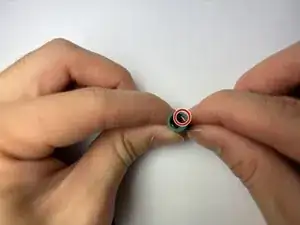
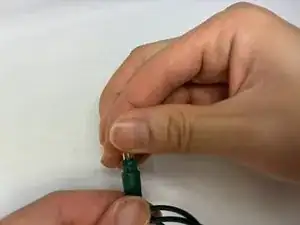
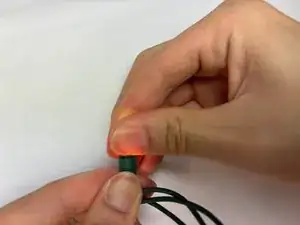
Before reinserting the bulb, check the socket and the bulb to ensure that the copper wire on the bulb is touching the metal on the socket.
-
When the bulb is correctly oriented, gently set it into the socket.
-
-
-
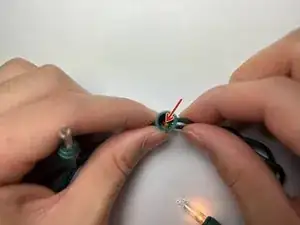
If the socket is frayed as in image 1, the tools in this guide will not be able to repair the device.
-
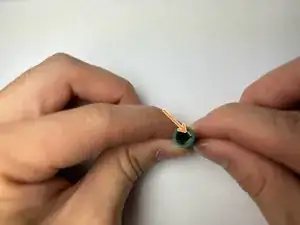
However, if the socket is not damaged, as in image 2, the Lightkeeper Pro should be able to repair the device.
-
Repeat this guide for each dead bulb in the series.
