Introduction

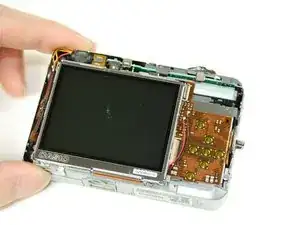
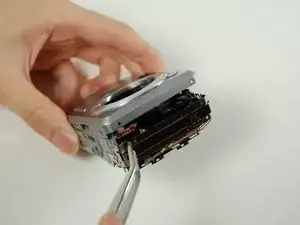
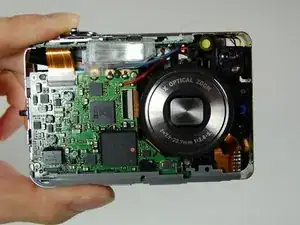
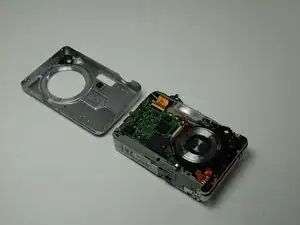
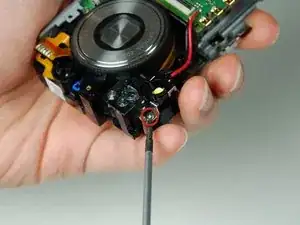
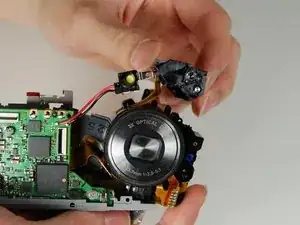
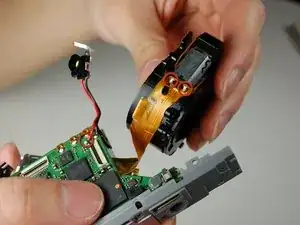
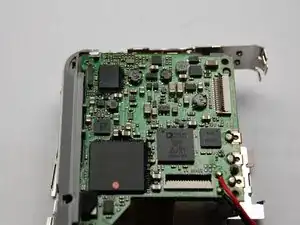
If your Casio Exilim EX-Z850 is no longer working correctly, you most likely need to replace the motherboard.

The motherboard is responsible for keeping your device functioning properly. It connects all of the principle components of the camera. If the motherboard is not working correctly, everything has the possibility of not working right. If your device continues to malfunction, you should replace the motherboard.

Make sure to power down your camera before you begin.

  1. O1vByqX1vW2IHPtw
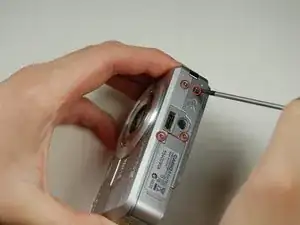
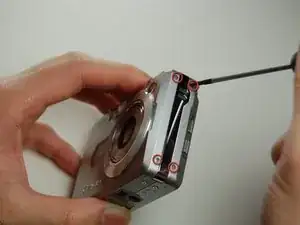
    • Using the Phillips #00 screwdriver, remove the four screws from the side of the speaker.

  2. qcCNRAKbWbWalC4Q
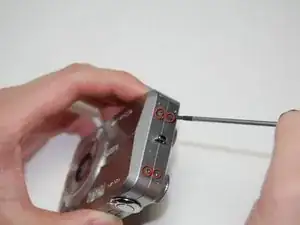
    • Using the Phillips #00 screwdriver, remove the four long screws from the bottom of the camera.

    • When reassembling the camera, the longer screws go on the bottom of the camera.

  3. IxQpMuIZlbErJGtZ
    • Using the Phillips #00 screwdriver, remove the four screws from the side opposite of the speaker.

  4. rFQm6jrDnDH2UaGA
    rFQm6jrDnDH2UaGA
    RRRSEjhJPwsgDiGN
    FeyGAo31ZZhtWfFh
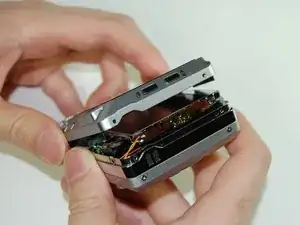
    • Pry open bottom casing gently after all screws have been removed.

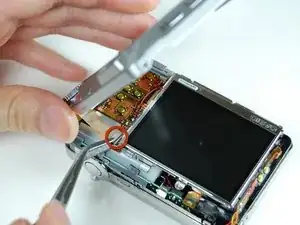
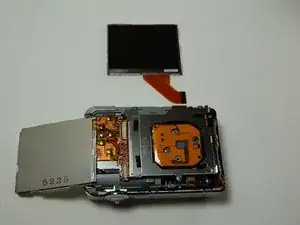
    • With tweezers, carefully remove the ribbon from the LCD screen.

    • Set the bottom casing aside.

  5. ccOQEVlSblSyyr51
    ccOQEVlSblSyyr51
    H4IBjDjYaTQ2ujDy
    b2KWqxpUbZVkOZsv
    • Pry apart the top casing using tweezers.

    • Set the top casing aside.

    • The bottom left screw on the board is orange and the longest screw.

  6. tC6quTQUWET5hKse
    tC6quTQUWET5hKse
    hKKbOSaEpC6wNvhG
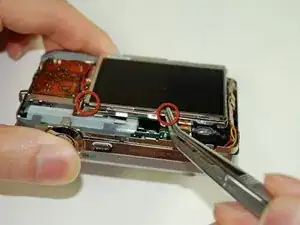
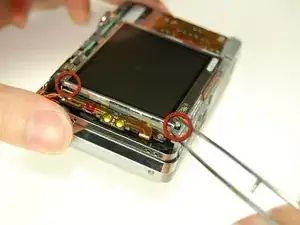
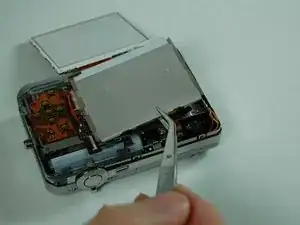
    • Carefully remove the pieces of black tape on the bottom of the LCD screen that attach it to the frame.

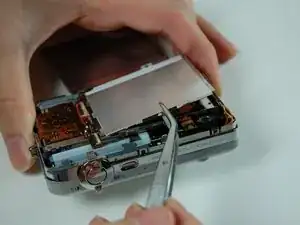
    • Use tweezers to pry the LCD screen off from the opening.

  7. 2w1UvVXQTGADH3el
    2w1UvVXQTGADH3el
    qXATATE1RltQHmaG
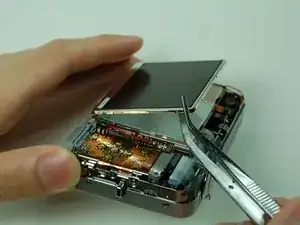
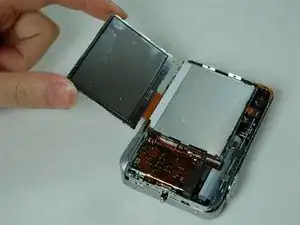
    • Lift the LCD screen and move it to the other side.

  8. 4rLsBXFBsDYjhgEs
    4rLsBXFBsDYjhgEs
    MhjRr5KpMJXwnSAX
    • Using a pair of tweezers, pry off the LCD casing.

  9. ZUQQA6MiUSxNLJp5
    ZUQQA6MiUSxNLJp5
    vkKOo1Gk2NQrDKhI
    TJrHnlJJNZdJbr3g
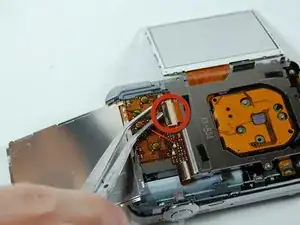
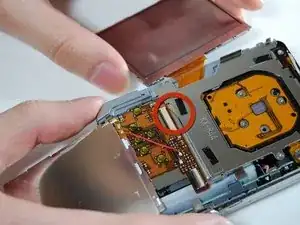
    • Flip open the connector holding the ribbon.

    • Use the tweezers to carefully pull out the LCD screen with the ribbon from the camera.

  10. CK1dyJaFYgxVugpP
    CK1dyJaFYgxVugpP
    an5HNQxSYvBcCC51
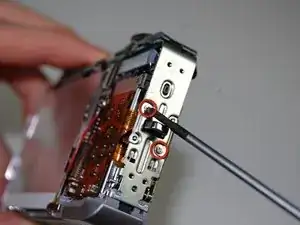
    • Using the Phillips #00 screwdriver, remove two screws on the side where the battery is located.

    • Remove the lanyard loop after the screws come off.

    • Pull the side casing so it becomes dislocated from the top of the camera frame.

  11. JGKdXYEJoT21LLQM
    JGKdXYEJoT21LLQM
    wpRWXCWHSPfNQ5dI
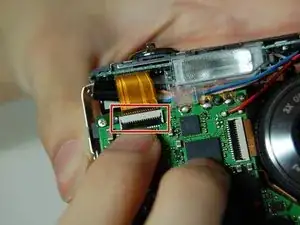
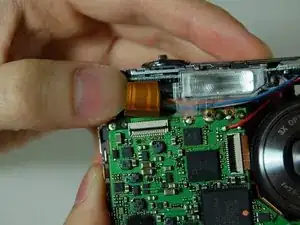
    • On the front of the camera near the flash, flip the connector holding the ribbon.

    • Remove the ribbon from the connector.

  12. WrGVvH1QB4eHfwGw
    WrGVvH1QB4eHfwGw
    LFksTwKIWocKUVIF
    cDRP4hKIMKEYJfbs
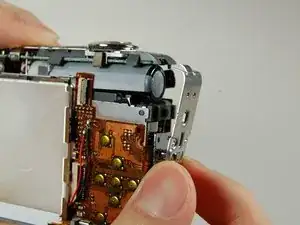
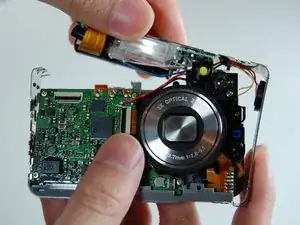
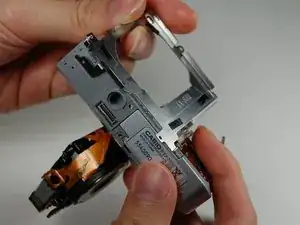
    • Carefully remove the L-shaped frame from the camera.

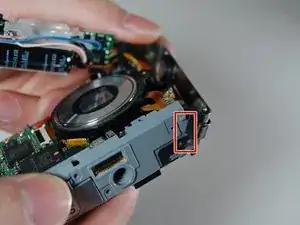
    • The L shaped frame is being held in by two plastic bumps and a metal tab at the bottom of the camera.

    • Pop the frame off the bumps and tabs.

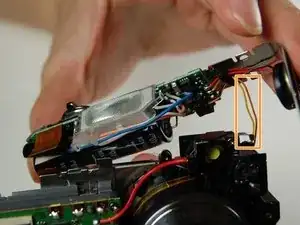
    • Potential for device damage: Be careful not to pull off the yellow and orange wire soldered onto the camera.

  13. 1rpHKct4NATPJaOV
    1rpHKct4NATPJaOV
    wA5bZUFYnhUnFtqY
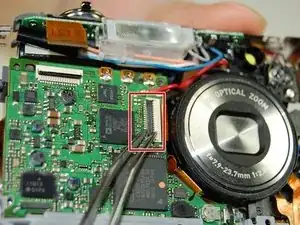
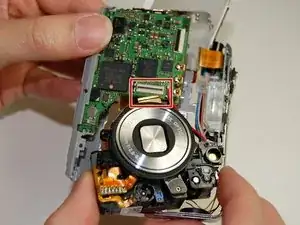
    • Flip the connector and remove the ribbon cable from the motherboard next to the lens.

  14. kfGDMed4u1RVFKHd
    kfGDMed4u1RVFKHd
    EXSDhCGZW5ISbncO
    • Remove the frame on the back side of the camera where the LCD screen was.

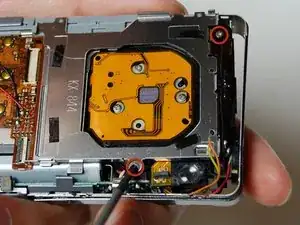
    • Use the Phillips #00 screwdriver to remove the two screws connecting the frame to the camera.

    • Slowly pry off the frame from the camera.

    • After removing the frame, a plastic piece with two yellow buttons should fall off.

    • Do not pull the plastic piece off as it is soldered to two wires: a yellow and orange one.

  15. HUpL6gA5SXR5rxep
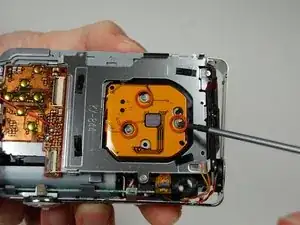
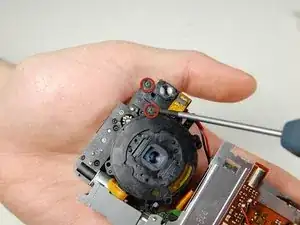
    • On the back of the camera where the LCD screen was, remove the 3 screws located behind the lens using the Phillips #00 screwdriver.

  16. AbvlCQDLgTvxYUvd
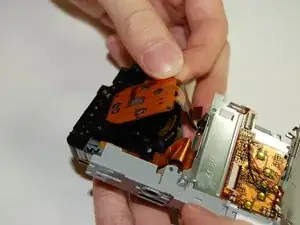
    • Remove the large orange ribbon previously held in by screws from the camera.

  17. kNaFVWE5EXfytBwr
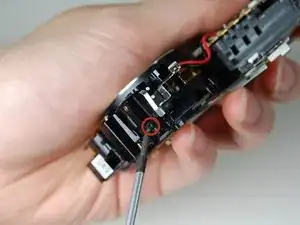
    • On the backside of the camera where the indicator lamp is located, remove the two screws using the Phillips #00 screwdriver.

  18. VCCrFIMToCf3P3Mi
    VCCrFIMToCf3P3Mi
    MOy13RyqZCkVATSV
    CJ3pmP1mUnPVsZTJ
    • On the front side of the indicator lamp remove the screw using the Phillips #00 screwdriver.

  19. JcwYBkCZKlQKjdK4
    JcwYBkCZKlQKjdK4
    qVeDEkAAy1bBSPEP
    • Desolder the lens from the motherboard.

    • Desolder the wire from the motherboard.

    • The motherboard is now detached from the rest of the camera.

Conclusion

To reassemble your device, follow these instructions in reverse order.
Jennifer Roth

Member since: 28/01/11

162 Reputation

0 comments