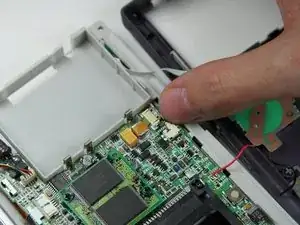
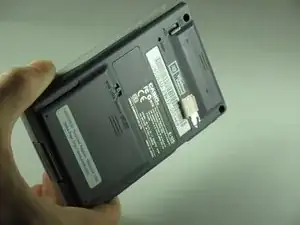
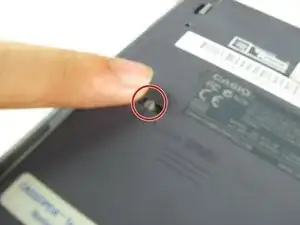
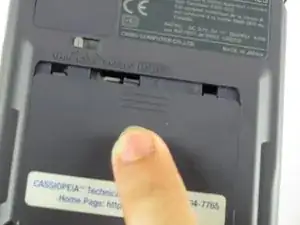
Introduction
Tools
-
-
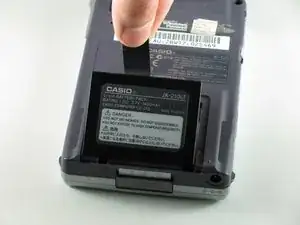
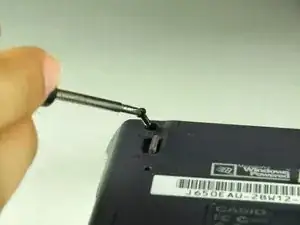
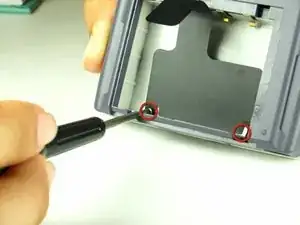
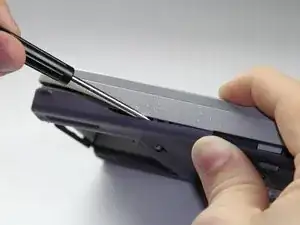
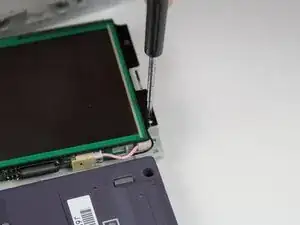
Use the Phillips #00 screwdriver to remove the two screws located inside the battery compartment.
-
-
-
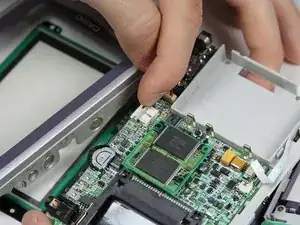
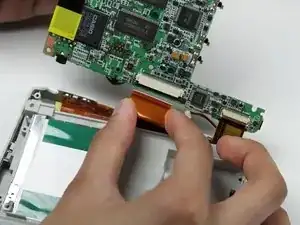
Lift the tab on the motherboard and pull out the ribbon cable.
-
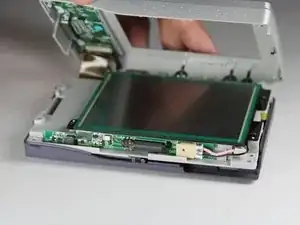
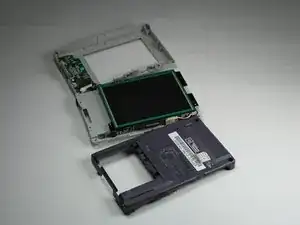
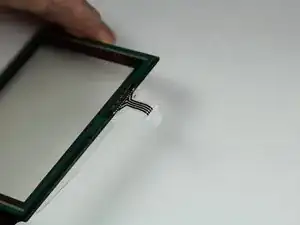
After the ribbon cable is detached from the motherboard, the touch screen is completely separated from the device.
-
-
-
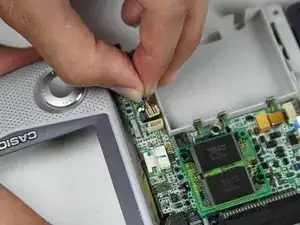
Locate the small grey ribbon cable towards the bottom of the device. It should be located above the battery slot. Pinch both sides of the ribbon cable and pull it out.
-
-
-
Locate the multicolored wire on the motherboard near the battery compartment. Pull on the wire by the base and lift to remove.
-
-
-
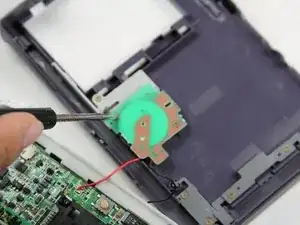
Use the Phillips #00 Screwdriver to remove the two screws from the green circuit board on the back case.
-
-
-
Remove the the three screws on the motherboard that are shown using the Phillips #00 Screwdriver.
-
-
-
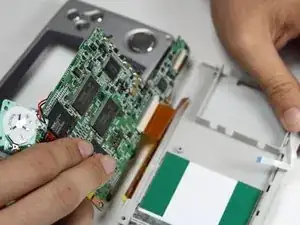
Locate the two ribbon cables on the motherboard. Select one to remove first and then pinch either side of it and pull out to remove the ribbon cable. Do the same for the second.
-
To reassemble your device, follow these instructions in reverse order.
