Introduction
Replacing the function dial is a highly-invasive, step-intensive process that becomes necessary if the function dial has sustained damage due to a crack or internal malfunction.
The function dial refers to the round mechanism on the lower back side of the camera identified by "Func. Set." In this guide, you will learn how to replace the function dial carefully without damaging any essential internal components.
Tools
Parts
-
-
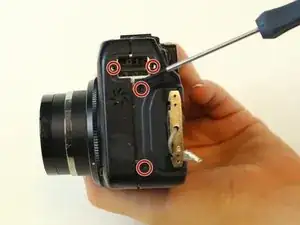
Looking at the front side of the camera, there is a port on left side of the camera labeled HDMI.
-
Remove the one screw on the side of the HDMI port.
-
-
-
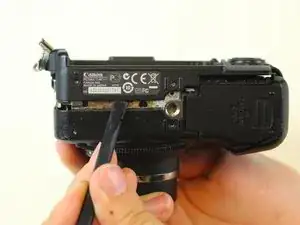
Using a spudger, carefully pry open the back side of the camera starting directly under the camera's serial label.
-
-
-
Put the camera aside and look to the interior to the camera's back shell.
-
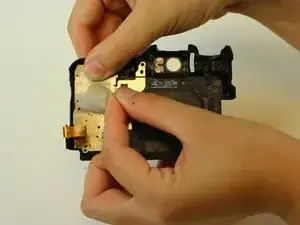
Peel off the thick, plastic seal over the metal plate near the yellow ribbon cable.
-
-
-
Remove the spring from its socket using precision tweezers allowing the metal plate with the function dial to be removed.
-
-
-
Using precision tweezers, pry the old function dial out of its socket leaving only a black, metal ring attached.
-
-
-
Attach the new function dial simply by pressing it into the black, metal ring until you hear a click.
-
To reassemble your device, follow these instructions in reverse order.
2 comments
Thank you so much!! I needed to replace the entire rear cover, because Canon doesn't sale just the wheel separately. your guide was the best one I found on the web. I think you ought to make a video of it, I admit I didn't see the "black flip-up" in part 6 so that part (putting the cable back in) was the most aggravating part for me.
But again thank you so much!
Very good guide, the only one I’ve seen so far. Thanks for that>
Philip Knowles
