Introduction

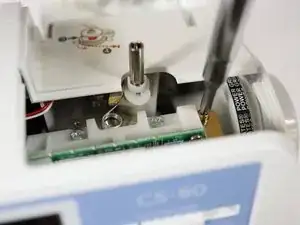
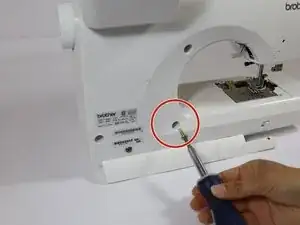
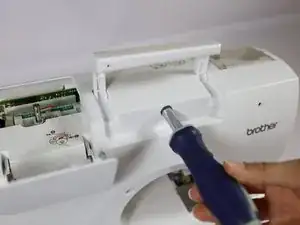
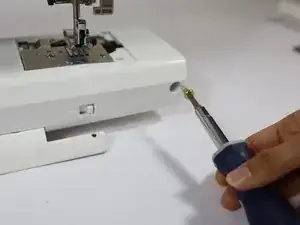
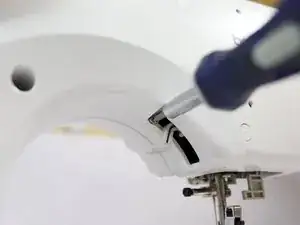
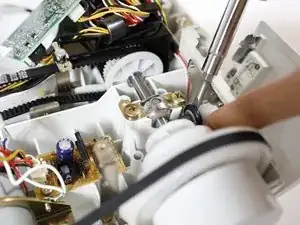
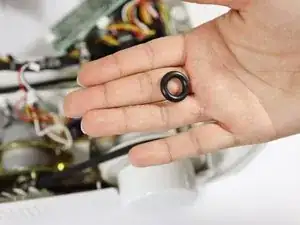
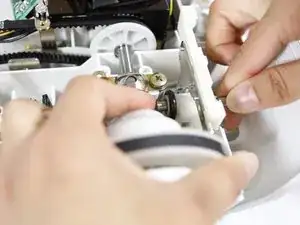
Use this guide to replace a worn out tire ring for the bobbin winder of a Brother CS-80 sewing machine.

Over time and with constant usage, the bobbin winder tire ring in a Brother CS-80 sewing machine can wear out, break, or even disintegrate. You may need to replace your tire ring if your machine has issues with winding the bobbin correctly.

  1. gH64MDZh25JxsdLc
    gH64MDZh25JxsdLc
    Om3rYsrbedVf1iNt
    tGEOfijYqoQU1XoQ
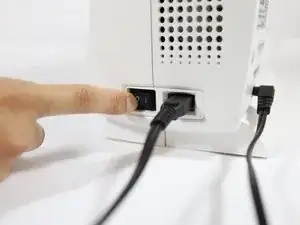
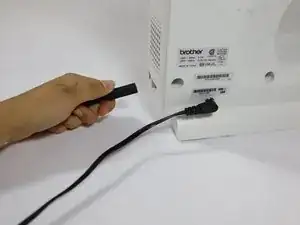
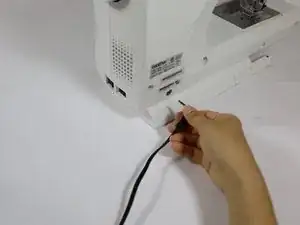
    • Turn off the machine.

    • Unplug both the power cord and the foot pedal.

  2. JNNa5XP4PDQtSfKk
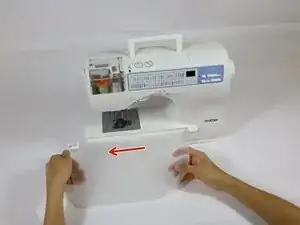
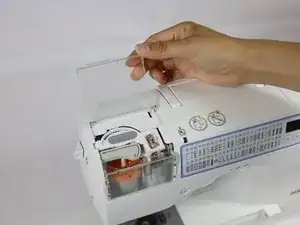
    • Slide the clear flap to the left to remove it.

  3. j1ygtsdCNxoyH1xt
    j1ygtsdCNxoyH1xt
    l6TQNOrv2yTAGOKS
    iHfxoM2QCtquQXur
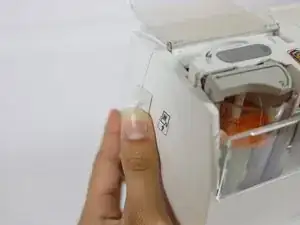
    • Pull the latch to detach the bobbin cover.

  4. klBLaBrrFwEVbf2l
    klBLaBrrFwEVbf2l
    ZDtjGPQGVj1hTIsh
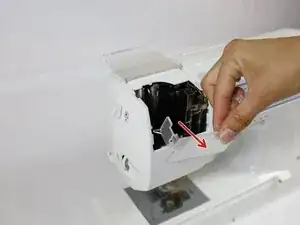
    • Remove the bobbin from the bobbin shuttle.

  5. s1WJWWWc15B53eQl
    s1WJWWWc15B53eQl
    opHwopdOp6CUtaMW
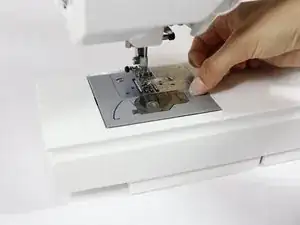
    • Use a flathead screwdriver to pry off the plastic plate that surrounds the bobbin shuttle.

  6. mCd5ksSqfT4cEYdc
    mCd5ksSqfT4cEYdc
    wTwYyJxd2VMGxnbX
    v3TPsWwPxdrvEwFO
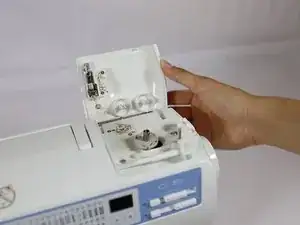
    • Open the bobbin winder cover.

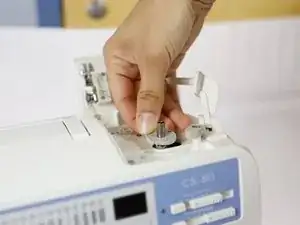
    • Flip up the spool pin.

  7. 5GCTPDTQYQIwMMs2
    5GCTPDTQYQIwMMs2
    KKXpZQiuGpad1sQw
    vm3mih6LxBLXFynQ
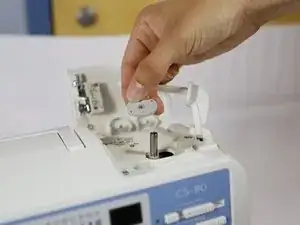
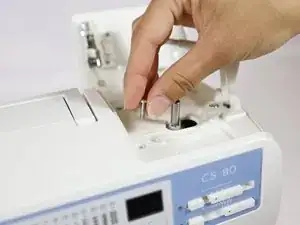
    • Remove the grey bobbin winder seat from the bobbin winder shaft.

  8. clv63aHQEFvLTEqY
    clv63aHQEFvLTEqY
    d6oIpuyCIftb1SYN
    K1oHApRMuRDMT2MM
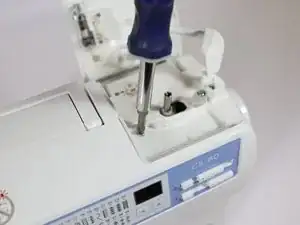
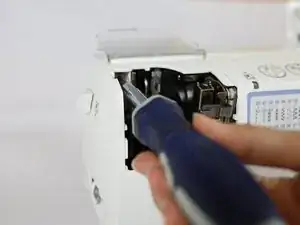
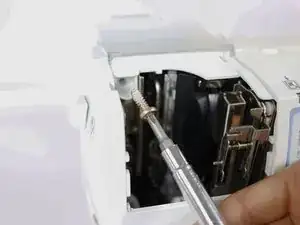
    • Remove the 13 mm Phillips head screw from the left side of the bobbin winder.

    • Place the screw on a magnet (or in a tray) to ensure you don't lose it.

  9. IHVnxhayET6fPnA6
    IHVnxhayET6fPnA6
    GQ2jFJ4MhN23FGMl
    TPsuULfwqn5PHtwn
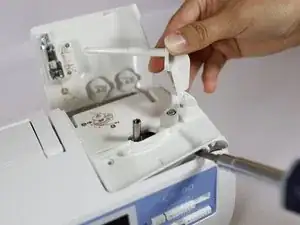
    • Pry off the bobbin winder thread spool pin and the attached bottom plate of the bobbin winder area.

    • Use a flathead screwdriver to assist you in removing the plate.

  10. vJ2fAF6WoiKMxbrT
    vJ2fAF6WoiKMxbrT
    MAtptQUmgNFoAuSU
    • Remove the 8 mm Phillips screw from the metal plate to the right of the motherboard.

  11. XeBMBEclKsOh2LZC
    XeBMBEclKsOh2LZC
    NKUbyOmH5HndSt6I
    • Open the thread compartment.

    • Press the back level on left side of the machine to eject the thread cassette compartment.

  12. GfpMe5l1jFJPpDxS
    GfpMe5l1jFJPpDxS
    FANTDaNTnwerp6WQ
    PYpfjrhDs6QsmK2F
    • Remove the thread cassette compartment by pulling it up.

    • Remove the front clear shield to the thread cassette compartment holder by pulling it away from the machine.

  13. bvVNDYHUlmNSXPtA
    bvVNDYHUlmNSXPtA
    Xc5IxtOSnyDIAIgA
    • Remove the single 19 mm Phillips head screw from the back of the internal thread cassette compartment area.

  14. 6k5yMiSvynCk5IMx
    6k5yMiSvynCk5IMx
    oKR23JIxN3AYHJiI
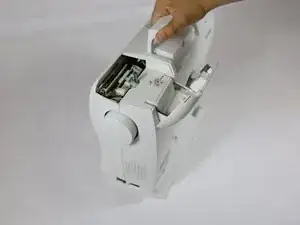
    • Turn the machine so the back is facing you.

  15. uXyC43fR2LAVtWNv
    uXyC43fR2LAVtWNv
    qdBGnEuXrDr1fS3e
    uAVrhYKbBKHqpasw
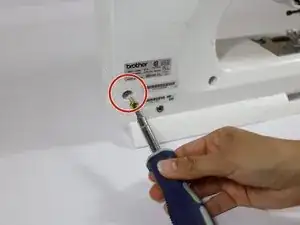
    • Remove the three large 19 mm Phillips head screws from the back left face of the machine.

  16. hvLSFpKg6Ryv6BfU
    hvLSFpKg6Ryv6BfU
    HsthcHLNITwTaaTK
    • Remove the 19 mm Phillips head screw from behind the handle of the machine.

  17. 3VuVHxXcXN6ZERnO
    3VuVHxXcXN6ZERnO
    LTDLFhXuZFwh4pEF
    • Remove the large 19 mm Phillips screw from the bottom right of the machine.

    • You should have removed a total of five 19 mm large screws from the back face.

  18. HLSJS1q41hJiJGjc
    HLSJS1q41hJiJGjc
    6dDaKjEnQAjRkmiD
    evMACCOj5xvxQwpb
    • Remove the 33 mm Phillips head screw by the presser foot lever.

  19. TRl3ZphLqFYKBOJj
    TRl3ZphLqFYKBOJj
    AjiTeGYl2numZd1m
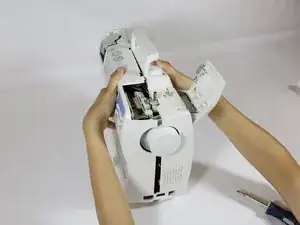
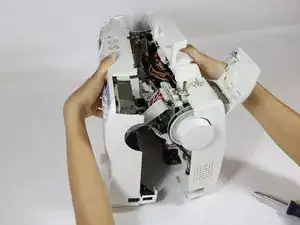
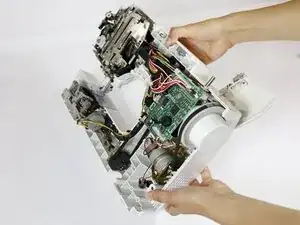
    • Slowly pull apart the two sides of the sewing machine.

    • The two halves will still be partially attached by cables on the inside. Take care not to damage any of the cables.

  20. 4XiBiMKWBt4nBr6T
    4XiBiMKWBt4nBr6T
    SFktFUwtyyeMLVN4
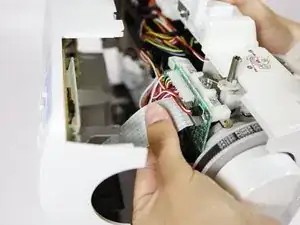
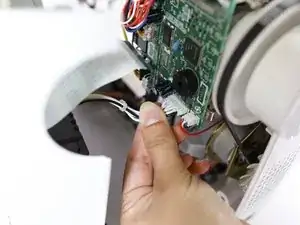
    • Gently disconnect the ribbon cable from the motherboard.

  21. Vnrs3ueYXYGLSaSi
    Vnrs3ueYXYGLSaSi
    wYNtDMm52FchnQxK
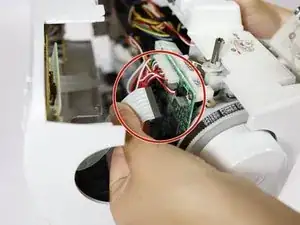
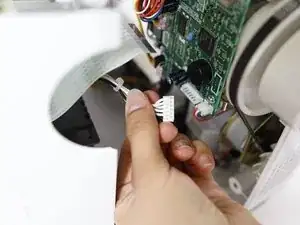
    • Disconnect the 6-pin connector from the motherboard.

  22. u4eRYPEhZEcmMK4x
    u4eRYPEhZEcmMK4x
    ETBbTFksBQ1nVp3v
    CecPGhsxeBwLwDuD
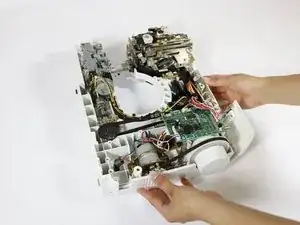
    • Completely pull apart the two halves of the machine.

    • Set aside the front side piece.

    • Place the back piece down so that the inside faces upwards.

  23. JrFYFvOxpRGVIwxk
    JrFYFvOxpRGVIwxk
    rPchmwUeHi1FUKP2
    M1WNyAnQRvhAFHdf
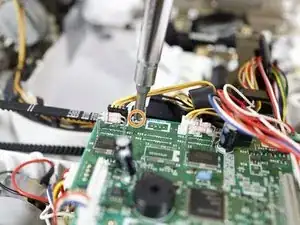
    • Remove the gold 9 mm Phillips screw from the front right of the motherboard.

    • Remove the two silver 7 mm Phillips head screws from the front and back of the left side of the motherboard.

  24. OpUjRl2lJARtBLsw
    OpUjRl2lJARtBLsw
    KQgHxgKBUQRAffdW
    lJrtXWG6CRuKYltB
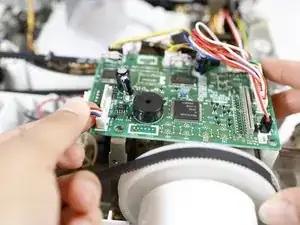
    • Slide out the motherboard from the white plastic motherboard housing.

    • Handle the motherboard gently to avoid damaging the circuits or connectors.

  25. He1RU5SurarKWAne
    He1RU5SurarKWAne
    xwTfVXdhlM2kX5DS
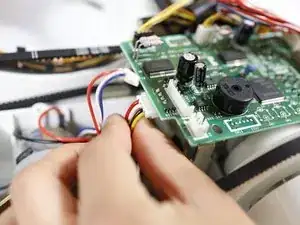
    • Disconnect the 3-pin connector from the front left side of the motherboard.

  26. VJrS1w53dXVnnXdw
    VJrS1w53dXVnnXdw
    N2GtvRoU2kjbSfYt
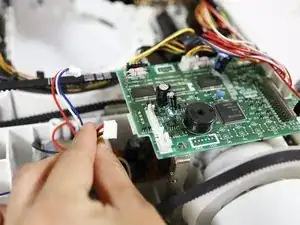
    • Disconnect the 4-pin connector from the left underside of the motherboard.

  27. PFJJ2J6sMIFIOoXF
    PFJJ2J6sMIFIOoXF
    hkN6RoNPJU5MLfjW
    5P6NBgjdAGKJHqqQ
    • Flip the motherboard over so it rests upside down and away from the balance wheel.

    • Handle the motherboard gently to avoid damaging the circuits or connectors.

  28. sGMBm4dXtXcEUthM
    sGMBm4dXtXcEUthM
    1QTBvnd5b5a3EKZS
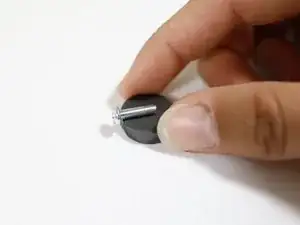
    • Use a flathead screwdriver to pry off the tire ring.

    • The tire ring may have disintegrated and deposited black rubber on the inside of the machine. If so, clean the area with cotton swabs damp with isopropyl alcohol and paper towels. Wearing disposable gloves is recommended.

  29. QCR2upZTTmOu6bBe
    QCR2upZTTmOu6bBe
    MISKIqVnNOLs4rbE
    AVSa5eNMYlPpWAof
    • Place the new tire ring onto its seat.

    • You may need to use a flathead screwdriver to help it seat fully.

Conclusion

To reassemble your sewing machine, follow the disassembly instructions in reverse order.
Edyn

Member since: 25/04/24

409 Reputation

0 comments