Introduction
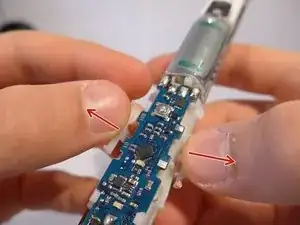
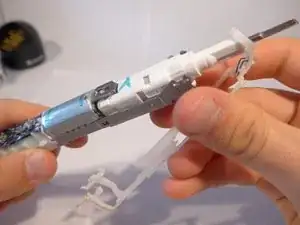
The device has to be opened and partly disassembled. The battery has to be unsoldered from the logic board and can then be replaced.
Tools
Parts
-
-
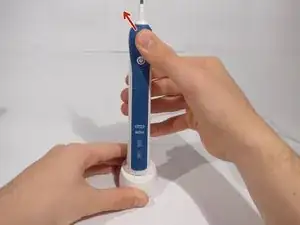
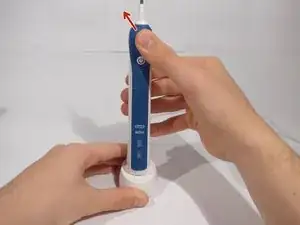
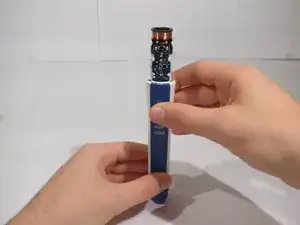
Take the device and place it on top of its charger.
-
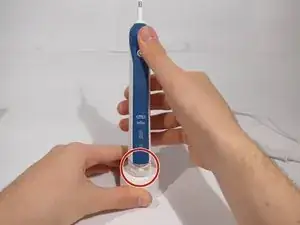
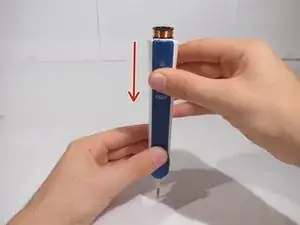
Now hold down firmly the charger and pull the top of the toothbrush backwards.
-
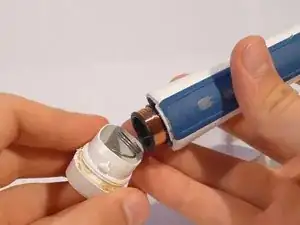
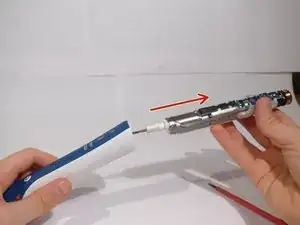
When the lid at the bottom opens, stop pulling and take it off manually
-
-
-
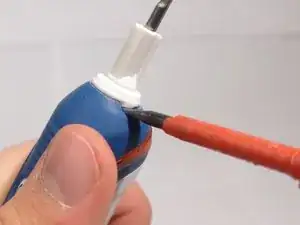
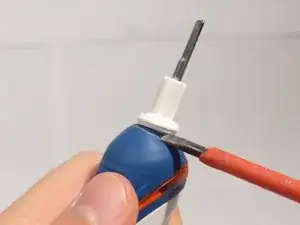
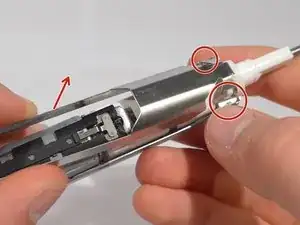
Take the screwdriver (or the plastic opening tool) and go under the ring at the top of the gummed area.
-
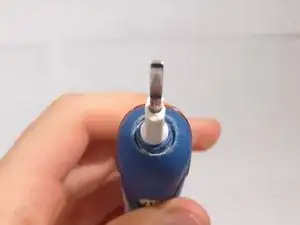
Now rotate it slightly so the ring comes loose.
-
-
-
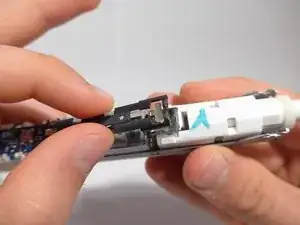
First take away the metal sheet of the start/stop button.
-
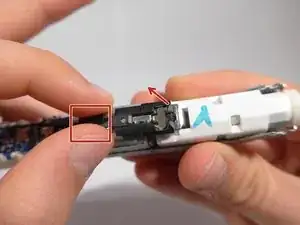
Then pull the center of the black metal connection of the pressure sensor slightly upwards until the hook holding it to the sensor comes loose.
-
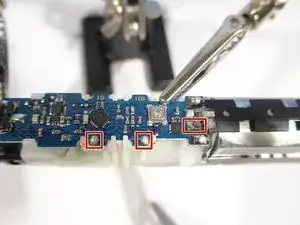
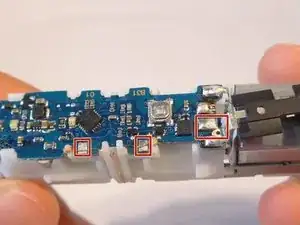
Now it has to be desoldered from the logic board.
-
-
-
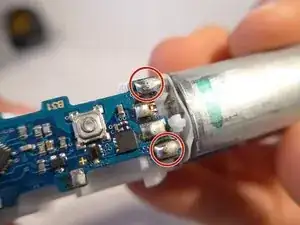
Now you have to desolder the sensor connection and both the connections to the red led at the top.
-
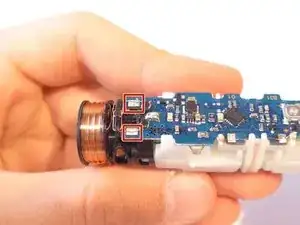
Then desolder the connections to the charging coil.
-
-
-
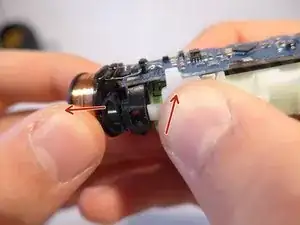
First pull off the white plastic support for the red led.
-
Then push the plastic casing of the battery together to pull of the coil.
-
To reassemble your device, follow these instructions in reverse order.
2 comments
A good guide but I found removing the bottom quite troublesome. Levering against the charging base felt like it would break the base. I needed to lever it in stages, wedge it and grab and pull it with mole grips. This damaged the plastic a little, but I got it off.
Cone -
Hmm, maybe they changed the construction. When I created the guide the bottoms (of the 2 toothbrushes I repaired) opened quite easily, but that's good to know.
Also I do not think you need to worry about breaking the base: as most chargers that you plug in the mains, it should be completely filled with a hard resin, and thus be almost indestructible.
