Introduction
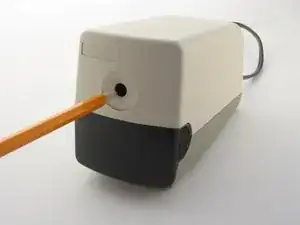
If your pencil sharpener is failing to sharpen your pencil or unevenly sharpening your pencil, it might be time to replace the cutter. You can find replacement cutters here.
Tools
Parts
-
-
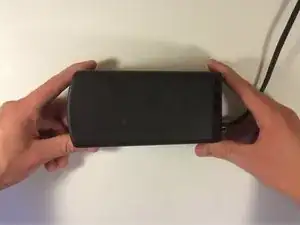
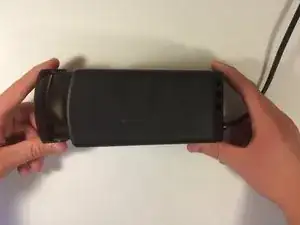
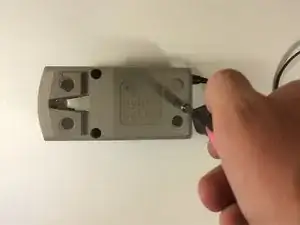
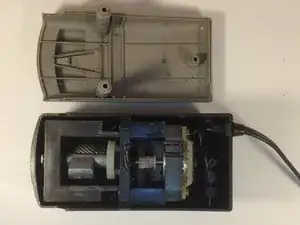
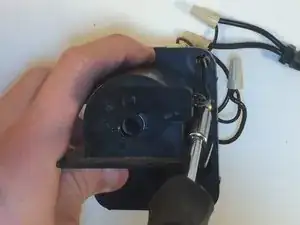
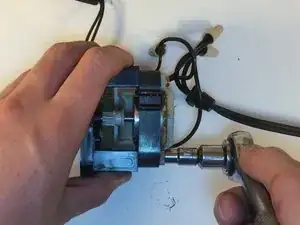
Lift the motor and cutter from the top case of the sharpener.
-
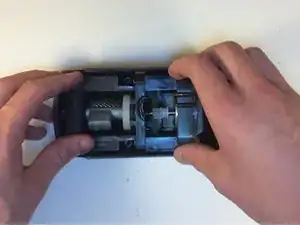
Carefully move the wires so that the case can be completely removed.
-
-
-
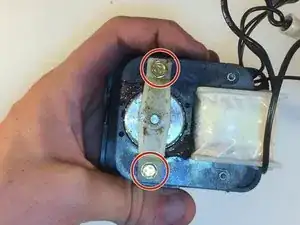
Unscrew the protective case around the cutter by locating the two screw on the front of the sharpener.
-
-
-
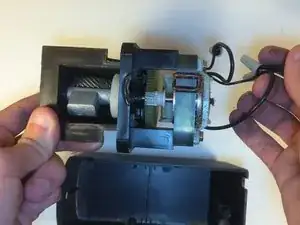
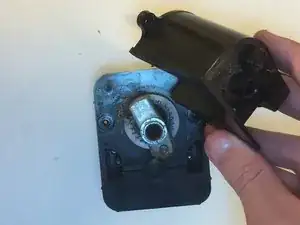
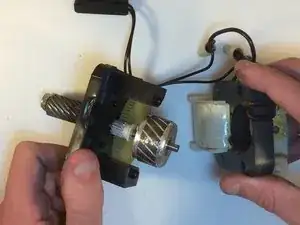
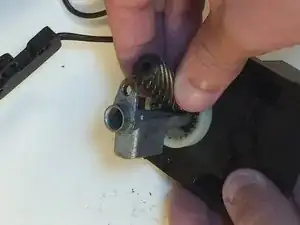
Carefully separate the motor and the case around the motor from the cutter.
-
Guide the wires through the holes in the casing to detach them from the cutter section of the sharpener.
-
-
-
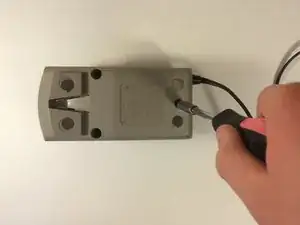
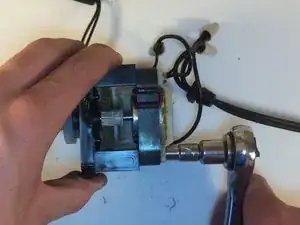
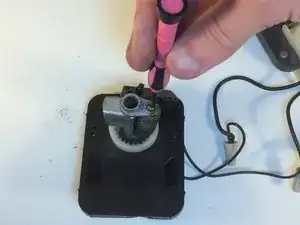
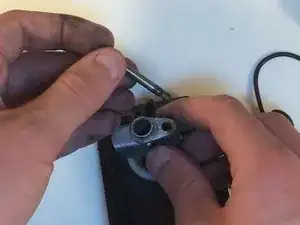
Unscrew the sharpener with a small standard screwdriver and remove the long screw to loosen the cutter.
-
To reassemble your device, follow these instructions in reverse order.
6 comments
Great instructions on replacing the sharpener. My father took the model 18 apart but failed to document with pictures on the step by step breakdown. I'm left with out a crucial part of the re- installment. The question is in step 7, the piece right behind and below the screw driver is a plastic piece with two wires comming out of it. where does this piece fit? any help or redirection to a site that might have this info. direct reply at
thopper1@satx.rr.com
tah33 -
tah33 - that part is the switch that senses the pencil to turn on power. There is a plastic piece that goes over the top of the cutting mechanism to help guide all the shavings down into the shavings tray. The switch goes onto the front of that piece. If you look at step 4 it shows the switch mounted to the piece I am talking about, Randy (the author) calls it the protective case.
Steps 5 and 6 are not required.
jffleck -
