Introduction

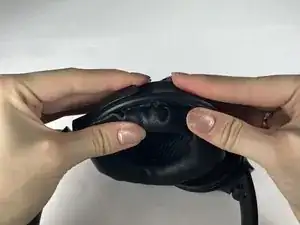
With time and regular usage, damage from wear and tear is inevitable for over-ear headphone earpieces. Although Bose is known for long-lasting technology, their ear pads are known to peel after a short period of time. Constantly replacing them with low quality third-party ear pads or replacing them through Bose can be costly and wasteful. Through this repair, you can create custom long-lasting ear pads.

  1. 1LVAXsC5NkYQQPnF
    1LVAXsC5NkYQQPnF
    DBZfKkdhfmKDaFED
    N2U2sPYTO51HKDZH
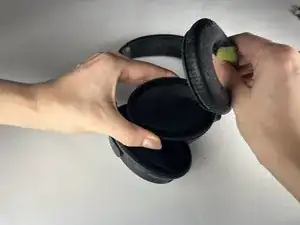
    • Reach a thumb under the damaged foam earpad and pull to remove from headphones.

  2. PHTRvw6iXUlXT5UN
    PHTRvw6iXUlXT5UN
    4mQDmTCqiMbwy5HO
    UARXkXWLXGBP6wta
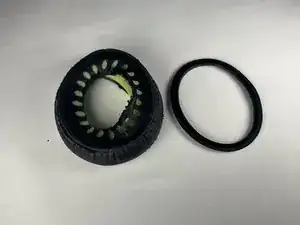
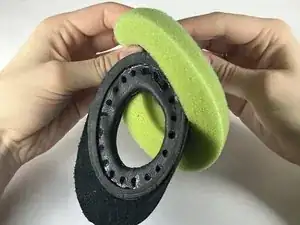
    • Locate the plastic oval ring attached to the foam ear pad.

    • Gently pull apart the plastic ring and leather fabric until separated.

  3. rQUbH6qJYfSweBCo
    rQUbH6qJYfSweBCo
    LDu1PdQIYYpHxoM4
    rqcipL3QGIXTpDtv
    • Rip the leather exterior until green foam is visible.

    • Remove green foam.

    • Dispose of damaged leather.

  4. X4xZeSUluLgrEHfC
    X4xZeSUluLgrEHfC
    uFYkNNk2BEFrTwlJ
    vHqZULfRrvMM3N61
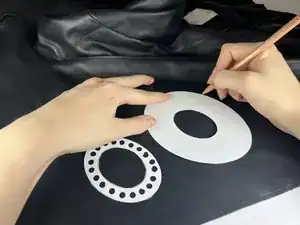
    • Print the linked pattern.

    • Cut out the pattern using the solid black lines.

    • Trace the pattern onto the new leather.

  5. KHFZbVhTqkjY3dFJ
    KHFZbVhTqkjY3dFJ
    45PlSRf2mYYmwvKP
    • Cut out the leather following the traced lines.

  6. xMUdx6UwgjtRDQFh
    xMUdx6UwgjtRDQFh
    LYNaj2U4NqElWQe1
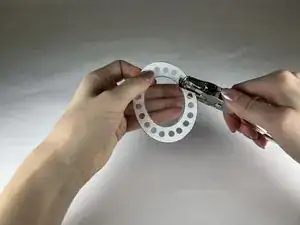
    • Using the pattern as a guide, mark holes on the smaller donut with a pencil

    • Punch holes with the leather punch tool

  7. GmG3GUjDEH3IXJFN
    GmG3GUjDEH3IXJFN
    CXNMY4lGwfiVeeZa
    ThRCOhRUqEddlyFI
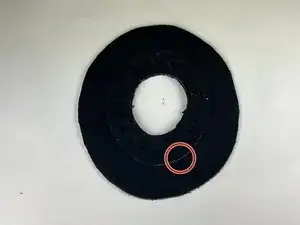
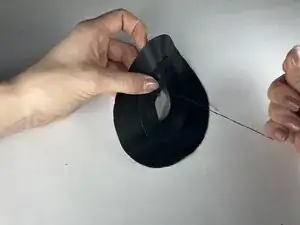
    • Align the smaller donut on top of the larger donut

    • Make sure the leather right sides (the side of the leather you want to show) are facing each other

    • Using a thread and a needle, sew the two donuts together at the center of the donut using a whip stitch

  8. iw2MfeIF4gKfAUSh
    iw2MfeIF4gKfAUSh
    dE5c4QYyGhiXgDNm
    • Turn the donut inside out

    • Make sure the leather right sides (the side of the leather you want to show) are facing away from each other

  9. WGDPOgMXCAREuTEV
    WGDPOgMXCAREuTEV
    wxDm15keI6bFPGVn
    p6j154nwveasjyOm
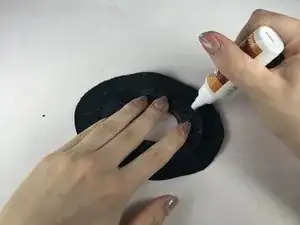
    • Buff the outer edge of the small donut with a nail file

    • Glue the outer edge of the small donut with fabric glue

    • Leave the glue to dry for 5 minutes

  10. D6JLlLibwObxOTrT
    D6JLlLibwObxOTrT
    CmoRqZuipAsiUwQP
    • Buff the inner edge of the plastic ring

    • Glue the inner edge of the plastic ring

  11. tQCcNvGrBYjE5HJF
    tQCcNvGrBYjE5HJF
    saErKhMXpZqDXqxZ
    • Attach the plastic ring (glue side down) to the smaller donut

    • Leave to dry for 20 minutes

  12. 4YTXXKnevWMTSGGH
    4YTXXKnevWMTSGGH
    ByAxRJNMVnPPwIbE
    • Slide the leather ring through the cushion, leaving the plastic ring on the other side

  13. 2LwuIU32Hnw4SQZ1
    2LwuIU32Hnw4SQZ1
    AbLbUeNwrIL1LYyi
    • Apply glue to the edges of the leather donut

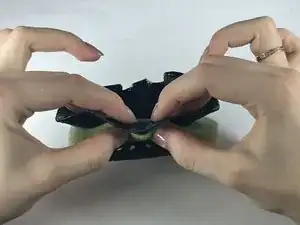
    • Put an object in between the donut for a better drying process

    • Leave to dry for 5 minutes

  14. dXfxEocLTVpcoPTD
    dXfxEocLTVpcoPTD
    LoHjWjop64UT5c3a
    YEix6HUkYxpSJlFE
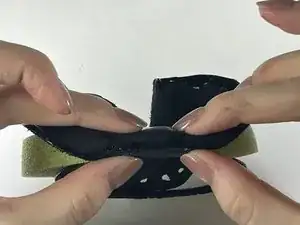
    • Fold the leather down to the plastic ring, wrapping around the cushion ring

    • Straighten out the creases in the leather ring

  15. SJpyVO2HWWDquw6M
    SJpyVO2HWWDquw6M
    jIomQuhTOLHjQWdi
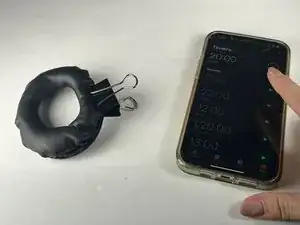
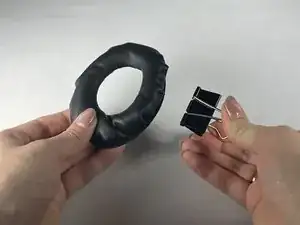
    • Use a paper clip to hold the pieces in place while letting glue dry

    • Leave to dry for 20 minutes

  16. bOeSAvGLuim6mvKc
    bOeSAvGLuim6mvKc
    T5rIXIFY2KEFKfkR
    VCPpKprfowJtHjXC
    • Attach the leather earpads back onto the headphone

    • Apply light pressure to secure the earpads into place

Conclusion

To reassemble your device, follow these instructions in reverse order.
Johnson Ou

Member since: 01/02/24

298 Reputation

0 comments