Introduction
Physical copies of books are being replaced with digital, however, this does not mean that physical books should be immediately discarded. By following this guide, the longevity of loved books will increase and keep them out of landfills--where they would ultimately be burned and thus release toxic chemicals into the air.
Materials:
- 1 Bottle of Mod Podge Crafting Glue
- 1 Large Flat Paint Brush
- 1 Ruler
- 1 Pair of Scissors
- 1 Circular Saw
- 1 Pair of Safety Goggles
- 2 ft x 3 ft of Unprimed Canvas
- 1 Sheet of Repair Binding Cloth
- 2 Sheets of Flyleaf Paper
- 2 ft x 3 ft of Binders Board
Tools
Parts
-
-
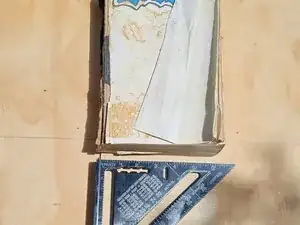
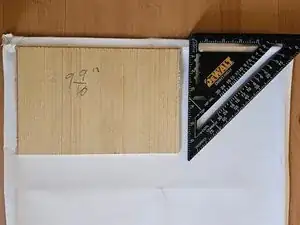
Measure the length and width of your book. Make sure to leave about 1/2 cm gap along the perimeter.
-
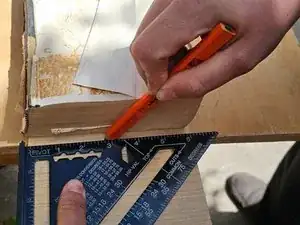
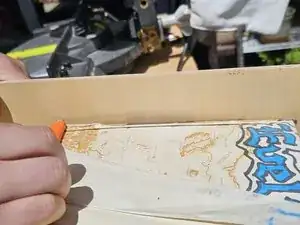
Use those measurements to mark your binder's board using a pencil.
-
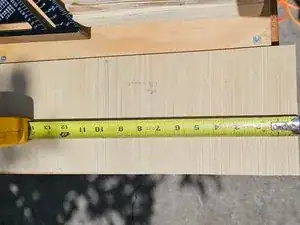
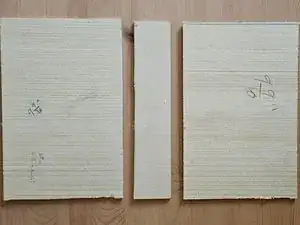
Double-check your measurements, you need 2 exact copies. This will be the front and back cover.
-
-
-
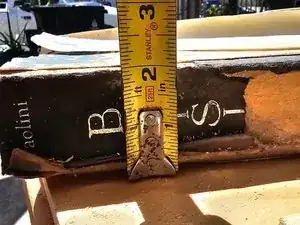
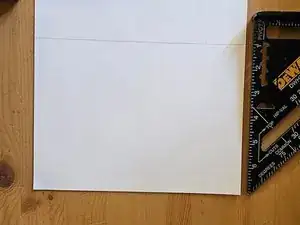
Measure the width and length of your book spine. Keep the measurement as close to the original as possible.
-
Use these measurements to mark on your binder's board. The length of the spine should be the same length as the front/back covers.
-
-
-
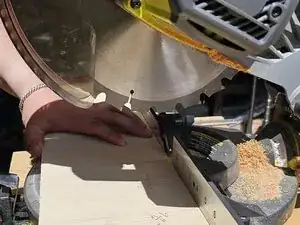
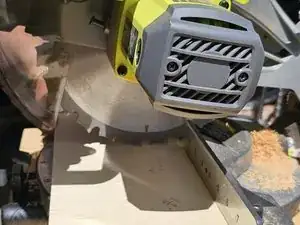
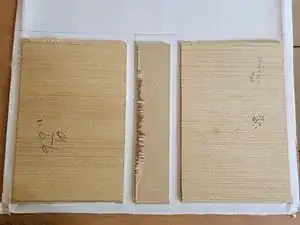
Use a power saw to carefully cut your binder's board. Lower the blade to the board before activating the saw.
-
-
-
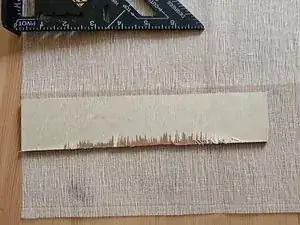
Using your binder's board spine and book repair cloth, measure about 4cm on the left and right sides of the spine (length wise). Keep the top and bottom flush.
-
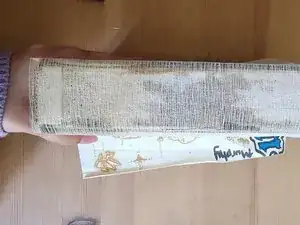
Cut the book repair cloth and place evenly on the spine of your book. The excess will go over the front and back of the book.
-
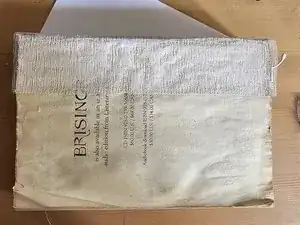
Use Mod Podge Crafting Glue and a large flat brush to coat the repair cloth onto the spine. It should look like it is "melting" into the book. Let dry for around 30 minutes or no longer tacky.
-
-
-
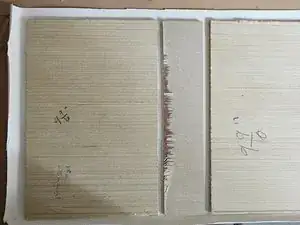
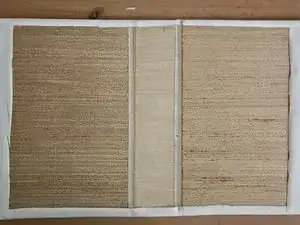
Lay out your pieces as shown in the picture. There is about a 1cm gap between the spine and covers.
-
Lay out your pieces onto canvas. Measure, mark, and leave a 1cm gap along the perimeter of each piece. We are going to need the excess.
-
Measure the exact length and width of the covers onto flyleaf paper and cut neatly.
-
-
-
Cut the canvas along the perimeter previously marked. Do not cut between the pieces.
-
Cut at the corners of the spine. It should be completely vertical. This will allow a more flush and complete end result.
-
Carefully fold and glue over the edges on the side currently facing you. Let dry for around 30 minutes.
-
-
-
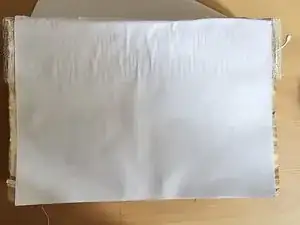
Glue the fly leaf paper to the book, covering the book repair cloth. Let it dry completely.
-
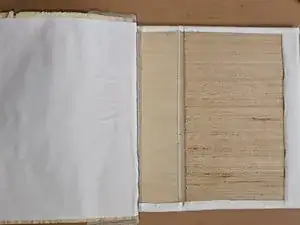
Carefully align the text block to where you want it to sit in the cover. Make sure to check the direction that the book opens and where the front page of the text block is
-
Glue one side of the text block onto the cover. Let dry for around 10 minutes.
-
Layer glue onto the spine and other cover and quickly cover the text block. This is easier and safer than glueing these seperately.
-
Place something heavy and flat on top of the book. Let it dry for around 24 hours. After, you can freshly crack the spine for use.
-
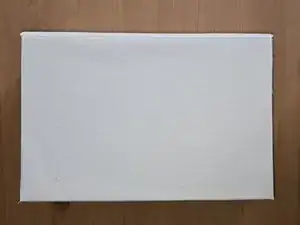
Enjoy the new book that you have just saved, and keep this guide in mind when encountering another damaged book that just needs a little bit of time to bring it back to its prime.
