Introduction

Use this guide to remove or replace the handle casing of your Black and Decker LI2000.

  1. FxUQHaFXBBWDEdga
    FxUQHaFXBBWDEdga
    yTkaMN6UyjstKsTN
    oVTmmmgUBASMYQFH
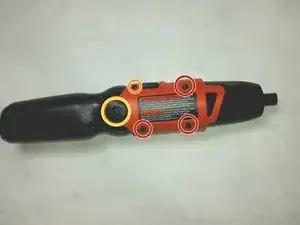
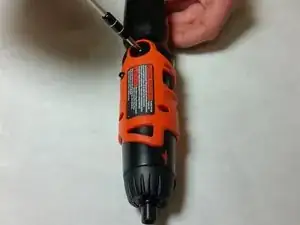
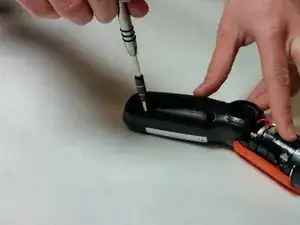
    • Remove the following five screws

    • Three 20 mm Phillips #1 screws

    • One 10 mm #000 Phillips screw

    • One 13 mm Phillips 31 screw

    • When you remove the 13 mm screw, the spring may pop out of the screwdriver. Point the backside of the screwdriver away from your face and others.

  2. QDlNel2OsDxDDcwW
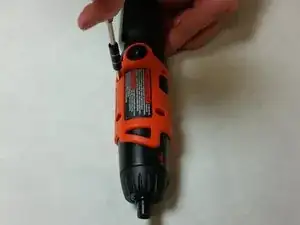
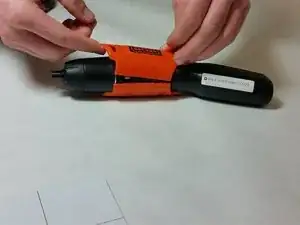
    • Remove the black sticker with recycling information.

  3. tECvLjDYhnRy44Jg
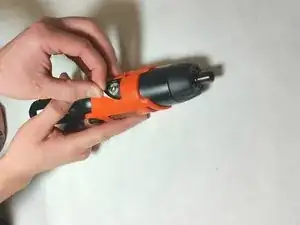
    • Use your fingers or a plastic opening tool to pry the casing apart.

  4. ZWUT2ltVjCSLGayD
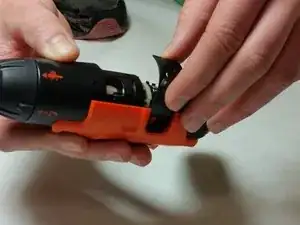
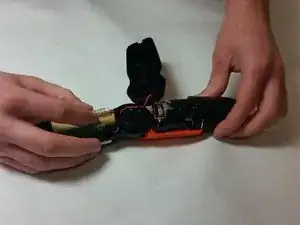
    • Remove the plastic slider by picking it up off the screwdriver.

    • You may consider leaving half of the casing on the screwdriver to make handling the screwdriver easier.

    You should also leave the switching slider on the motor as it is DIFFICULT to reinstall the switch assembly.

    Bob -

  5. RxD6ZUI4QWo6Annr
    RxD6ZUI4QWo6Annr
    BuXFLHeZFI4XQHUp
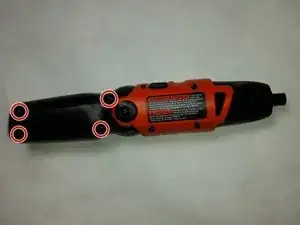
    • Remove the four 15mm Phillips #1 screws.

  6. nMYCeoLiF6m3dDo4
    nMYCeoLiF6m3dDo4
    gHQTkJODLP2M22LD
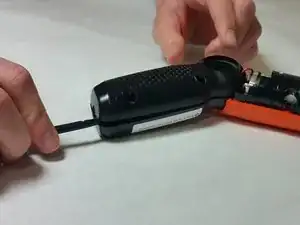
    • Use a plastic opening tool to pry the casing apart.

Conclusion

To reassemble your device, follow these instructions in reverse order.
Katherine Simmons

Member since: 08/02/16

753 Reputation

0 comments